
 Not too long ago, we had a good look at the Qnap Network Attached Storage Drive. We liked its overall construction and performance.
Today, we turn our attention to another one, except it is made by Synology. You may have never heard of the company, but they have been making these kinds of products for quite a while now.
Let’s take a look at what makes this product different from the nearby competition.
Introduction
Synology is a company dedicated to creating Network Attached Storage (NAS) devices. Although their company began in the year 2000, they have a wide range of NAS products ranging from the home to small businesses, and for corporations as well. If you look at NAS products from well known companies such as Linksys, Buffalo, and Netgear, you will of course find quality products. But once you compare them with the feature set of Synology NAS products, you will immediately find out that Synology’s products are much more feature comprehensive. In fact, they are well ahead.
Today, we will be taking a look at Synology’s Disk Station DS207+. This is a 2-bay NAS product designed for small businesses and corporations. But you can also purchase it for your home if you’d like as well.
A Closer Look
The DS207+ has a very simple design. It has an all white plastic shell with a black status panel. At the front are various LED indicator lights including Power, LAN, Disk 1, and Disk 2. There is also a USB port and an eSATA port at the front. This allows you to plug in things like a printer, USB flash drive, or another hard drive. There is a copy button (labled as a C) and a power button as well.
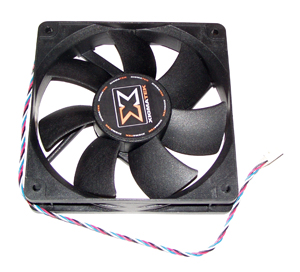
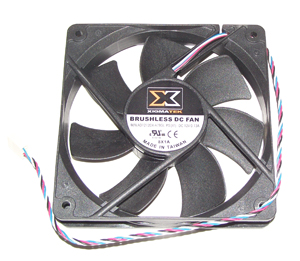
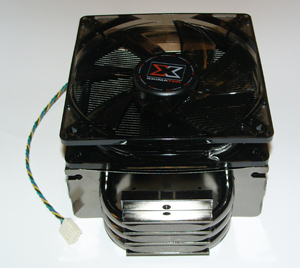
The back of the NAS has a large Fan used to dissipate heat from the drives internally. There are also two additional USB ports, a Gigabit ethernet port, and an AC plug. If security is an issue, there is a tiny hole that can be used with a security cable. This is the same security mechanism found on notebooks.
When looking at the back of the NAS. You can see an unusual crease going down the middle. This is because when the shell is opened, half of it comes off directly. The way you open the NAS is by holding the product on both sides and sliding your hands in opposite directions. Half of the shell will then come off so you can install your hard drives. Keep in mind that this product does not come with any hard drives. You will need to purchase a hard drive separately to install into this product. A bunch of screws have been included just in case you need to use them. The DS207+ is only compatible with Serial ATA hard drives, therefore you cannot use older IDE hard drives. In order to install a hard drive, you just place it in between the two standing metal pieces in the center. This frame can hold either one or two drives.
Towards the edge of the NAS are 2 Serial ATA ports and 2 Power ports for the hard drives. This will allow you to connect the hard drives to the NAS in a less cluttered manner.
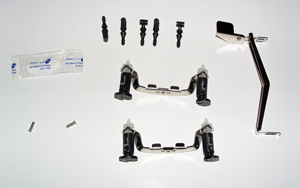
Included with the NAS are 4 cables. There are just enough cables to connect two separate hard drives and are just at the right length.
|
|
|

Be careful when you plug in the connectors. You don’t want to break or snap a connector off on either side. I recommend plugging the ends to the mainboard of the NAS first, then plugging the other ends to the drives. I found it much easier that way than doing the opposite of plugging the ends to the hard drives first. After that, you can use the provided screws to secure the drive tightly to the frame on both sides. After the drives are secured inside, you can place the shell cover back on and slide the cover back into place. You can now let the NAS drive stand up or sit on its side. When the NAS is standing on its rubber feet, the drives sit comfortable on its side within.
Setup
Hardware-wise, after you have installed the drives in the NAS, you have done most of the physical work already. The steps remaining are to plug the provided AC adapter to a wall socket and plug the NAS into your network using the provided Ethernet cable. When everything is all set, you can then power on the DS207+ by pressing the power button in front.
The next step is to install the software. Insert the provided CD into your computer and run the setup. The Synology Assistant program will then search for the newly installed NAS drive connected to your network. Be sure that the computer you are using the installation CD with is connected to the same network as the NAS drive or it won’t be able to see it. After a quick scan, it was able to find the Diskstation. From that point, you will go through a series of steps to setup the Diskstation. On the contrary, you can choose to do a ‘Quick Setup’ which will quickly setup the settings of the drive automatically, but I am showing the full steps for the purpose of this review.

The first think you will need to do is to enter in a name for the Diskstation. This will be the system name that will be seen when it is connected to the network.
Next, you will need to create an administrator password. This will be used to have full access to the settings of the Diskstation.
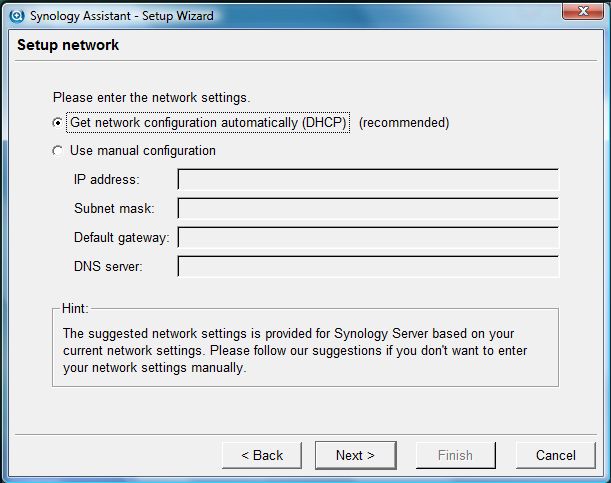
You will then need to configure the network settings of the Diskstation. Most users will choose DHCP.
Next you will need to setup the timezone settings and clock. This is pretty self-explanatory.

Lastly, a screen will quickly show the summary of the settings that will be applied to the NAS drive before they are committed.
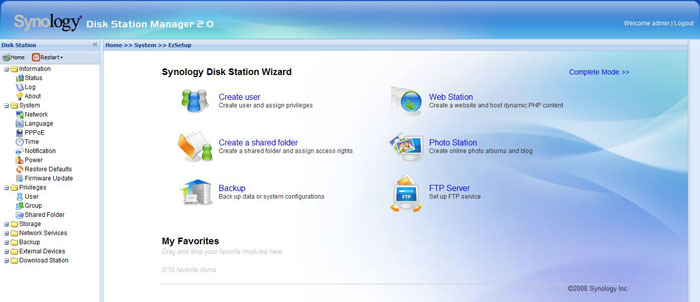
This is the main control panel for the settings of the Diskstation. At first glance, this interface looks pretty user friendly and simple. In fact, it’s more than skin deep. This NAS uses an AJAX powered control panel. This allows for a nicer looking control panel and status indicators which are more ‘real-time’. I will explain more about this later, but I already have a positive feeling about this product.
 Before you can start switching settings, you will first need to create a volume on the hard drive so that the Diskstation can store files. I was a bit surprised that this part was not in the steps of the setup. But if you try to switch settings without creating a volume first, you will get an error message telling you that there is no volume.
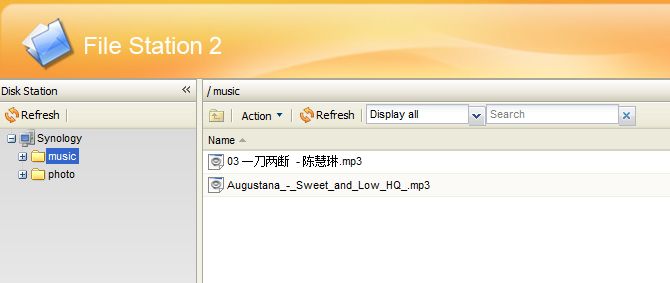
The File Station is where I can manage all the files on the Diskstation. Just to test the drive, I put a Chinese labeled MP3 file and it was able to recognize it without any problems. The File Station has a very Windows-like interface making it very familiar. Just remember that there is no right-click since you are in the Ajax powered interface.
|
|
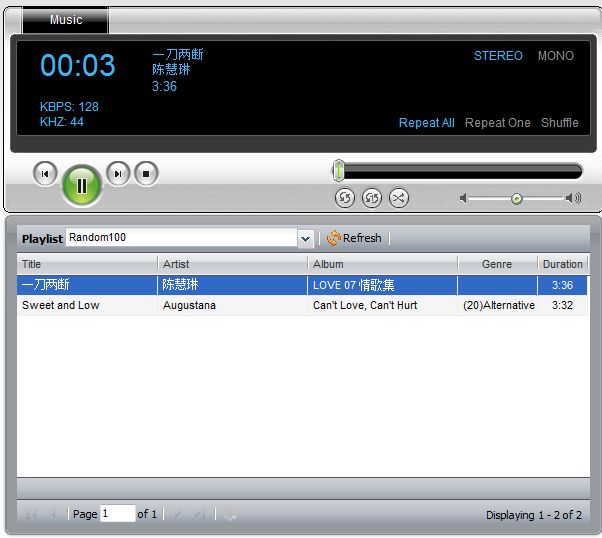
A feature I found interesting was the Music Player. Let’s say that you stored some music on the drive. You can connect to the NAS drive using any computer on the network and be able to play music right off of it provided that the computer you are using has speakers. This worked pretty well. If you want to change settings while listening to music, you might have to connect to the Diskstation in another browser window so you don’t leave the page and stop the music.
|
|
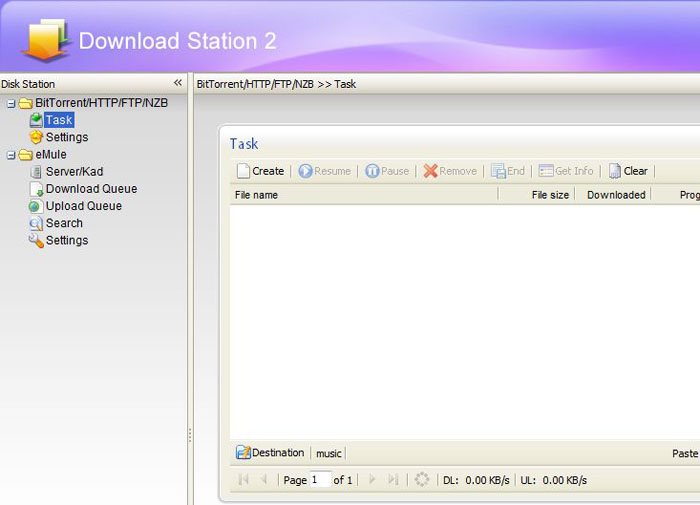
The Diskstation includes a Bittorent file downloader. It can also be used to download regular files from the web assuming you have the address to the file. You just need to create a task in the Download Station and tell it where the Bittorent file is located. As there are now many websites that offer Bittorent files, I would like to see in the future a NAS drive that offers the capability to browse to a Bittorent website and start a Bittorent download immediately by just clicking on a web link. But for now, you will need a direct URL to the Bittorent file or download the Bittorent file first to your computer.
|
|
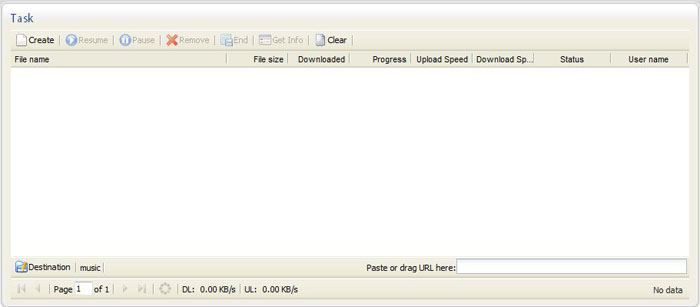
Once a download starts, the status of the download will display and change automatically. NAS products that use static pages have to constantly refresh the page making the page ‘flicker’ for a second. Since this is an AJAX powered interface, the status indicator is smooth and no signs of a ‘flicker’ when refreshing.
|
|
The Diskstation has a USB copy feature. You can directly copy a folder on the Diskstation to a USB drive. Just plug in your drive and and press the copy button in the front. Your files will immediately copy to the drive given that there is enough room.
|
|

Additional Features
Although I just went through several features, that is only a handful of features that this product offers such as a built in printer server, web page server, network video recording, backup, iTunes server, and a Photo Station. Once you have enabled the service in the control panel. It will show up in the home control panel screen.
Conclusion
The Diskstation is one of the better NAS drives that I have seen. It is important to realize that the hardware is only as good as the software. Some NAS drives have even better hardware implementations, but poor software. This product seems to have a good balance. When looking at the Synlogy website, I noticed that there is continued support for this product with firmware updates that come out every month or two. This keeps the value of the product and is a display of excellent support from Synology.
I went to Froogle to look up this product and noticed that the average price for this product is about $275 making it quite affordable for small businesses, corporations, or even for home. If you are looking for a NAS product that offers more than just basic file store, this is the product for you. This product offers much more than that.
I would highly recommend this product since it comes in a very portable package and has excellent software to come with it.
