
All work and no play makes Kevin a dull boy. Not everything is about technology and gadgets here at DRN. Like anyone else, we like to take some time out and do something different.
I love my books and I am a big fan of creating something with my own hands. It is like going back to childhood where we didn’t have so much technology, games required more effort and imagination without Googling for walkthroughs. The Rolife Book Nooks caught my attention, it is like the best of both worlds together.
What is it?
The Rolife Book Nooks are described as 3D wooden puzzles, although I would call them wooden model kits.
Puzzles evokes the idea of jigsaw pieces in my mind with lots of pattern matching without the need to follow any sequence. The Book Nooks comes with a full set of instructions, not unlike Lego, to take you on a journey.
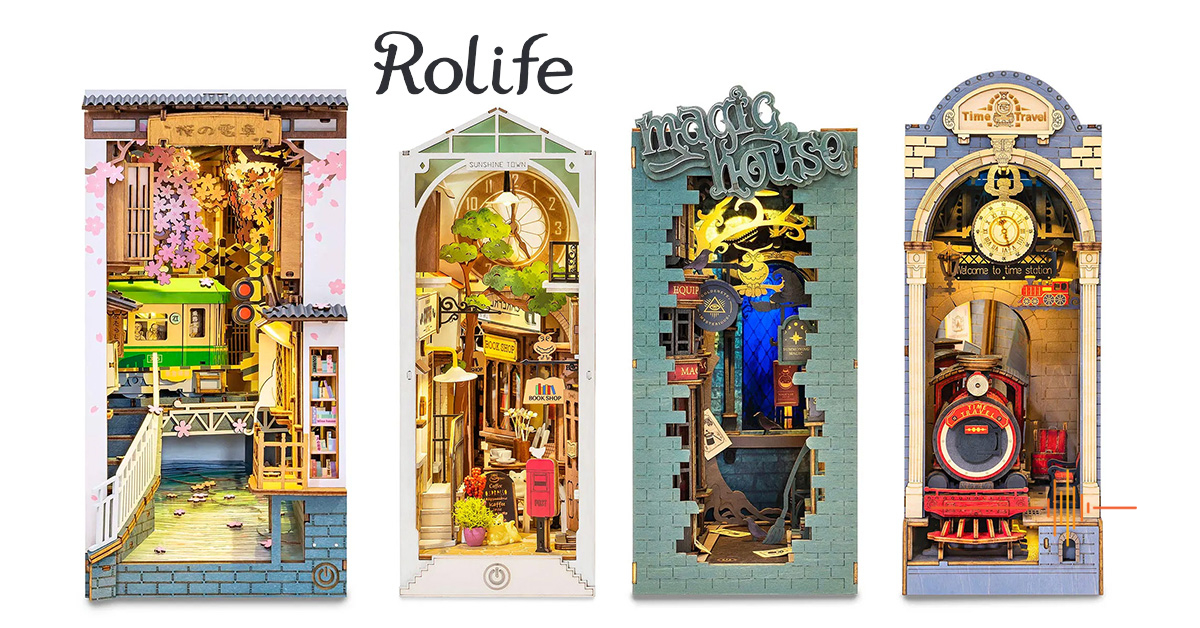
There are currently five different scenes available for purchase: Sunshine Town, Sakura Densya, Falling Sakura, Magic House and Time Travel.
My review kit came with four of the scenes, Falling Sakura was a very recent release.
First Impressions
As mentioned, each kit comes with a detailed instruction book that runs into tens of pages.
I compared it to Lego earlier, but it is not so simple. Like anything you need to pay attention to the instructions. First of all is read pages one and two of the instructions. In particular the Q&A and parts list. Refer back to the latter when it gets to the point of needing wires, lights and screws.
Rolife has provided most things required to complete the Book Nook in each kit. There are some exceptions due to shipping restrictions. In my first project, the Magic House, there was no batteries or glue included.
The pieces come in sheets of pre-painted wood. They are laser cut and the details are incredible. In addition depending on your kit, there may be printed cardboard pieces, transparent films with scenes, clear plastic pieces. The pieces are densely packed onto the sheets with minimum wastage of space.
Building
I consider myself a seasoned model builder, having built lots in my youth and picking up the hobby again a few years ago.
If you have built Lego before, then you can already follow the instructions. Lego is very forgiving though, if you make a mistake, just pull it apart, do it again. They don’t break (generally unless they are very old pieces).
The Rolife relies on wooden pieces to interlock together, and repeatedly taking them apart and reassembling will make the fit less tight and more prone to falling apart. Also if you are not careful, you can break the wooden pieces. More on this later.
I would highly recommend a hobby knife to help take out the pieces off the runners, and to help clean up the splinters and stubs. Patience is a must, don’t rush the process and read the instructions carefully before committing to the steps. Take note of the orientation of the pieces, the instructions calls for the printed and unprinted sides to be positioned in a certain way. It also calls out where it can be easy to have a piece installed in the wrong direction.
There are some spare pieces, these are all small pieces that you may lose or break.
I started with the Magic House because the older kids had dibs on Sakura Densya and Sunshine Town already.
All the sheets and pieces are clearly labelled, and some pieces are nested into bigger pieces. Time your time to pop each pieces out as needed, wiggle it around until each support stub snaps off. Be careful not to pop other pieces off as you go, you should not need excessive force to do this.
Clean up the stubs as necessary, a small piece of sandpaper is provided but if you are an Aussie, you probably have a supply of yellow and green ones handy. I used my hobby knife to nip them off personally. If you find that some pieces aren’t interlocking as well as it should, a little dab of glue will go a long way.
I found the stain glass windows in the Magic House the most challenging part to put together, having to keep the transparencies in place whilst fitting 5 pieces of window frame into the support structure. So I dab some glue into the interlocking holes and waited for each piece to dry before proceeding. Did I say patience is a must?
The rest of the kit went together smoothly, except for one of the signage which I broke. Luckily I could glue a support piece behind the scenes and the repair job couldn’t be seen from the front. If you are in that position, just take a piece off the runners and super glue it in place.
I really like how Rolife has made every effort to keep things unambiguous. The LEDs are colour coded with heat shrink tubes to show which is which. The different wire lengths are very obvious, and they are also pre-cut so you don’t need tools to strip the plastic to expose the wire itself. Along the way there are cutouts in the wood panels to feed the wires through and keep them tidy.
Where there are decorate pieces to be glued down, such as the flyers on the tree or the floor, there are markings on the target pieces to show exactly where to place them. All the cardboard pieces have perforated lines to show where to fold it to minimise mistakes.
One part that was a little disappointing was that the Magic House signage doesn’t light up, it would have been a really nice touch.
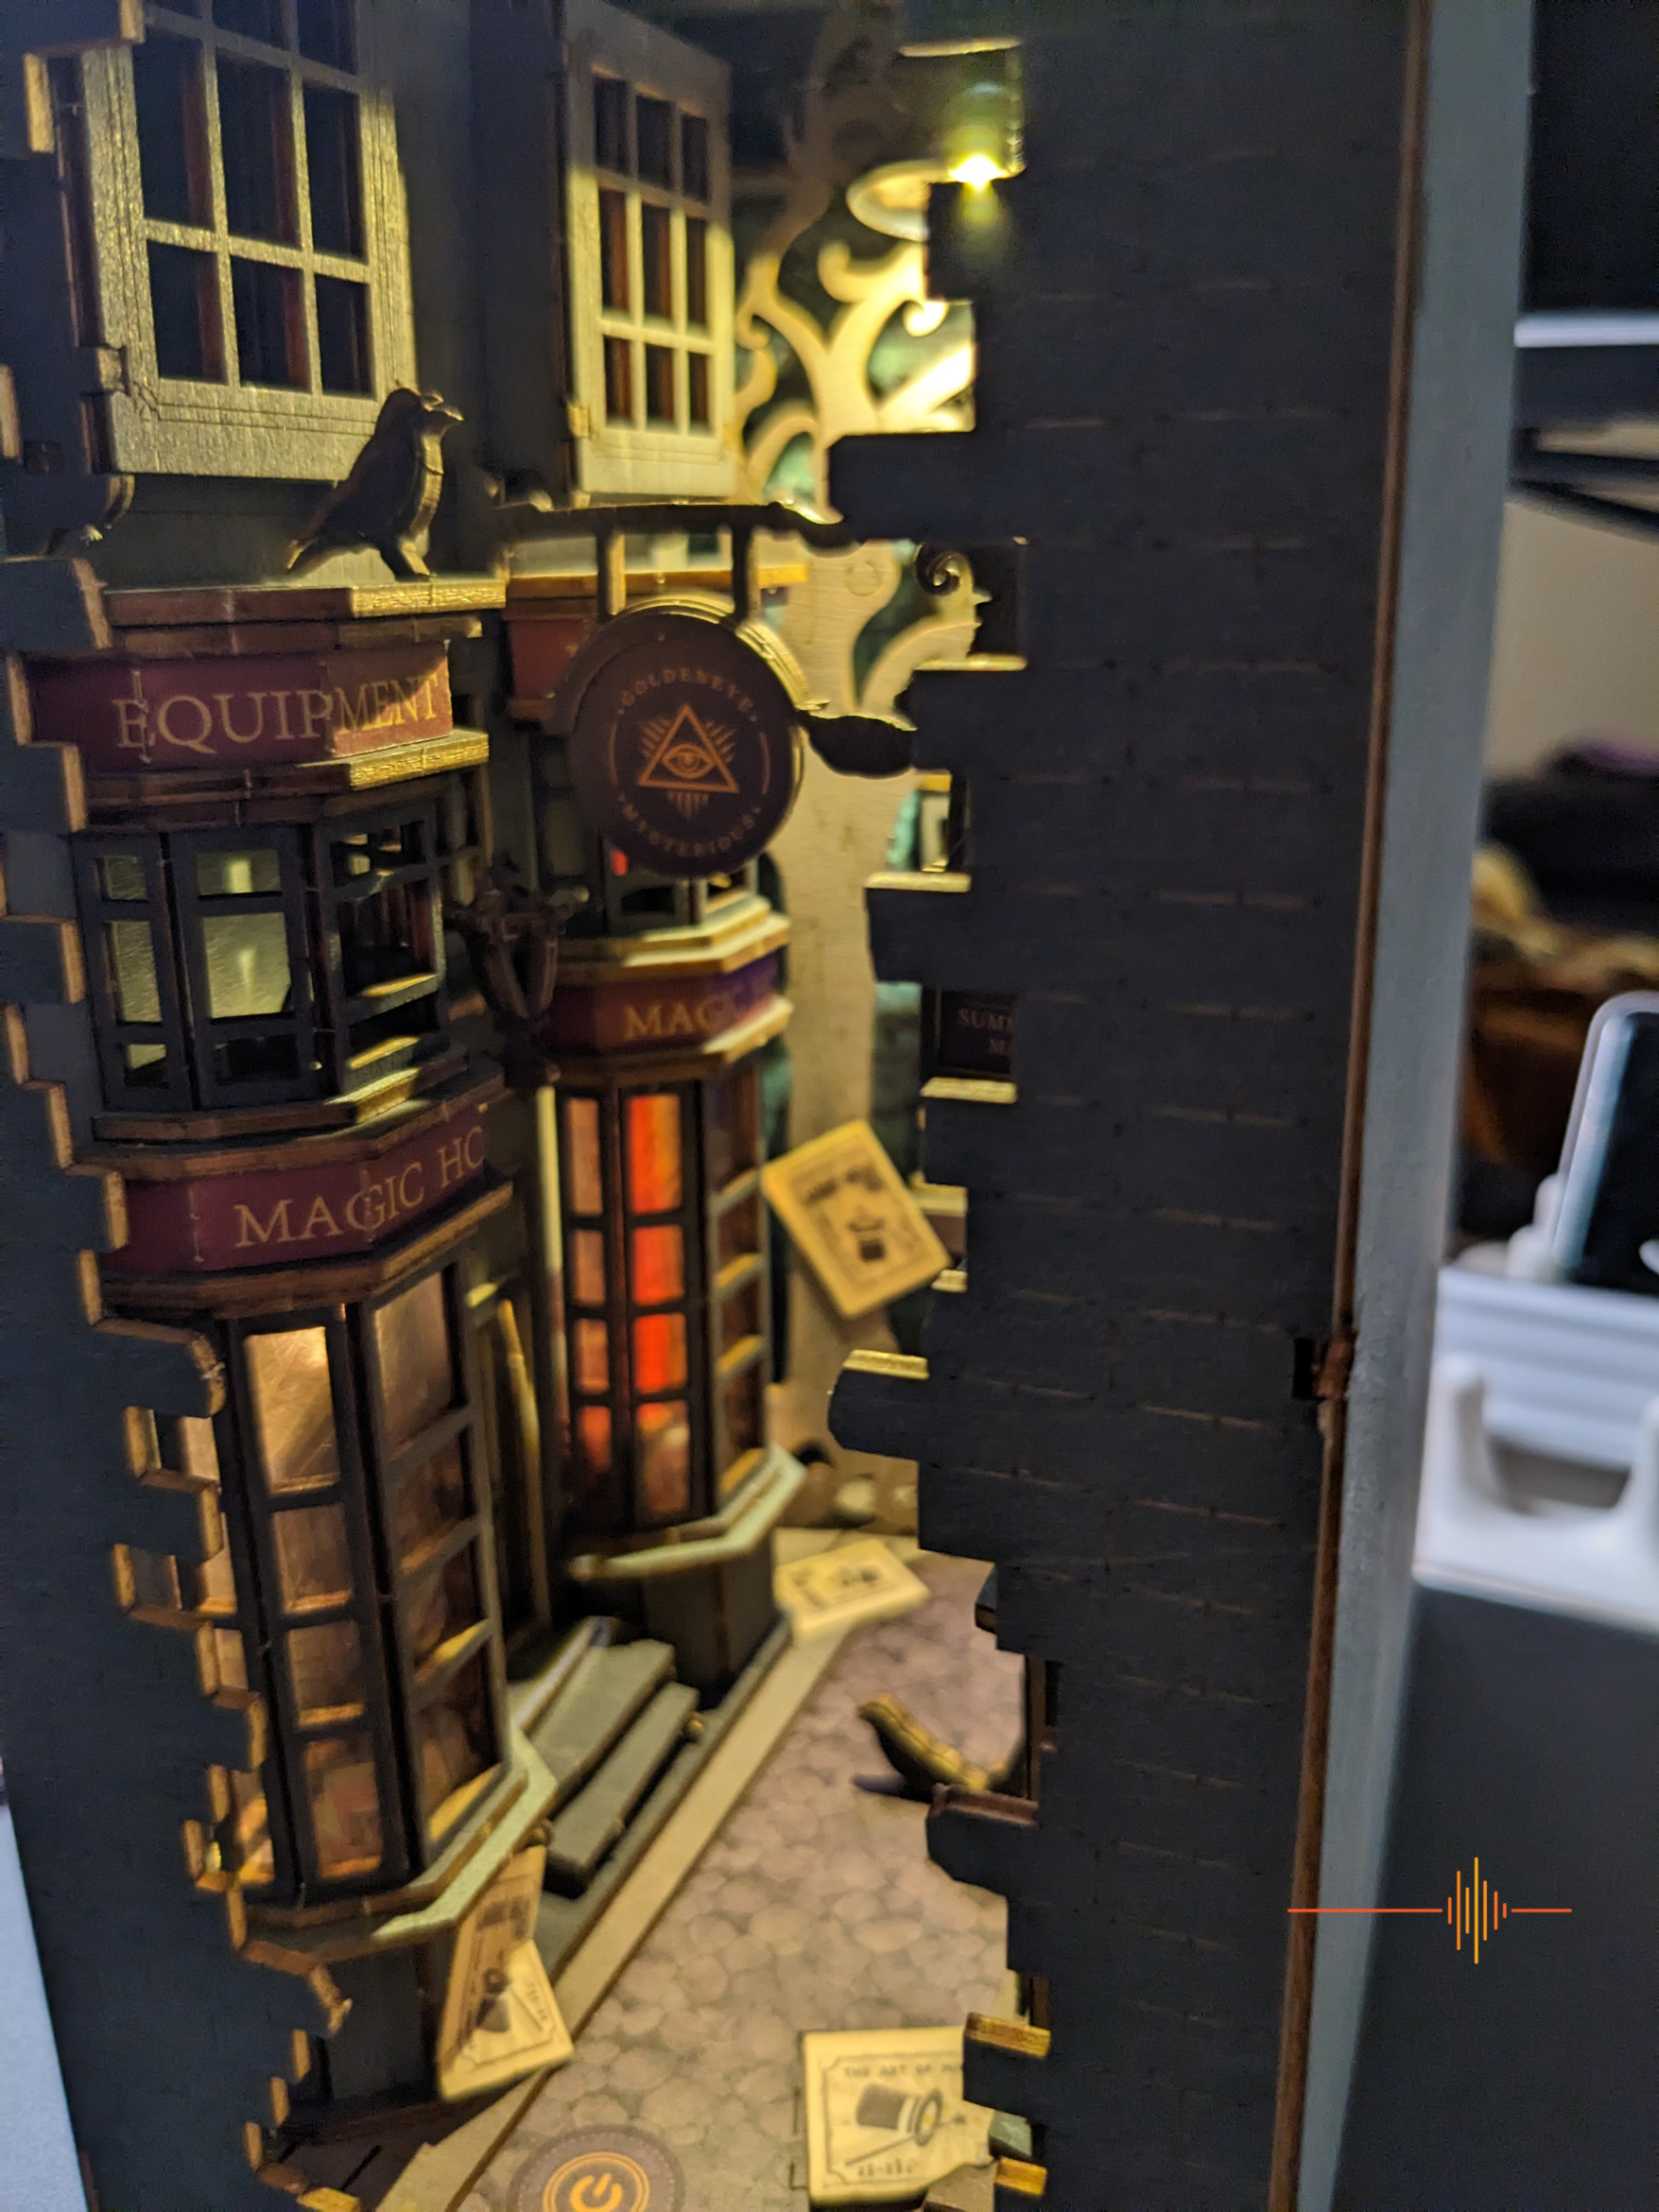
The Magic House took me about 6 hours of work over a few nights to complete. I didn’t particularly hurry the process. The broken piece took extra time for me to rectify and fix it to a state that I am happy with. The end result is a stunning, mysterious diorama that evokes a imagery of a certain alley from a book series about a boy wizard.


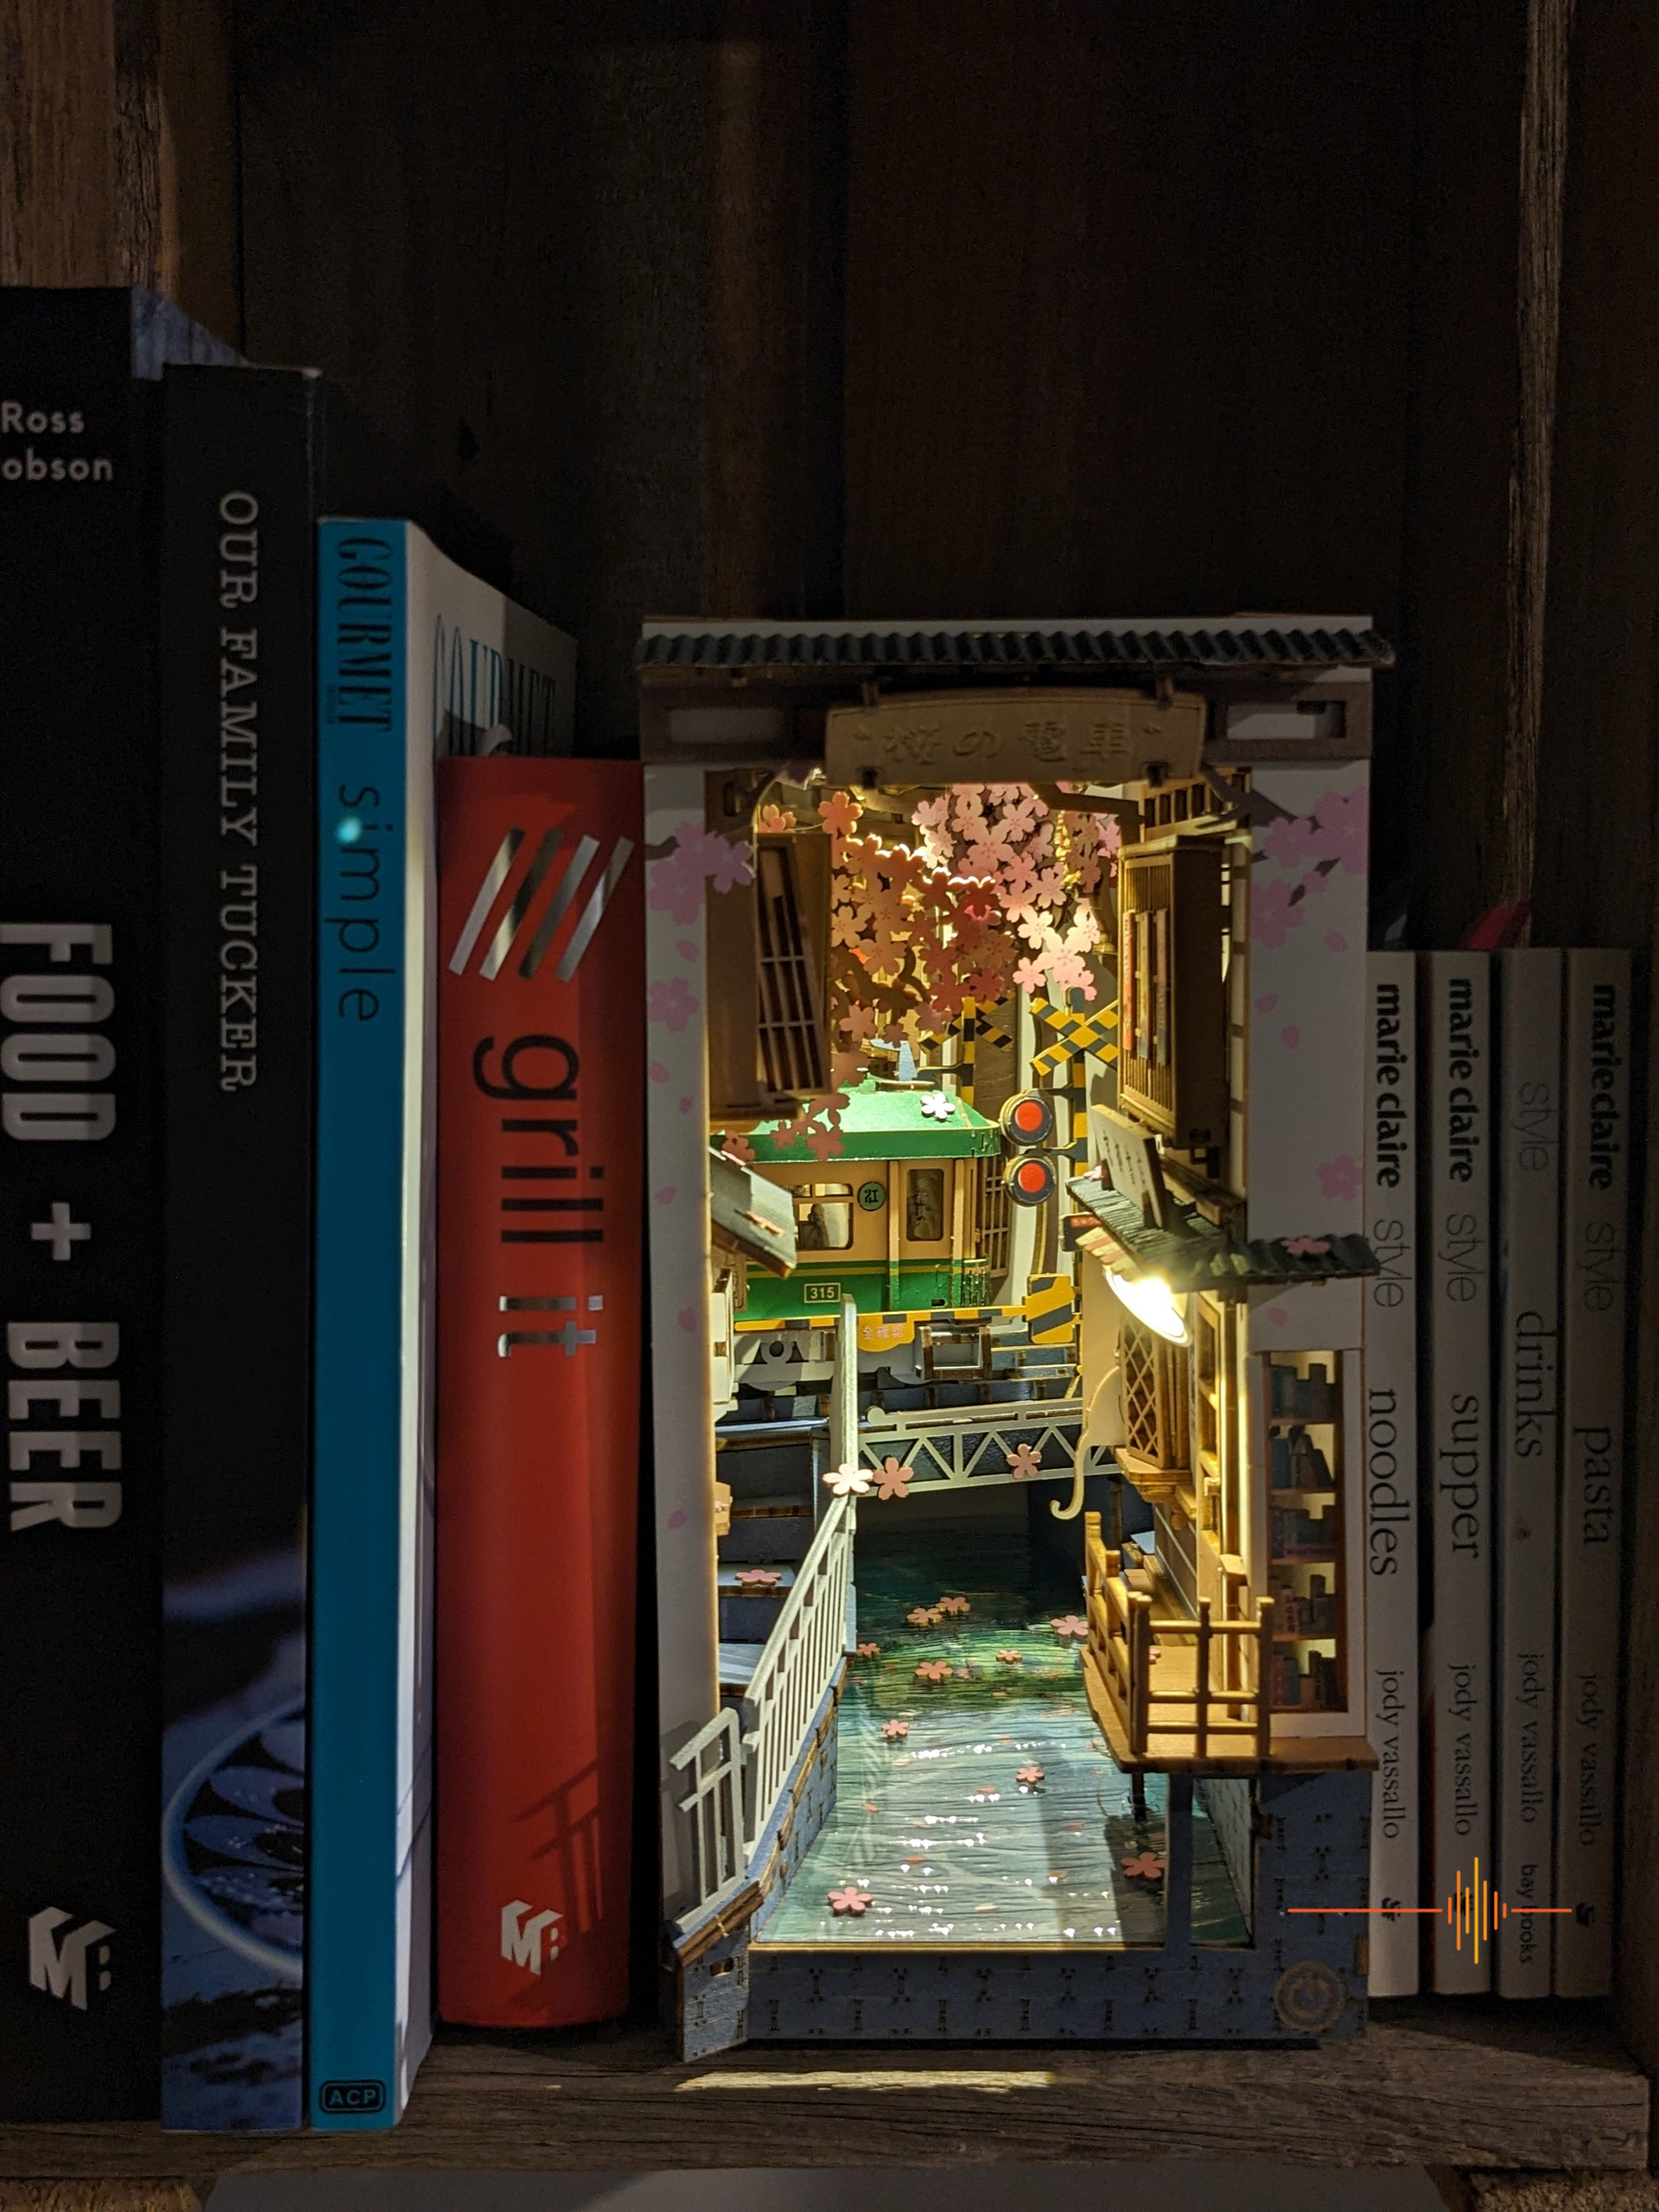
Moving onto the Sakura Denysa, it is a much more colourful diorama and the instructions also run for a bit more than the Magic House. It has 33 pages compared to 22 for the Magic House.
I worked on this one with my son. Letting him take the lead as he has built up his skills with scale models as well. Initially I had concerns as to whether he could pop the pieces out with enough finesse, but I didn’t have anything to worry about.
There is a bit more leeway for creativity as well, the sakura flowers are not rigidly positioned. There are sufficient guides for the key areas but the rest could be free styled. The suggestions are there but if you are the creative type, there is nothing holding you back. After all, there are a lot of sakura flowers to glue down.
There are so many quintessentially Japanese elements in this design – the external air conditioning unit, the tram carriage and boom gate, bridge over the river, a cat, the different shops and signage. I love the attention to details like the water effect. It’s just a glossy textured piece which imitates a fast flowing freshwater stream. It just adds that little oomph to the scene.
I feel that Rolife was a bit too ambitious with this scene. It required a lot more care with pieces, I managed to break a few pieces without really trying. Most of these were going to be hidden in the grand scheme of things so a dab of glue was a quick fix. Sadly one of the key features of the “flexible” strip with the creation of the tram body proved to be a little too delicate and snapped at a very unfortunate spot. I had to push on as best as I could and hope it won’t be too noticeable afterwards.
Also the flexible cardboard strip for the front of the tram proved to be problematic. It was already tough to get the long wooden piece in without damaging it. Adding a cardboard guiding tab to inset into a very tight notch backed onto a weak part of the cardboard was heading for disaster territory. When it looked like it was starting to get damaged, I opt to slice the guiding tabs off and glue the piece into place instead.
Overall this one I found much more challenging to finish. There were a lot of elements packed into a small space. I would highly recommend gluing every piece down to reduce some of the pain I had.
Don’t let the more fiddly bits put you off though, because the finished scene is well worth the effort. It has a wow factor when someone sees it all light up.
The Sunshine Town is a work in progress at the moment with the teenager. At his age I let him go it alone with minimal assistance and he is not running into any problems. There is some painting required and my hobby paint works just fine.
The instructions for Sunshine Town is 25 pages long which falls in between Sakura Denysa and Magic House. Rather than the flattened depiction of things, what sets this diorama apart is a few 3D flower pots and bushes.
The set is more open, airy and less busy than the Sakura Denysa, I feel it is more on par with the Magic House scene. There is enough there to be a challenge without being overwhelming.
Where the Magic House exudes a dark mysterious scene, Sakura Denysa is a gorgeous whimsical snapshot of a spring day in Japan and just lovely to hide in a bookshelf between novels for a surprise. As the name implies, Sunshine Town is an open and cheerful place to peek into.


How long does it take?
Bearing in mind that I a seasoned scaled models builder, I can be considered to be advance skill level with the Rolife Book Nook. Your mileage may vary and this truly is about the journey as much as the destination.
As mentioned earlier, the Magic House took me about six hours, working alone. I worked with one of the kids on the Sakura Denysa and that has taken us around 12 hours to put together.
The teenager will finish Sunshine Town when he finishes, in between studies, work and teenager activities. He is about one-third of the way through after about 2.5 hours.
As for the Time Travel, my niece absolutely smashed through it in about 2 hours.
The best thing is to proceed at your own pace. The instructions breaks the scene into sections. Keep at it though, because it is so satisfying to see it all come together, particularly at the moment when you test the electricals and the lights come on.


Gripes
My kits don’t come with glue, which was noted in the instructions manuals. I don’t have an issue with it but unfortunately Rolife also doesn’t tell you what glue you required.
Most of the time all you need is some white craft glue, or just a simple glue stick that dries clear. For most parts that is more than sufficient. I did have some issues with the acrylic signage for Magic House, so a couple of dabs of super glue did the trick there.
Conclusions
Whimsical, engaging, amazing, satisfying. Each scene is well thought out, and every element has a place in the theme.
I really enjoyed putting the Rolife Book Nooks together, stepping away from the screen and keyboard to put my hands to work. There is a level of dexterity required to put it altogether, so younger kids will need some assistance. My kids love seeing them on their bookshelves, a little surprise to stumble across when they browse through their books. The cute scenes appeals to the kid in all of us. Certainly everyone that I have shown it to have loved it.
The Rolife Book Nooks makes for an interesting small challenge, or an unique present for someone. They are available from Rolife for USD $44.99 each, or the set of 4 kits for USD$169.99. I’m already eyeing off the new Falling Sakura, I think my daughter will love that one. Definitely one to keep in mind for Mother’s Day or Father’s Day. DRN readers can use “KCBOOK” for a 20% discount.
DRN would like to thank Rolife for providing the review units.
