
Whilst magical portraits are the domain of the Harry Potter universe, there are plenty of digital photo frames in the market to fill the demand. The Skylight Frame is one of the many digital frames offerings available in the market, is it the same same or does it have something to set it apart?
Editor note: This review has been updated on 24 November 2023 with additional information from Skylight.
First Impressions
DRN was sent the 15″ version of the Skylight Frame (to be referred as Frame in this review) for this review. There is also a baby version at 10″ available on the market.
The first thing that got my attention was the weight. The second thing was the classic timeless look.
The Frame looks like a traditional picture frame with the bevelled picture frame moulding, the back board framing the “photo” itself. There was care taken to mimic an analogue picture frame without being beholden to the limitations of tradition.
The unit itself is a solid piece of kit that has been put together well. There are no gaps or poor finishes that I could see anywhere.
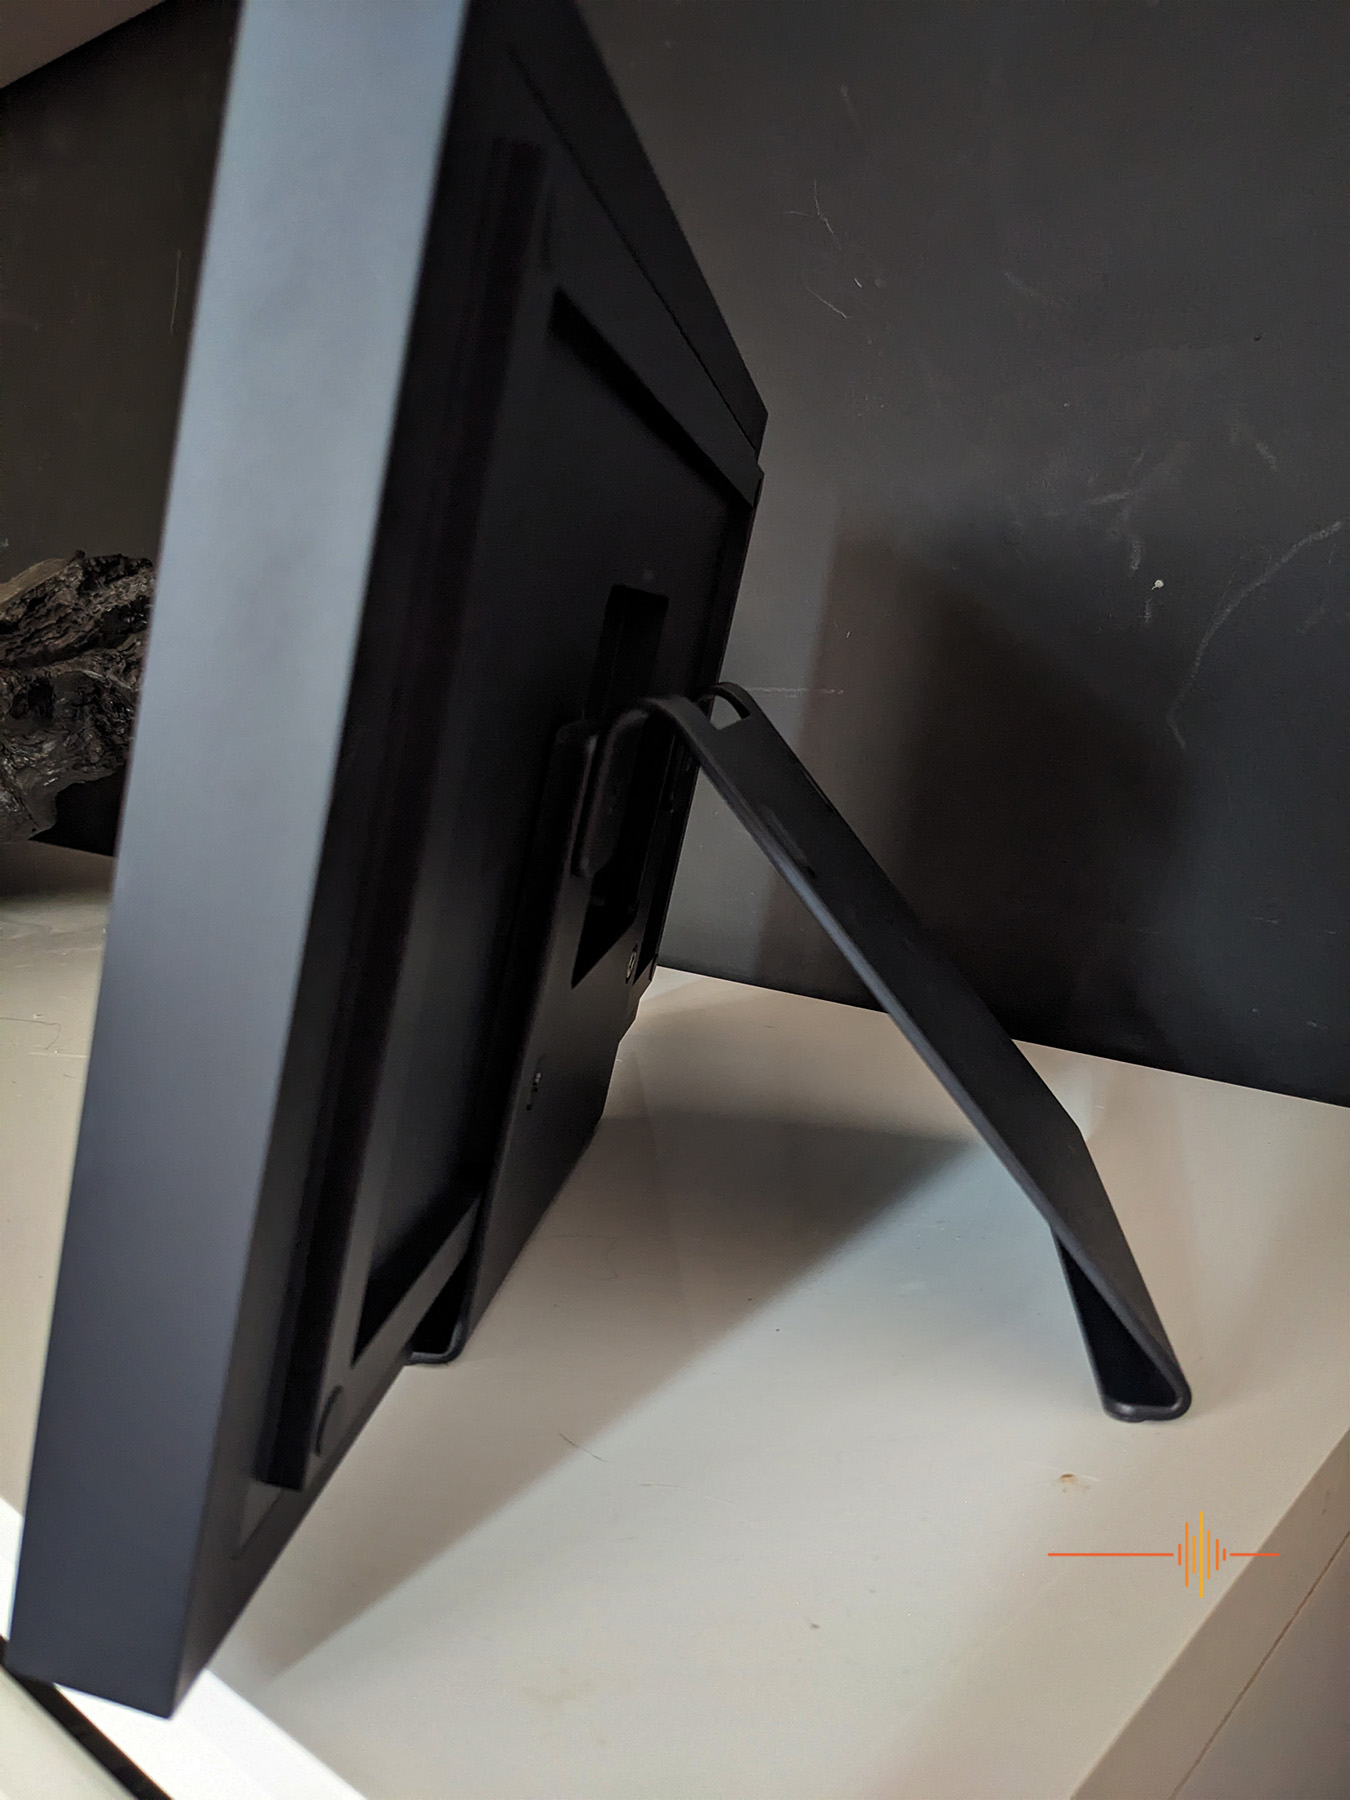
The decision point comes out of the box – to set up the Frame in Portrait or Landscape desktop mode, or the same as a hanging wall frame.
You will have to break out some elbow grease and a Phillips head screwdriver here, and screw in the bits of the frame in the orientation and type of your desire.
The quality of the material should be noted, the pieces here are no flimsy shirking violets, they are solid pieces of metal that will hold the frame up without having to worry about it being knocked off by an errant pet (you mileage may vary if you have a 60kg husky).
The only feature to “mar” the fascia is an ambient light sensor. You won’t notice it after a while.

Getting Started
The Frame is simple to get started with. Physically there is just the one port on the back of the frame – the power input.
The design team has decided on an old school coaxial power connector for this, so tag your cable accordingly so it stays together with the Skylight.
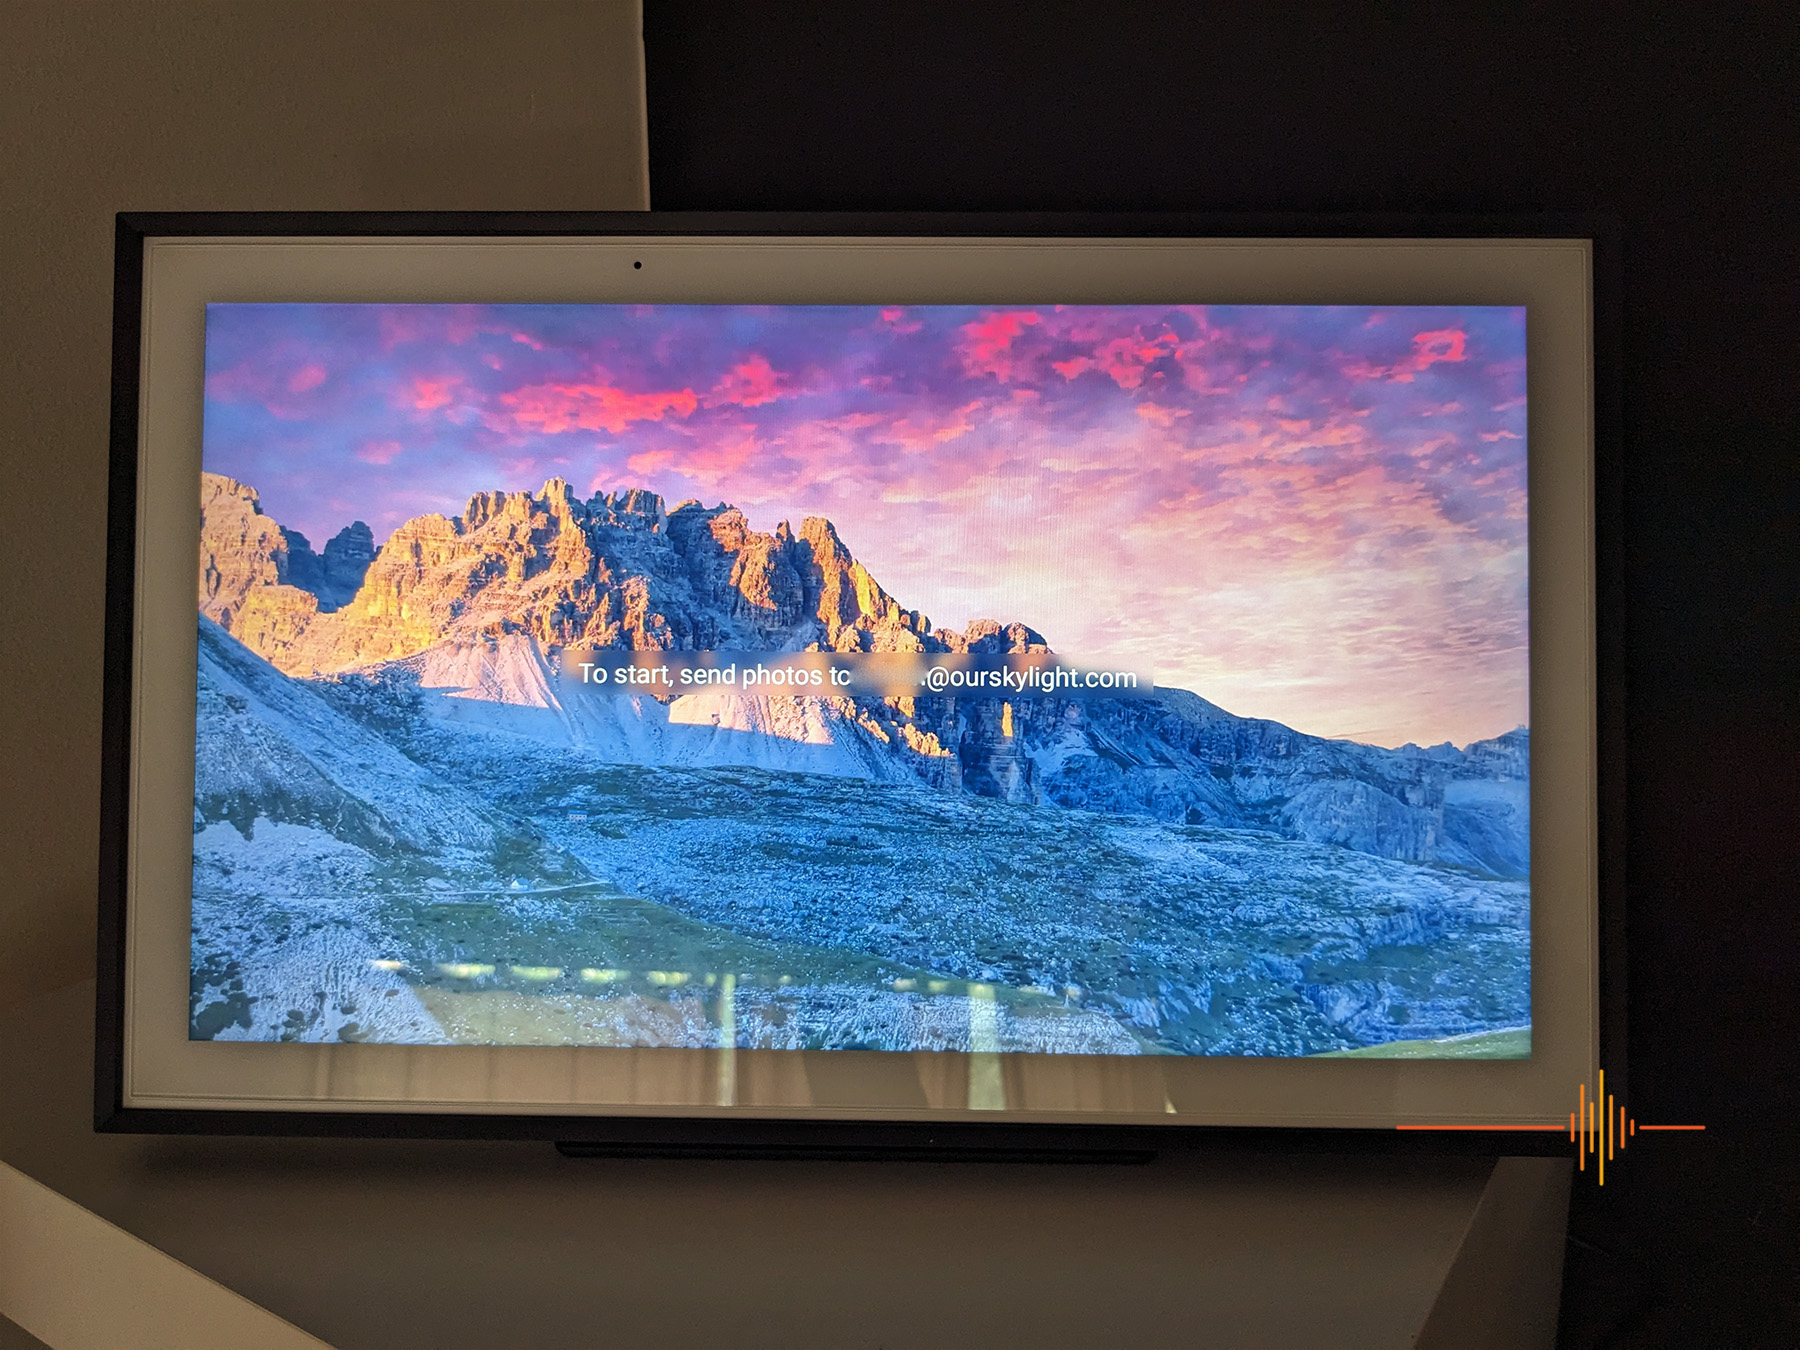
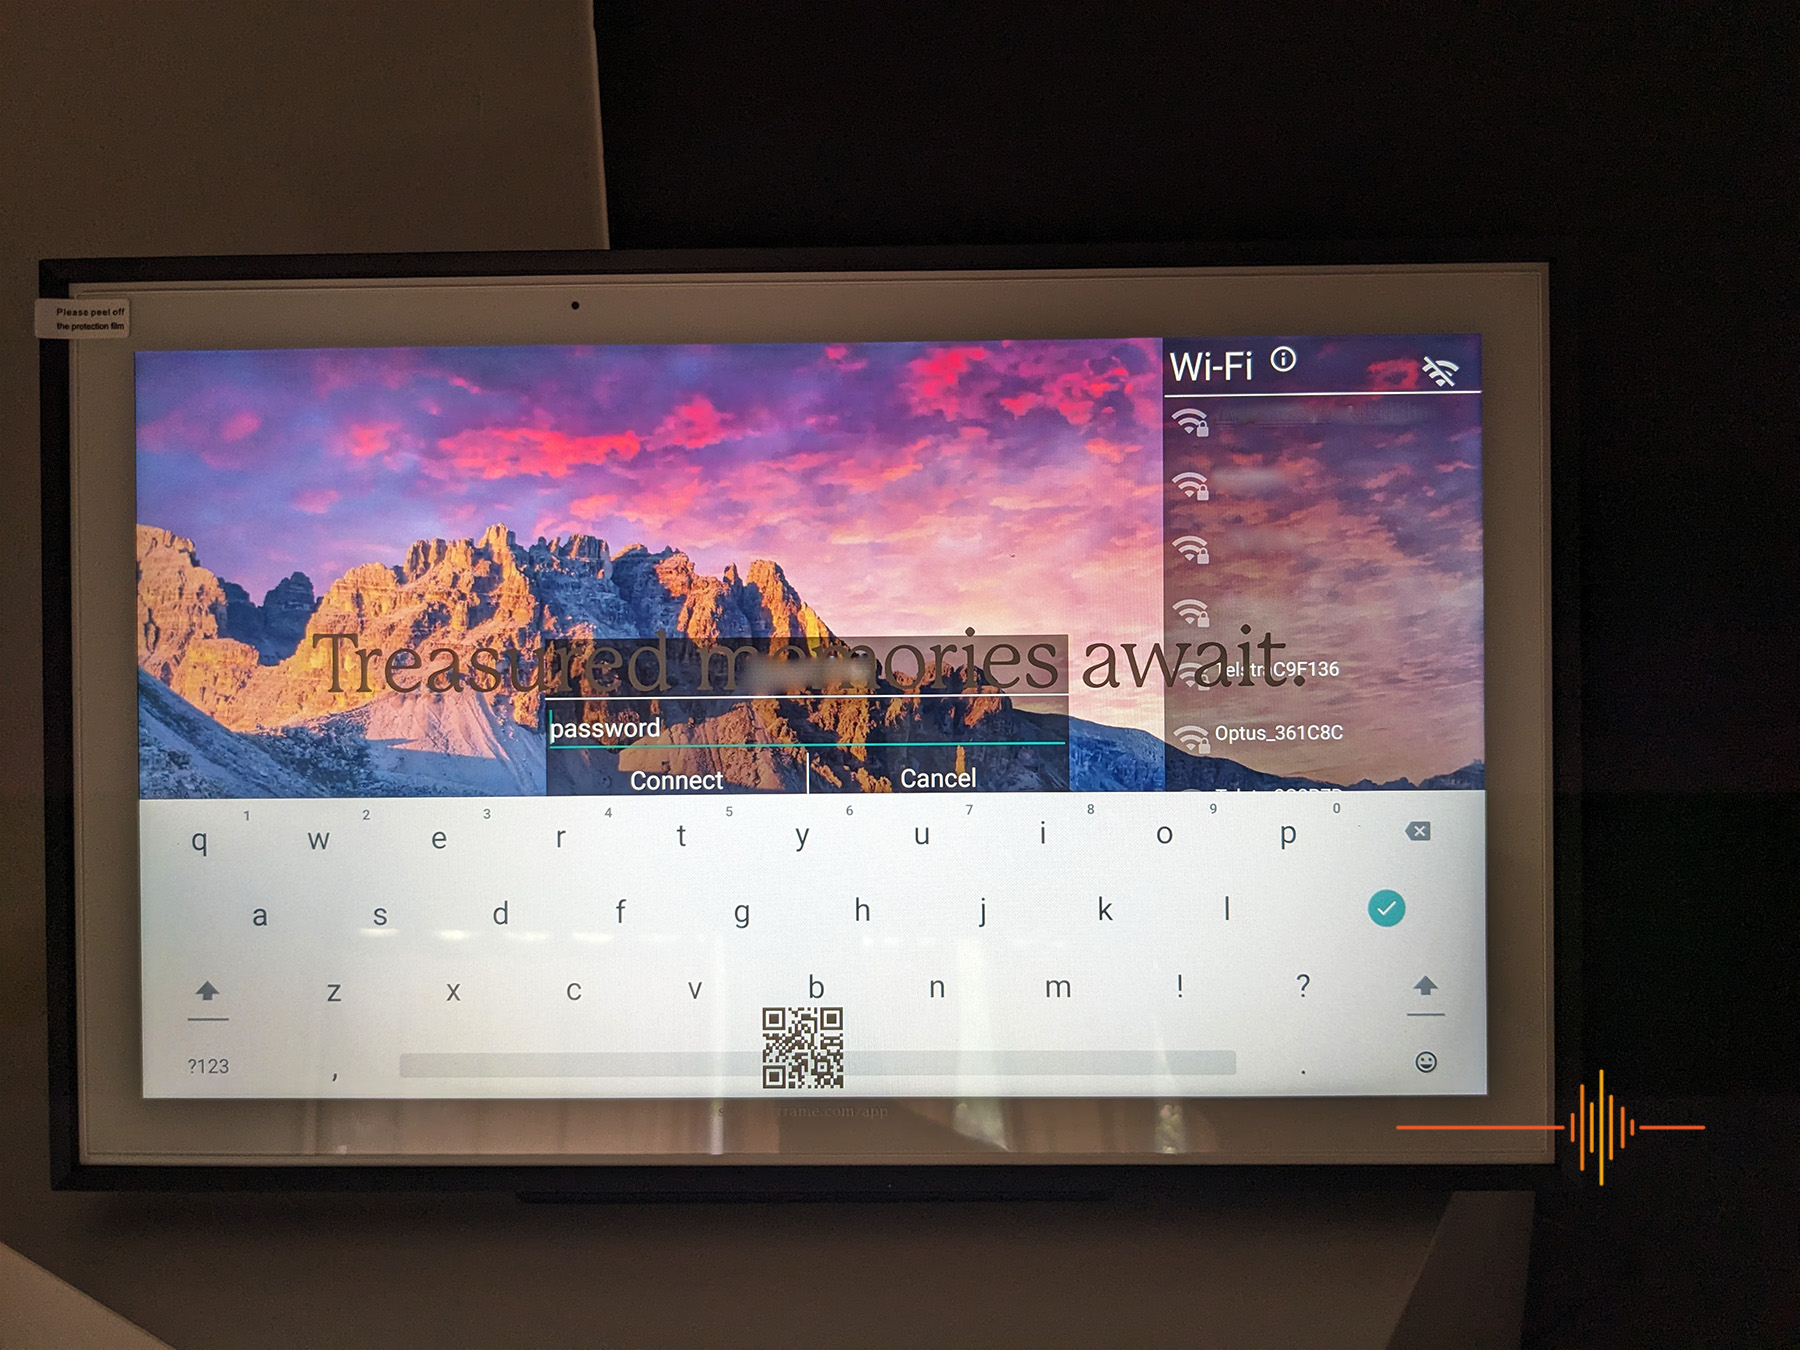
Upon powering up the first time, the Frame asks to connect to a Wi-Fi network. The Frame is a touchscreen so you can just tap on the screen to select your SSID, then use the on screen keyboard to enter your passphrase.
Next it will prompt for an activation code, which is provided when you sign up for an account,. I would suggest going through the app since you are going to need it (at least initially) to load your photos.
Taking you through the sign up process, you need to first add the device which in my case is the Skylight Frame.
There is a basic check to see if you are adding an existing owned device or a new one.
Handily, the next step allows you the option to pre-load photos if you are intending for the Skylight to be a gift for someone else, or set it up for yourself.
There is an option to subscribe to Skylight Plus which at the time of publishing is valued at $39.99 per year. We will cover off this in more detail a little later.
Privacy settings comes front and center allowing you to restrict who can email photos to your Frame. The second part to this is who can view the photos on your Skylight – just yourself or anyone who sends photos to your Frame.
Getting these basics out of the way and you are presented with a screen to send photos to the Frame from your camera roll.


In Use
On the local network the images come up pretty fast on the Frame with the FAQ saying under 60 seconds. To be honest I wasn’t counting but it did come up pretty quick.
I have my device set up in the landscape orientation. In this orientation photos taken in portrait mode are displayed side by side to make use of the screen width. Landscape orientated photos are displayed singularly.
The IPS display has a resolution of 1920 x 1800, and there is certainly little to complain about. The images are shown with good colour reproduction if a tiny bit on the cool side, and sharpness. I have the Frame placed up high during testing to avoid my cats, even with the less than optimal angle of viewing the display still performed well. Viewing angle is about 45 degrees before you start to have issues.
The touchscreen is responsive although I would imagine that there would be little need to do so once it is all set up to your taste.
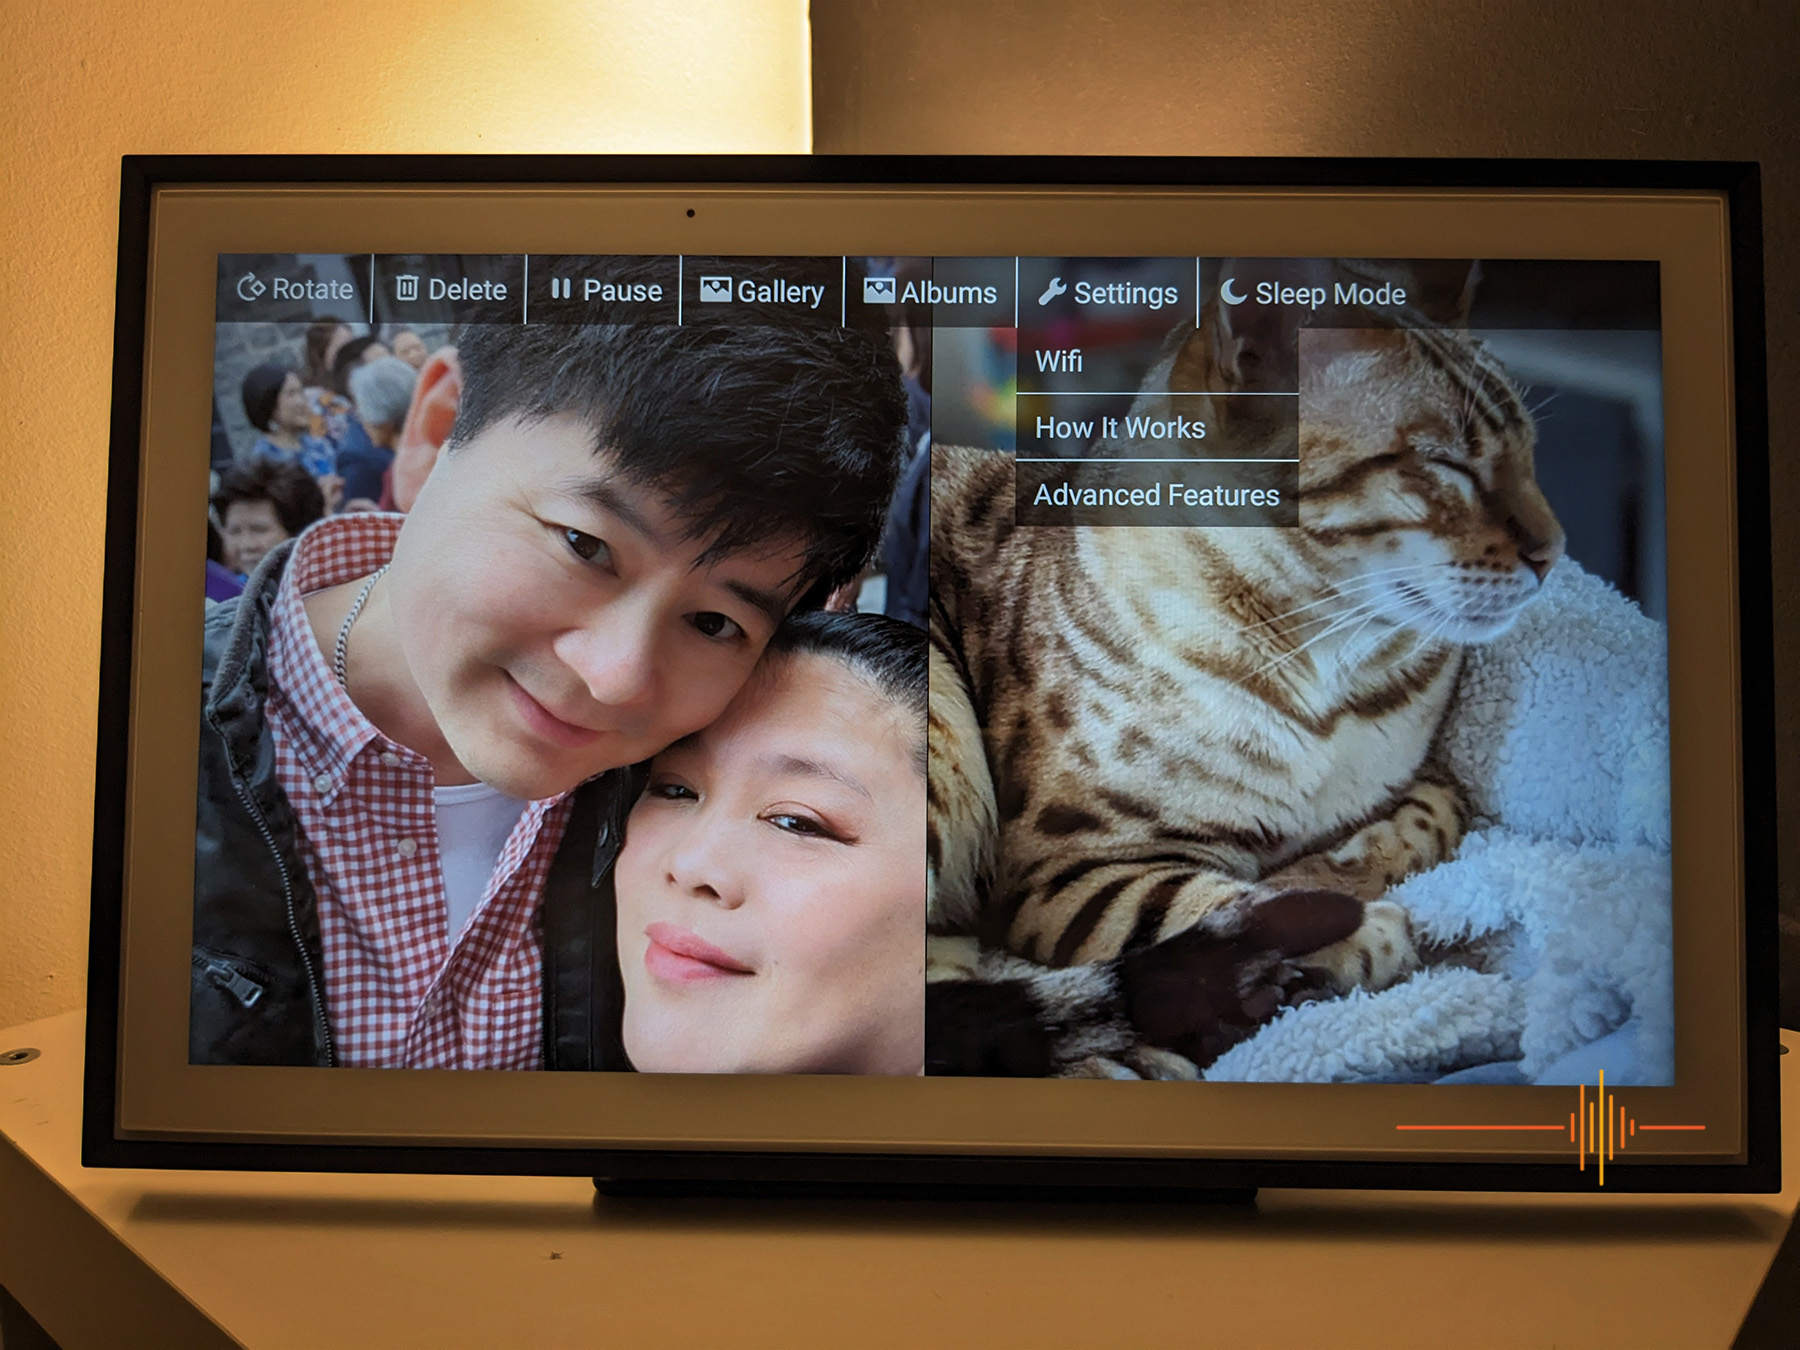
There are some “advanced features” that can be done through the touchscreen. They are pretty basic being:
- auto brightness
- slideshow speed in seconds
- display in chronological order or random shuffle
- video to start with sound on or off
- show the heart icon
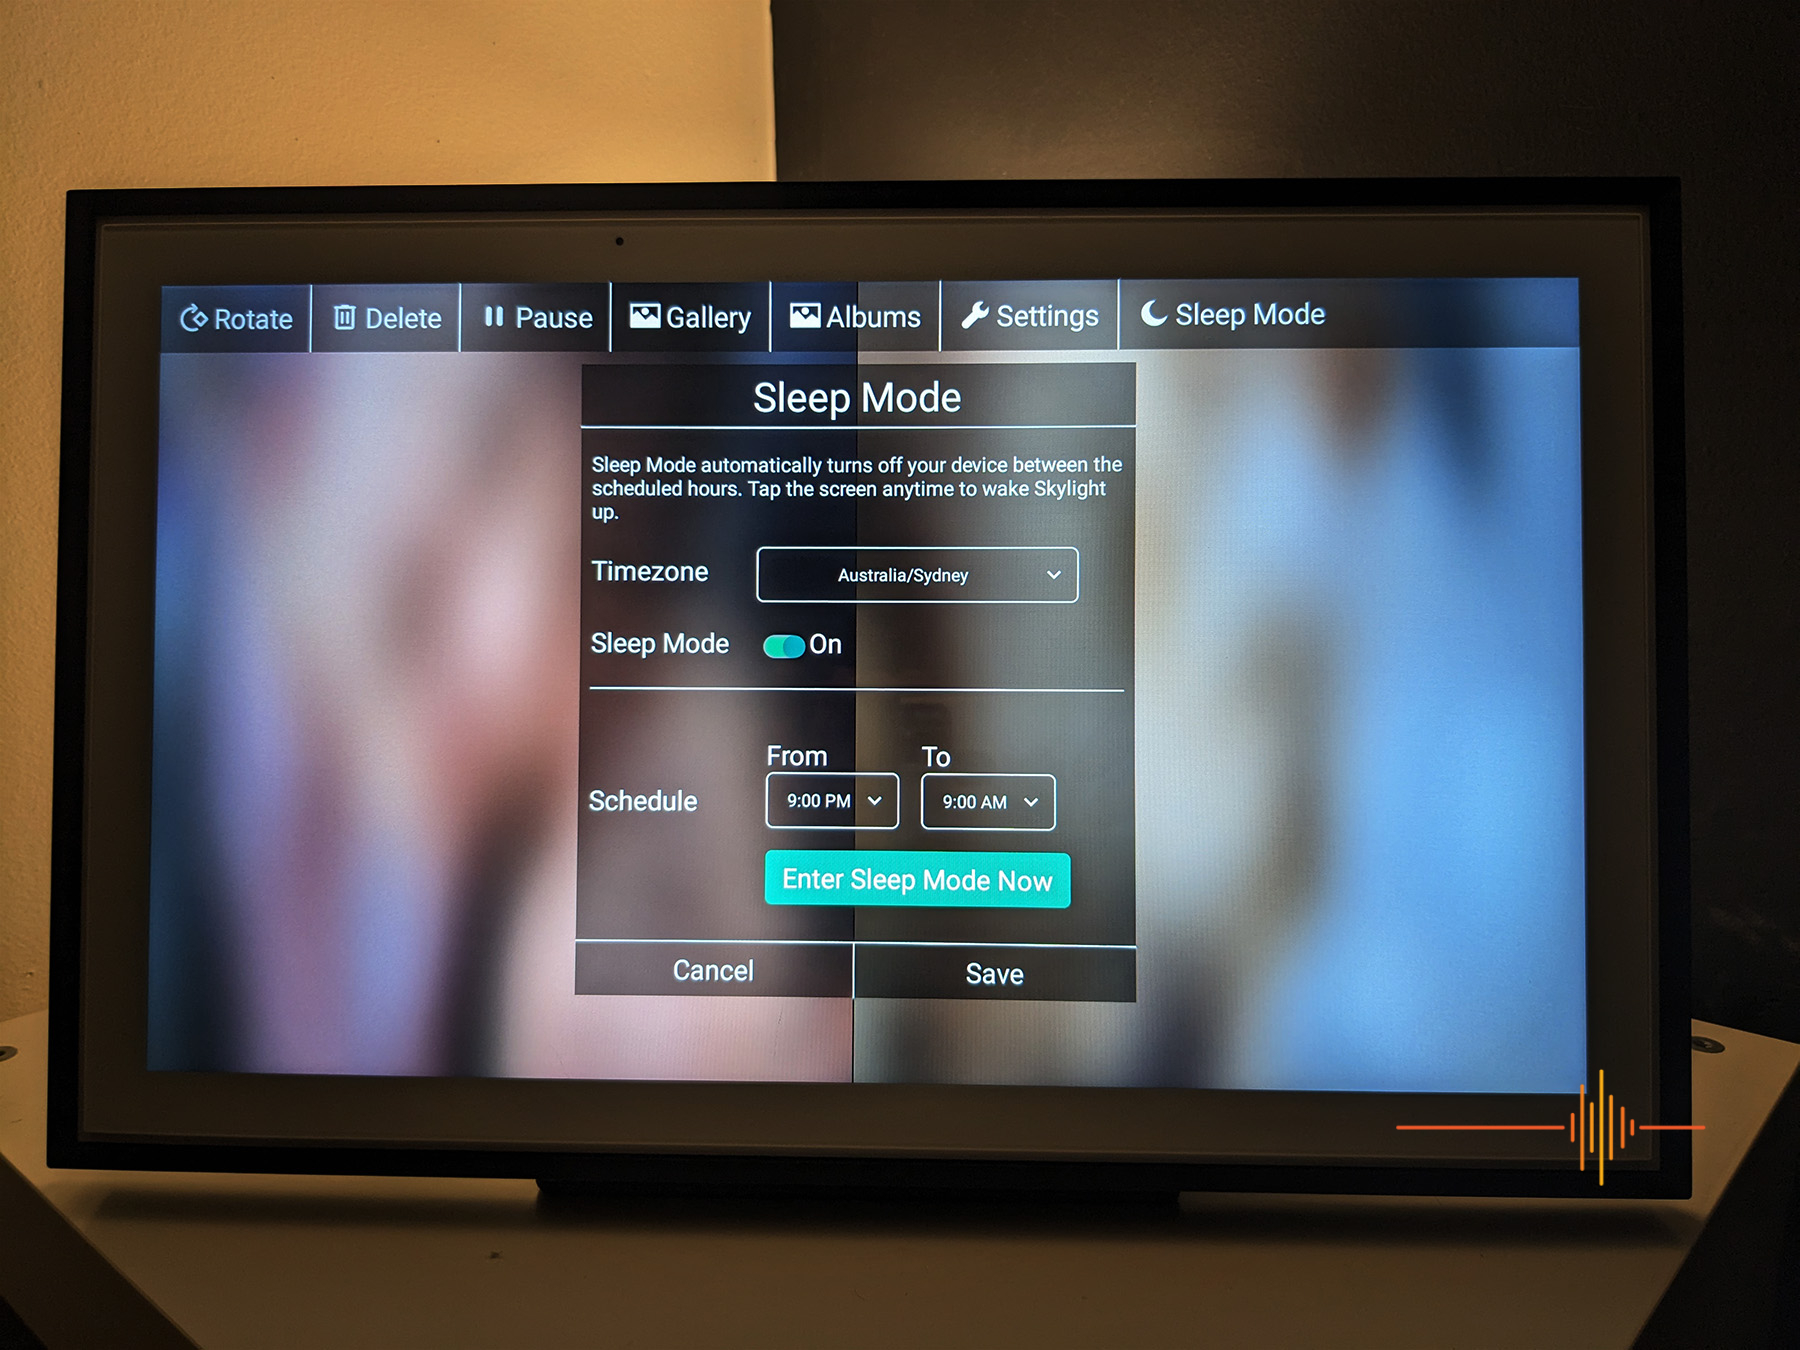
In a separate menu you can set the timezone and sleep mode – when you want the screen to be off.

Other Features
One of the great features of the Skylight is the ability to pre-load photos if you intend to send it as a gift. It does require you to create an device in your Skylight app and activate it, even though you are not required to have physical access to it.
The idea is you can load your photos via the app, then share the activation code when the surprise gift is sprung on the recipient.
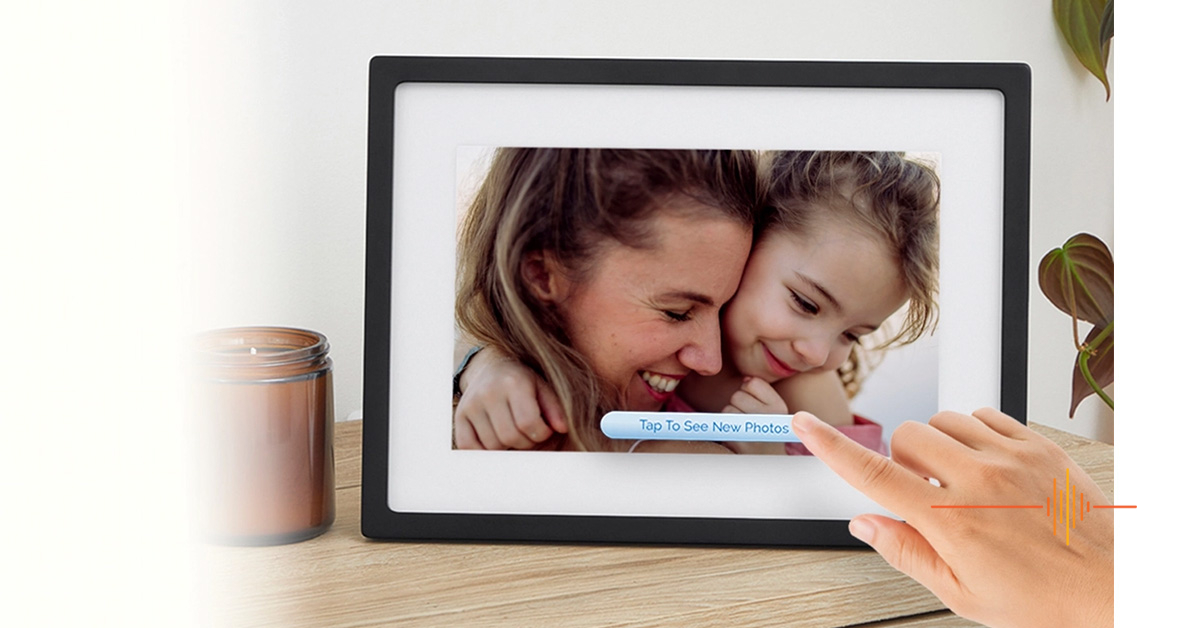
New photos added to the display roster can be skipped to by tapping on the “Tap to see new photos” notification on screen.
The heart icon, which can be turned off, works similar to the Facebook like button – you tap on it and it tells the uploader of the photo that you love that photo.
Wi-Fi connection is only required for adding photos, otherwise the device can run offline.
Skylight Plus
Aside from the basics covered already, there is a subscription by the name of Skylight Plus which unlock paywalled features. These include:
- create, edit and view albums in app and on the Skylight
- send videos to the Skylight via email, mobile app or web UI
- send photos and videos with captions via the app or web UI
- remotely control the Skylight settings via the app
- backup of photos on the Skylight cloud
- view, download and share photos online
- view slideshow on mobile device or tablet
- bulk upload/delete and app slideshow in app
Gripes
One of the strengths of the Skylight is the simplicity of use. There is little in the way of settings to fumble through and make decisions on, making it ideal for non-technical people. But in no particular order, there are a few issues that comes to mind.
There is no control to force display of single images in the configuration I have. And there is no control over the transitions style (honestly I don’t find this important but someone else might).
Edit 24/11/2023: The frame allows you to pause and have it display a single image, you can also display the side-by-side photos.
The thing that bugs me the most is having core features locked behind a subscription, and without any trial period. Surely it is not too much to ask for the app to control the Skylight remotely to be part of the standard feature set.
That is not to say that the subscription adds no value, it does offer “forever” cloud backup of photos but one is always wary of such promises and no mention of space restrictions or data ownership and jurisdiction.. Further if you own multiple Skylights, you only need the one subscription … as long as they are tied to the one email address that was used to purchase it.
Edit 24/11/2023: Skylight specifies that that frame holds up to 8GB. The terms of service and privacy policy specify that we do not own or sell the customers’ information (including photos), and customers can request us to delete all their info from our database.
Lastly, a co-axial power adaptor in 2023? I could have prefer a micro-USB at the very least.
Other Thoughts
Without diving into the OS driving the Frame, on surface it looks like a forked version of a super cutdown Android to serve a single purpose.
Props to Skylight for creating a simple, focussed interface on both the Frame and the app.
The geek side of me is screaming that with a little more flexibility, I would happily have the Frame mounted in a prominent high traffic part of the house. For example a simple short range motion sensor and a way to load sideload an APK, I could have my Home Assistant panel running in the background that is trigger only when it senses someone is in front of the unit. Otherwise it can just happily display photos.
Conclusions
Personally I find it hard to justify the purchase of a single purpose device.
Flipping the script around though, the Skylight Frame makes for a great gift for grandparents and loved ones who would love the effortless ability to see new photos to bring a smile to their faces.
The Skylight Frame is easy on the eye – both from a design aspect and screen viewing perspective. As I am writing up this review half of my family is overseas on holidays. My partner simply just uploads new photos of their holiday and I get to see them on the Skylight as I work at my desk holding the fort. It is such a nice and simple way for the ones left behind to enjoy together (or separately), seeing memories being created.
The Skylight Frame 15″ has a RRP of $399 which is a good amount of money for a single purpose device. That said the build quality and material here is pretty top notch. Christmas is coming up and this should be something for consideration.
DRN would like to thank Skylight for providing the review unit.
Specifications
Screen size: 15” Diagonal
Resolution: 1920×1080 IPS display
Dimensions: 15.8″ x 9.9″ x 1.4″
Time required to receive photos: <60 seconds
Accepted digital photo file formats: JPEG, BMP, PNG, GIF
Storage space on device: 8GB (enough for 8000+ photos)
Sleep mode: Set a schedule that works for you
Heart button: Tap the Heart button to love a photo
