

Sometimes, or well often, we make convenient choices at the time and get stuck into an ecosystem. Automated backup of my photos falls into one of these black holes.
It has been a while since I have revisited what Synology has to offer in this space. With a fresh bucket load of storage space in a Synology DS-920+ and DSM 7.x, it was time to try out Synology Photos.
Background
At the time it made a lot of sense, being a Google Pixel user and (for a period) having unlimited original size backups of my photos was just too good to pass up. By the time it became more restrictive with having to downrate to a “high res” version over the original size, I was already too embedded and duly started forking out for a monthly subscription for storage space with the big G.
Being “locked in” to the ecosystem resulted in having to pay for a subscription for additional storage space on multiple accounts. In particular it irked me to be doing that for an account that I had deprecated years ago but had photos stored going all the way back to 2010.
I looked at the PhotoStation and DS Photos combo quite a few years ago as a private cloud solution alternative, but the app was a let down. I found it really inconsistent and extremely problematic to upload my photos, particularly the first seed transfer with all the historical files. I eventually abandoned it and stuck with Google.
What is Synology Photos?
Synology Photos is an all-in-one photo management product that runs off DSM 7.x. In a sense it is the third iteration of a photo management tool from Synology.
Previously there was Synology Moment which was targeted for home users, PhotoStation targeted for professional photographers. Synology Photos no longer differentiates between the two and is the only product that is DSM 7.x supported. And as one would expect, it merges in all the disparate features of Moments and PhotoStation to bring the best of breed outcome.
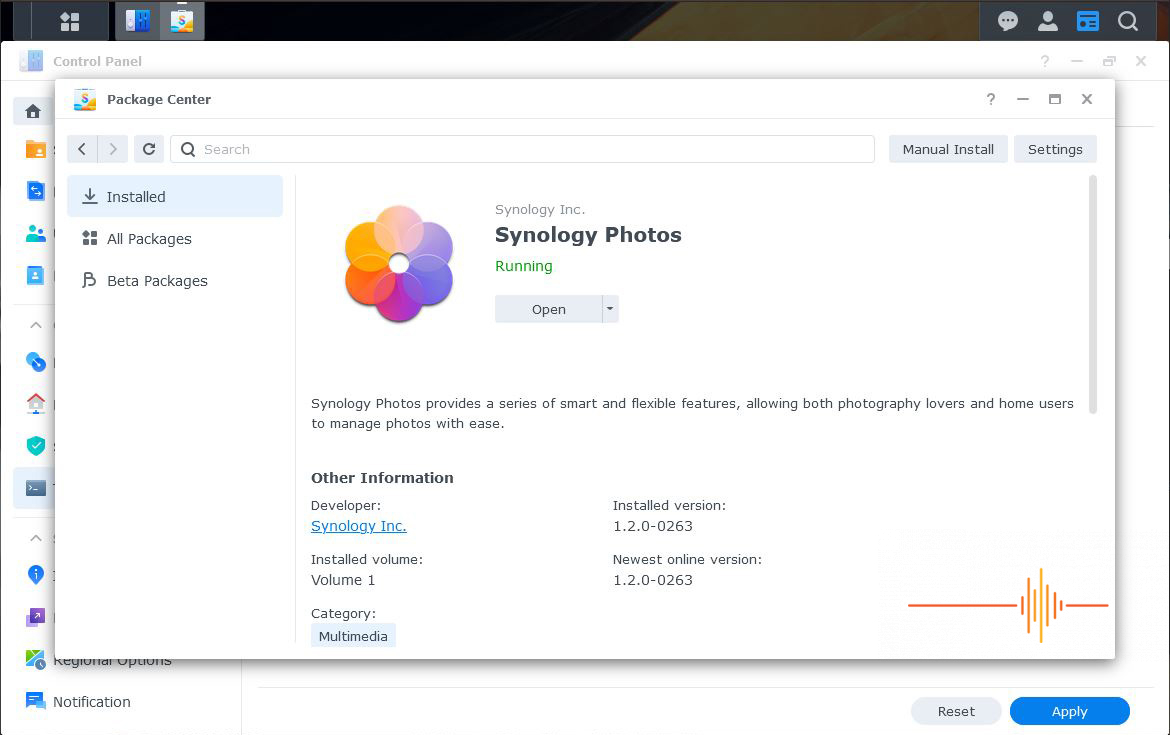
Installation
Like other Synology DiskStation Manager apps, this one can be installed through Package Center. It has a dependency on Node.js v12 and Synology Application Service, which if necessary will get automatically installed. This is not new to Synology but it is nice to point out just how easy they make things for the users.
Synology Photos runs on it’s own browser portal which requires a login of your user account, separate from the DSM portal. If you have been lazy and only use admin (or equivalent) single account for everything, it’s time to review your security and strategy.
To complete the end to end, install Synology Photos from your mobile OS’ store. I am making the assumption that there is knowledge of Synology Quickconnect or it has already been configured.
That’s it. It took me only a few minutes and I was ready to go.

Getting Started
Opening up the interface on a desktop shows a simple, minimalist interface. By default it launches in folder view which gives you a Windows Explorer like left side bar.
The header gives you option to change from Photos, Albums and Sharing (Shared with me, Shared with others).
At the top right there are five icons:
- Change thumbnail size
- Upload files
- Create folder
- Sort
- Change to timeline view
- Filter
Synology Photo also has a global search option for your photos.
Changing it to Timeline view will bring something akin to the Google Photo view. It is familiar and really requires no relearning to transition.

In Use
If you are intending to transition across to using Synology Photo for your photo backup, then the Synology Photos app is an essential.
Once you have logged into your Synology NAS from the app, you can then configure it to automatically backup any photos on your device. It is important to note that if you have 2FA turned on (why not if you don’t??), you will want to tell the app that it is a trusted device so backups can work seamlessly.
I live fired my testing by uploading all 2500+ photos on my camera roll through the Synology Photos app. It was as simple as telling the app the source, destination and how to handle duplicate files. A key feature that was missing when I messed with DS Photos was some help to seed the initial backup. With the Synology Photos app, there is now a “Sleep Time Backup” mode which can be enabled when:
- Connected to Wi-Fi
- Connected to charger
- Do not exit the app
When the Sleep Time Backup mode is enabled, the screen will go dark but unlocked to facilitate the upload. My 2500 odd photos took about 7 hours to complete uploading, with the last 47 photos in particular taking a while to complete.
As your photos are uploading into your NAS, they will start to appear in the Synology Photos portal.
On the filesystem side is where things are much more interesting to me. Instead of creating an obfuscated file system and a cumbersome database to maintain the linkages, Synology Photos is literally using the underlying OS file system in a typical folder structure. What that means is you can create your own folder structure in the “Photos” directory on your DSM volume, and it will appear in Photos exactly as the structure you created. Photos is reading that structure to display it in Folder View, and the indexing is done in the background. It sure beats the hell out of some other big name media management software (I am looking at you iTunes!).
Where my photos are stored locally in a private cloud, I am happier to enable facial recognition so that it is easier for me to group. There is a bit of work to clean up and label people, but that is to be expected.
The Synology Photos portal is pretty speedy. Certainly when loading photos in Timeline view, I find it much more responsive than Google Photos as I scroll back into history.
In comparison to my previous experience with the Synology photo offering, this has been a much more pleasant experience. Within 12 hours of me starting the process, my mobile is backed up in my NAS. Understanding how the photos are stored on the NAS, I finally took the opportunity to export all the photos out of my deprecated Google account, all 170.96GB.
“Uploading” into Synology Photos was as simple as extracting the Takeout archive under the “Photos” folder in my home drive on the NAS. No need for uploading it via the Portal and having to recreate everything from scratch. It really is that simple and I love it. It also means once I check over the archive, I can stop paying for subscriptions that I really don’t need but didn’t have a viable alternative for previously.


Other Features
Synology Photos portal offers some features to help manage your collection, in particular is the Quick Filter which allows you to narrow down the display pool based on these criterias:
- File type
- Time taken
- Geolocation
- Specific tags
- Camera type
- Lens type
- Focal Length
- Exposure time
- Aperture
- ISO
The Synology Photos app can to a small degree, take over the native Android app. Although it falls short as a full fledged replacement and is a bit of a missed opportunity. What is does is display your camera roll by default (Timeline view), or if you switch to folder view, access files that are stored on your NAS device. Whatever you have browsed will be cached locally with the size of the cache being user adjustable.
The search feature works, to a degree. It works great when things are tagged, and not so great when they are not. Unlike Google Photos where you can search for objects in photos, the Synology Photos offering falls short in my testing.
You can create conditional albums, which will automatically add photos based on keywords, geolocations and tags for example. You can even limit the period the media is taken.
The app has a built-in security feature where you can enable a passcode and/or biometrics.

Gripes
The Synology Photos offering has a solid foundation, but it is not without flaws.
I mentioned the app just before, and to be honest it is pretty barebones. Ideally I would have preferred it to take over the functions of my default gallery and leave me with a single pane of view. It doesn’t do that so all it does for me at the moment is to ensure my photos are backed up to the NAS. I have to continue to use the default app to view all my disparate sources of photos on my phone (e.g. screenshots).
The browser side is as barebones as it is minimalist. The interface to upload photos has severe limitations. Yes you can do all the basics like create a new folder and upload photos. However what annoys me a lot is that I can’t drag and drop photos to upload. I also can’t upload folders in bulk. I have to add supported files which then gets uploaded into Synology Photos.
Again to get around it, I just wholesale dump my file system structure into the Photos folder and let Synology Photos figure it out and index it.
There is no easy way to get meta data of a photo without having to go into the photo and click on the “i” for further information. It is an extra few steps to get in and out to get more information.
I can’t assign faces in a group photo to multiple people. It is limited to a single person which .. is annoying.
There is no dark mode for the Synology Photos portal.
Conclusions
Synology Photos is compatible with DSM 7.0 or later only. It is freely accessible via Synology’s download center and installation is a breeze.
It is far from perfect with some pretty severe limitations and barebones features, but at the same time I find that it meets my needs to consolidate my rather substantial catalogue of photos that has been spread across file systems and numerous Google accounts.
As always, Synology is working to update and improve their offerings. But even as it stands today, I was satisfied enough to commit to the product and start pulling back on my reliance on the Big G. It is certainly worth exploring if you are looking for a change.

Re Gripes: You can drag and drop files and folders from your drives to the Synology Photo folder using the Mac Finder or Windows File Manager. This is like copy/move to a network attached drive folder. Then teh images and video start to appear in the web browser interface. Good article.
I would like it to run in the background so I don’t have to manually initiate a transfer. Remote transfer to the NAS would be nice so everything is copied for, let’s say, when you’re on vacation.