
I need to apologise to Connect for my absolutely shocking turn-around time on this little device, my original plan was to attach it to the pump and have it scheduled to water my new garden! Great idea, right? Right… Well, it WOULD have been right if the pump wasn’t in shade 98% of the day, down the side of my house that nobody visits! Plan number two was to take it to another property where there was also a tank, I even purchased a new pump and was set to install it when one of our myriad of lockdowns happened here in Victoria, and I wasn’t allowed at that property for what seemed like an age… (I had also left the Connect Smart Water Controller kit down at that house, and so properly snookering myself)
Jump forward, I’ve purchased myself a little set of gardening pipe, hoses, fittings and sprinklers and have set them up in my back yard! I have a small herb garden, some tomatoes and a passionfruit vine and I’m intent on keeping them alive!
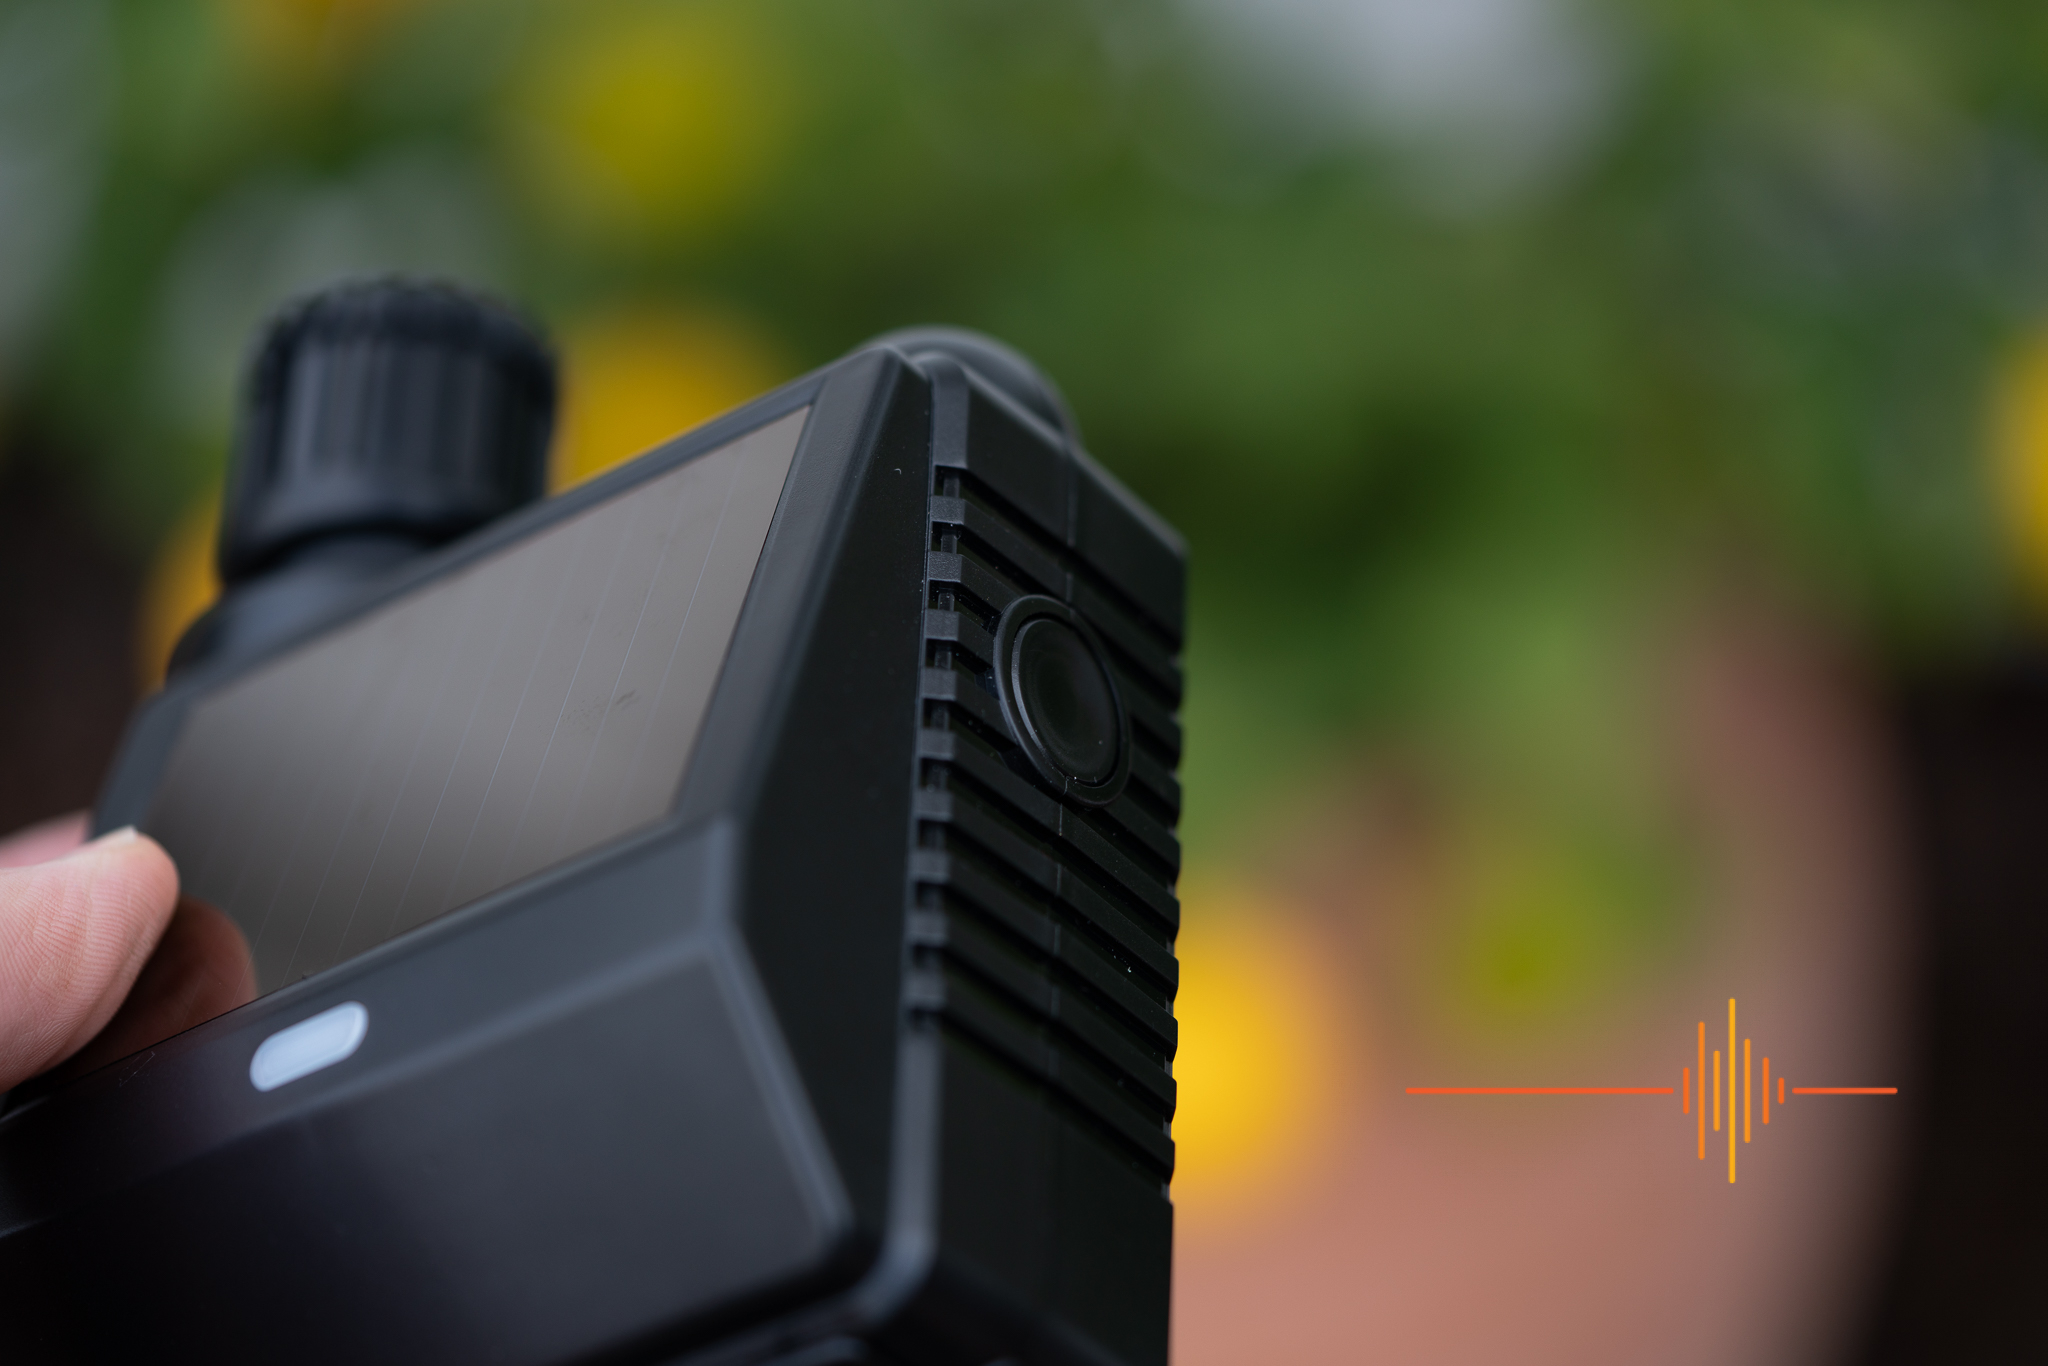
Now that we’ve got that out of the way, let’s crack on shall we! The Connect Smart Water Controller is exactly what it says on the box, a water controller, it controls the flow of water from your garden tap, or any tap with a standard screw on fitting, though why you’d set this up on your kitchen tap is beyond me, but as they say, it takes all sorts! Unpacking the water controller, you’ll find the main unit that screws into your tap, it comes with fittings to attach to most garden taps (including conversion from one sized thread to another) as well as a fitting for most of your regular garden variety clip on hoses. Before we move on from the tap fittings, there’s a filter in the top fitting to stop nasty things getting into the unit and jamming the doors from closing (I grew up on a farm, slugs used to do that sort of thing ALL the time, gross, but true!)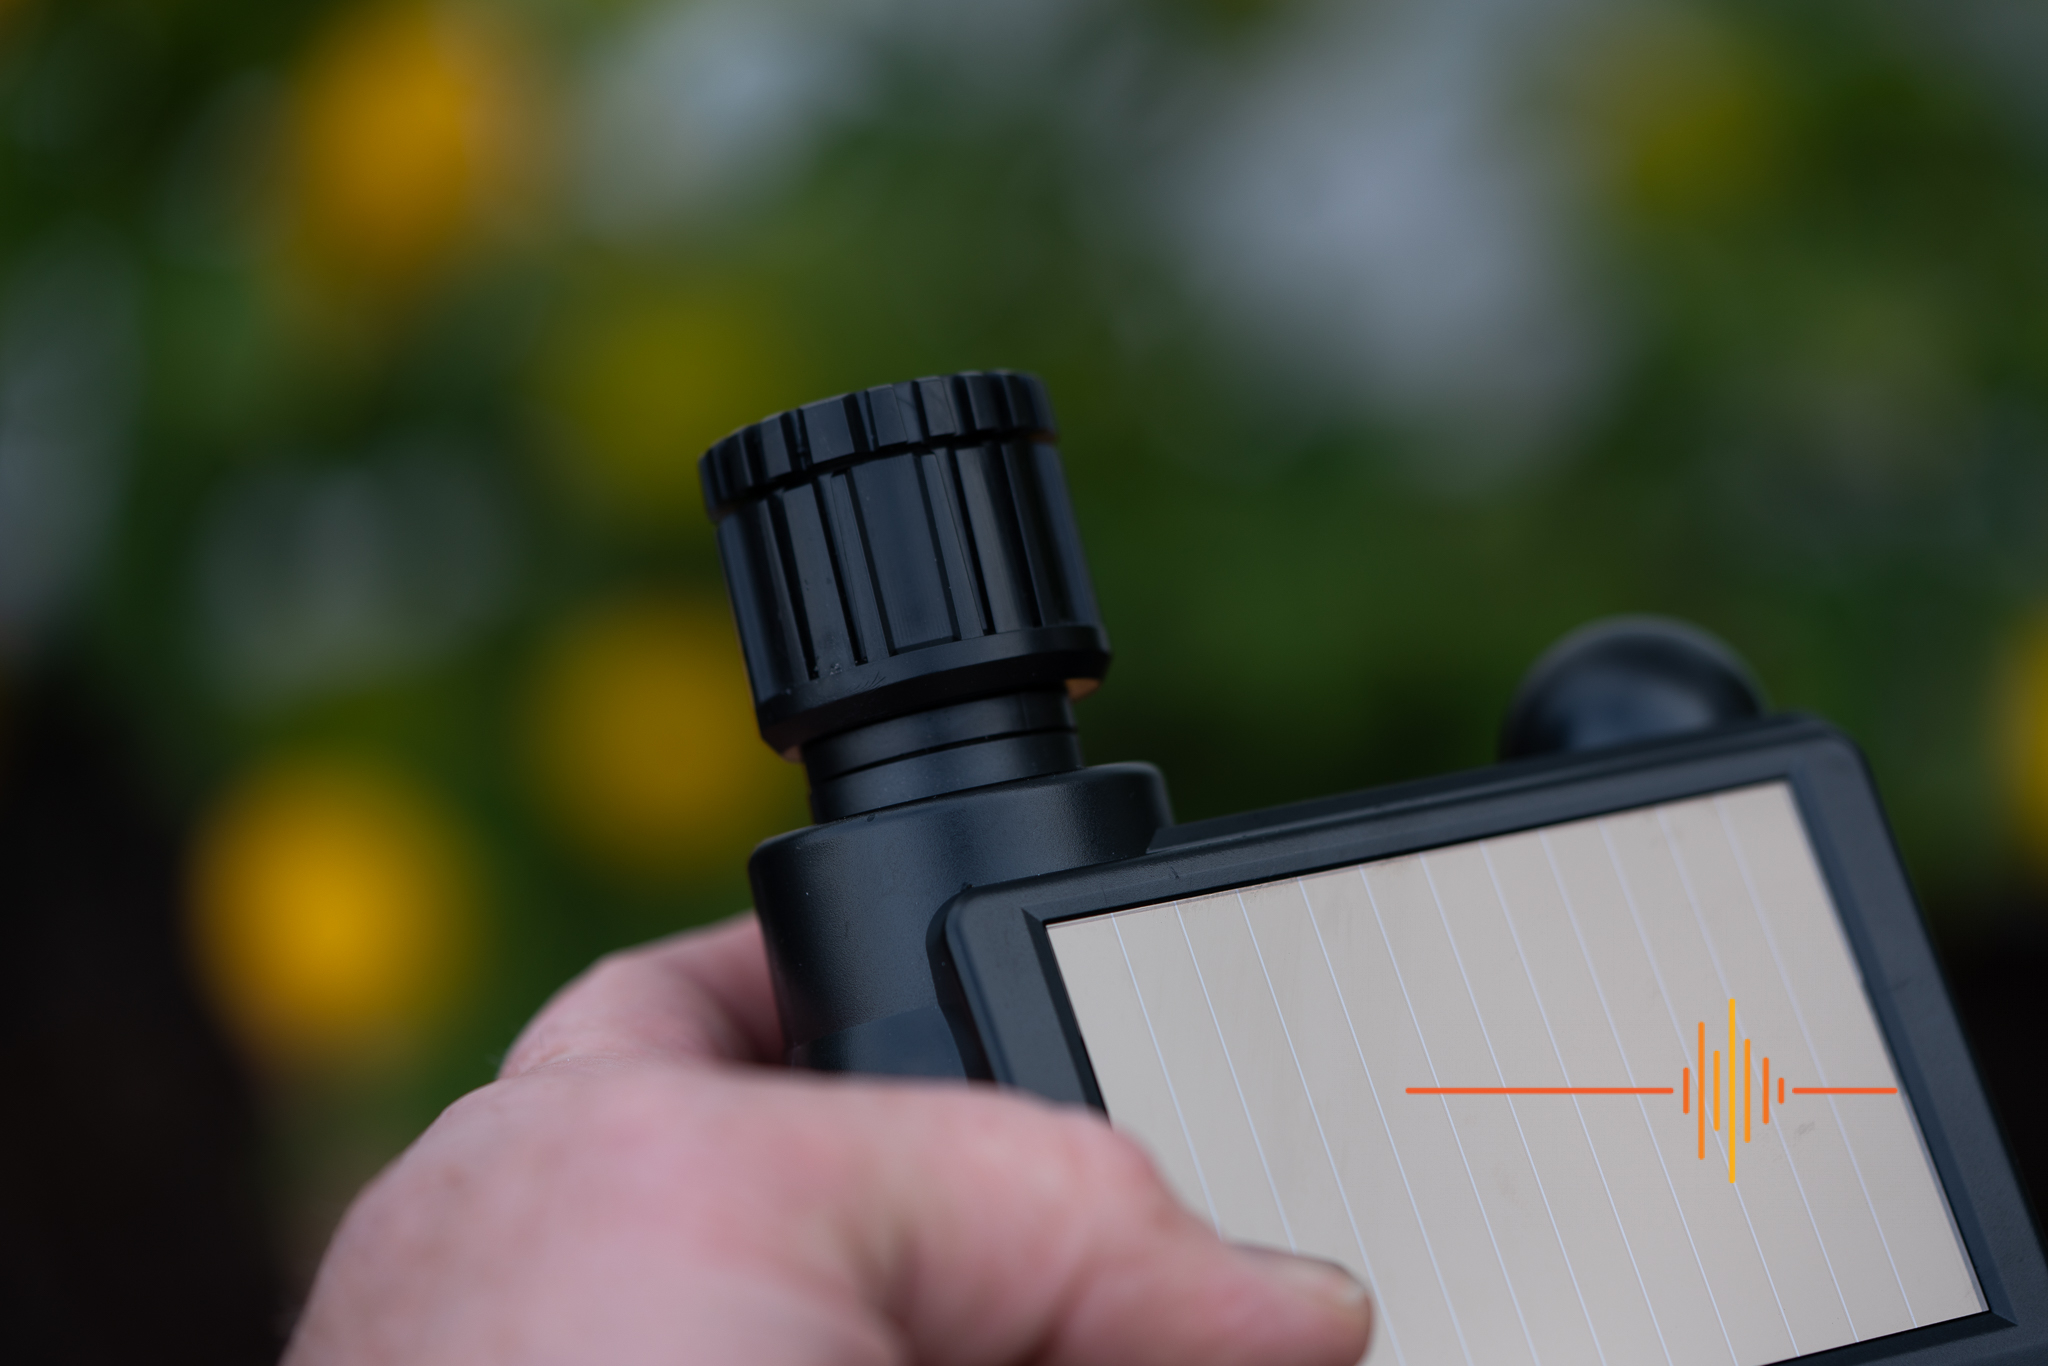
You’ll also find a small’ish white box which is the controller/Gateway that joins your home network and lets your smart device(s) talk to your phone, with that you’ll find a little power adapter, though I’ve recently had power outlets installed in my home that have USB-A plugs in them, so I’ve gone directly into one of those to avoid using a power outlet/adapter. The Gateway uses 5v, so USB will work just fine.
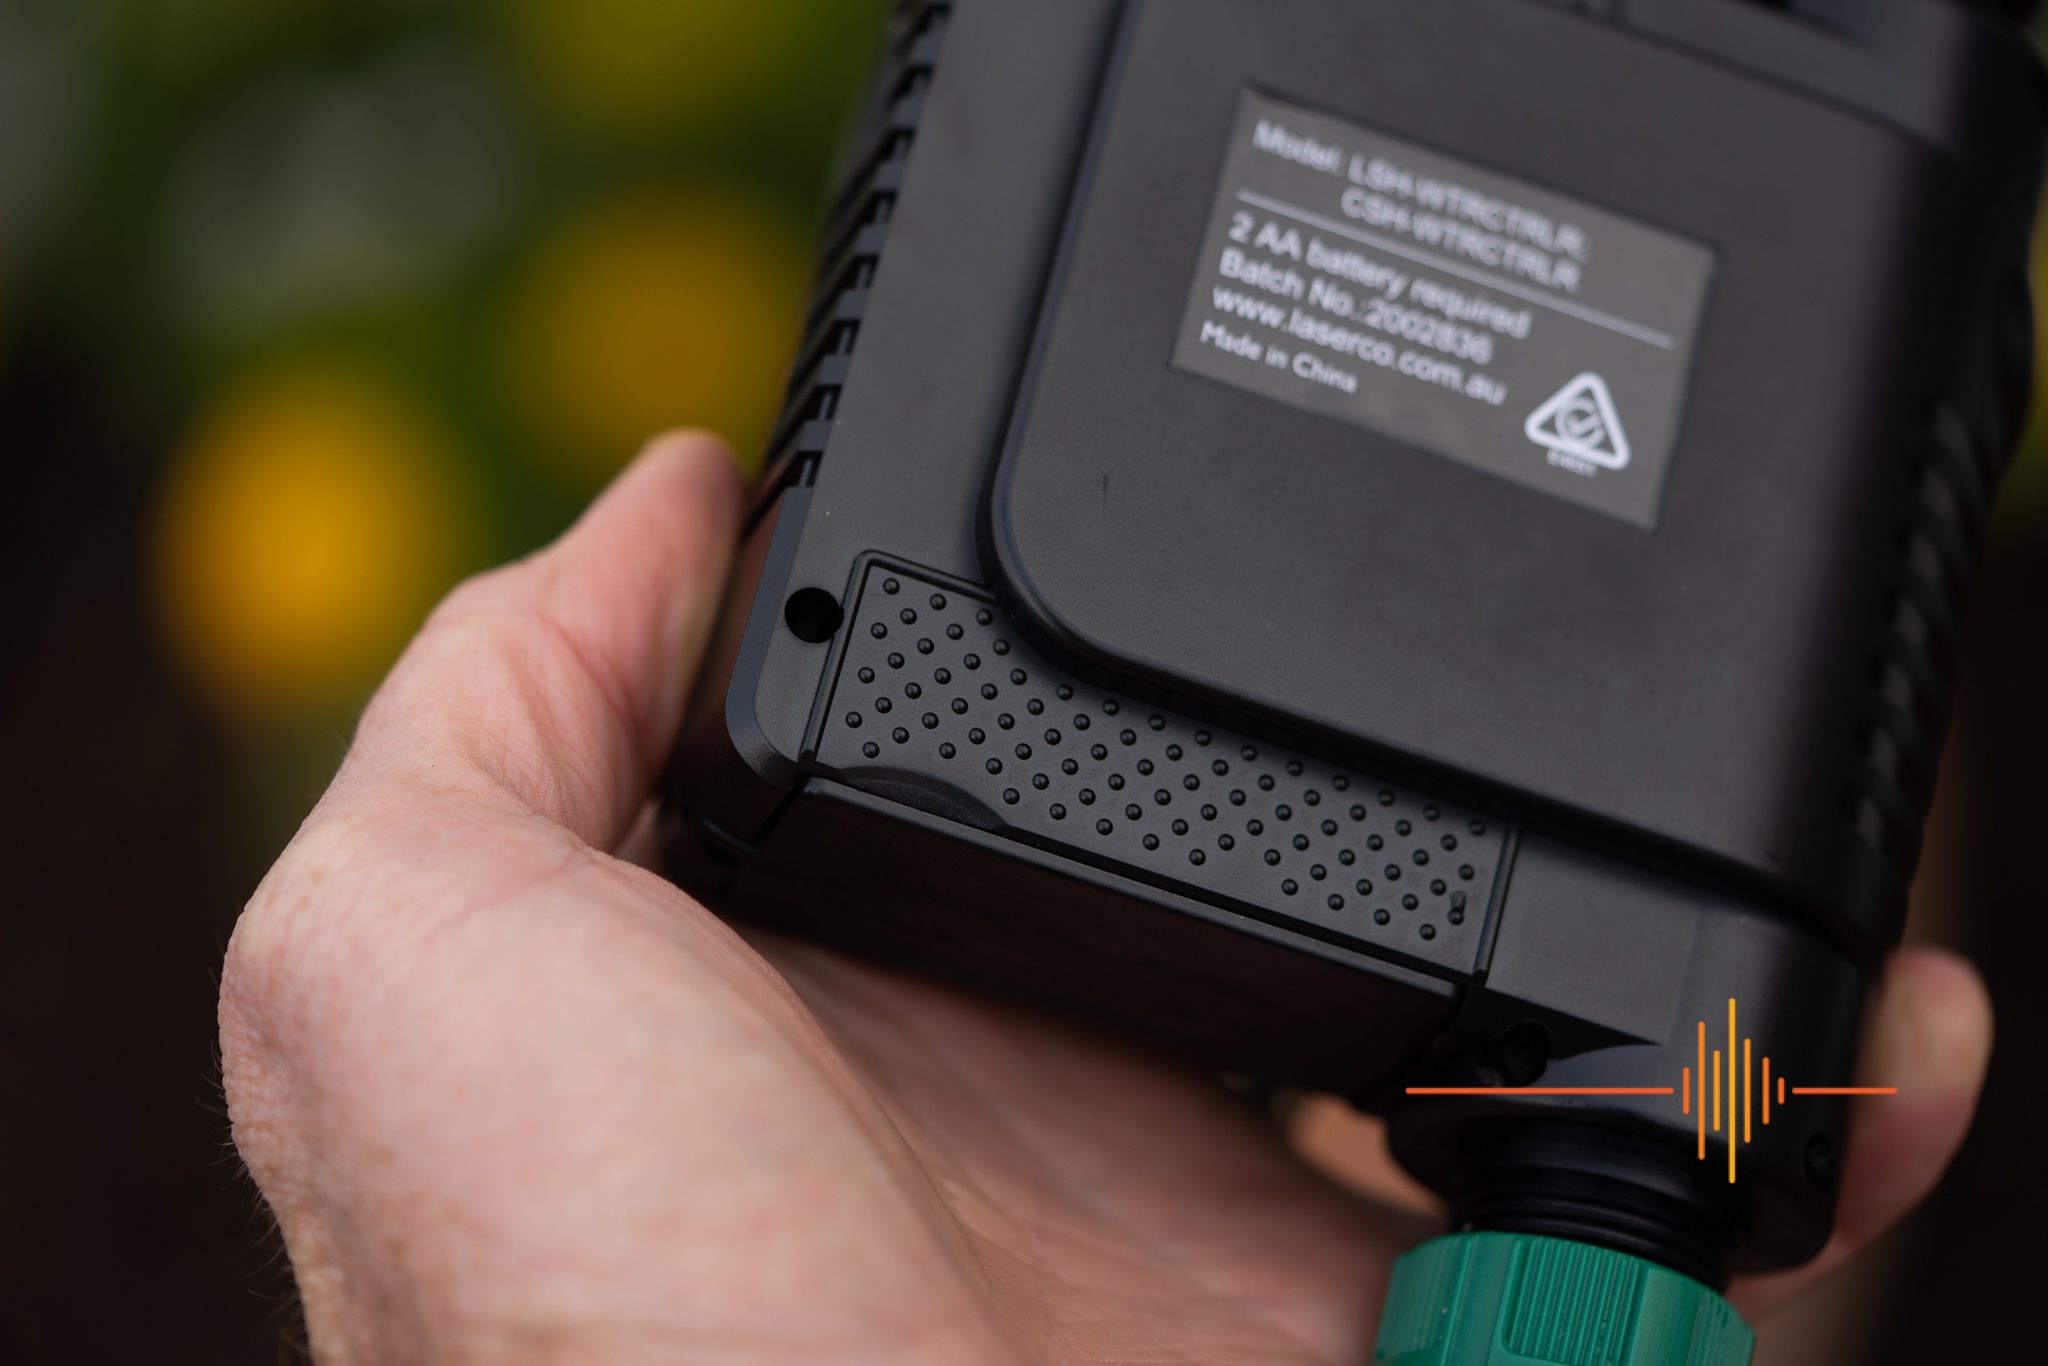
You will need 2xAA batteries, but I’ve opted for Powerex rechargeable batteries, the only variance is that my rechargeables are a slightly lower voltage than your regular off-the-shelf AA batteries, though i’ve not noticed any performance degradation! The batteries go in the small door in the back of the controller (below)
 To setup the system, you will need the ‘Connect Smart Home’ app on your iPhone (in my case) or Android, you’ll need to go ahead and setup an account when you’ve installed your app on your phone. Plug the white box (gateway) into the power supply, or your USB plug, and make sure the red light is flashing semi-quickly on the device.. In the app, you really don’t need to do much Hit the plus icon in the top right, scroll down to ‘others’ on the left and then tap ‘Connector – Wifi’ and then add your home wifi details and the device will set itself up! At this point it asked me to go ahead and update the firmware, always a good idea! This doesn’t take very long, a couple of minutes at the outside.
After my firmware update had completed, I tapped on ‘accessories’ and started the simple procedure for adding the actual water controller. At this point you want to make sure your batteries are in your Connect Smart Water Controller, and that it’s good to go, tapping on ‘Quick Add’ and then after the on-screen countdown starts, double clicking the round black button on the side of your water controller will add the controller to your app and you’re ready to go! Tap the ‘Home’ button and you should see “Valve Controller” and “Gateway” on your screen! Good job you tech-goddess/god!
With the Connect Smart Water Controller attached to your garden water tap outlet, the tap outlet turned on and your hose in place, you can test the device by tapping ‘Valve Controller’ on your app’s display, then simply tap the “off” dialogue in the middle of your screen and choose “10%” for example, then “ok” and within about 10 seconds your device will open to 10% and water SHOULD start to come out of your hose.
I was able to setup the device correctly the first go, and had it working in no time!
Now, some of the benefits of this relatively inexpensive setup are as follows:
- The ability to turn my watering system on and off from anywhere where my phone has a signal, over the internet via the app means you can water while you’re sipping a dry martini on a beach 1000 miles away*
- Schedules in the app mean that you can configure the device to turn on and off at your behest – perfect really!
- You can configure the Connect Smart Water Controller with Google (and other smart devices) and say things like “Hey, Google.. water the garden!” and she does! (My Google’s a girl, ok!)
- Did I mention that the whole setup (excluding AA batteries, friends) is only $179.95 from the people at Connect SmartHome
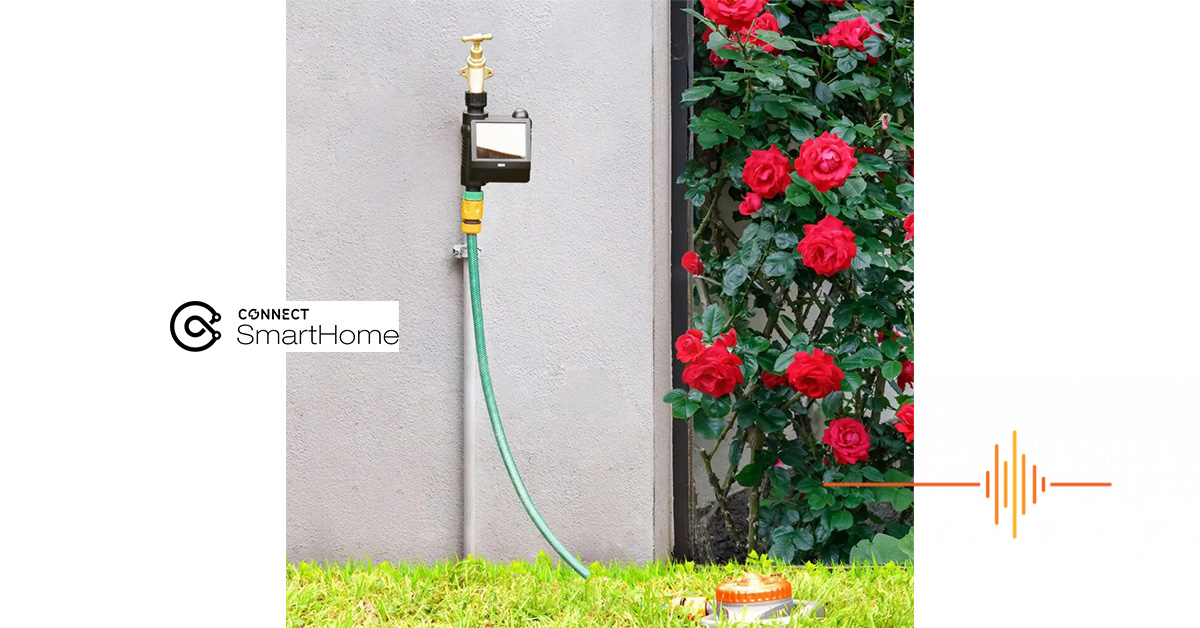
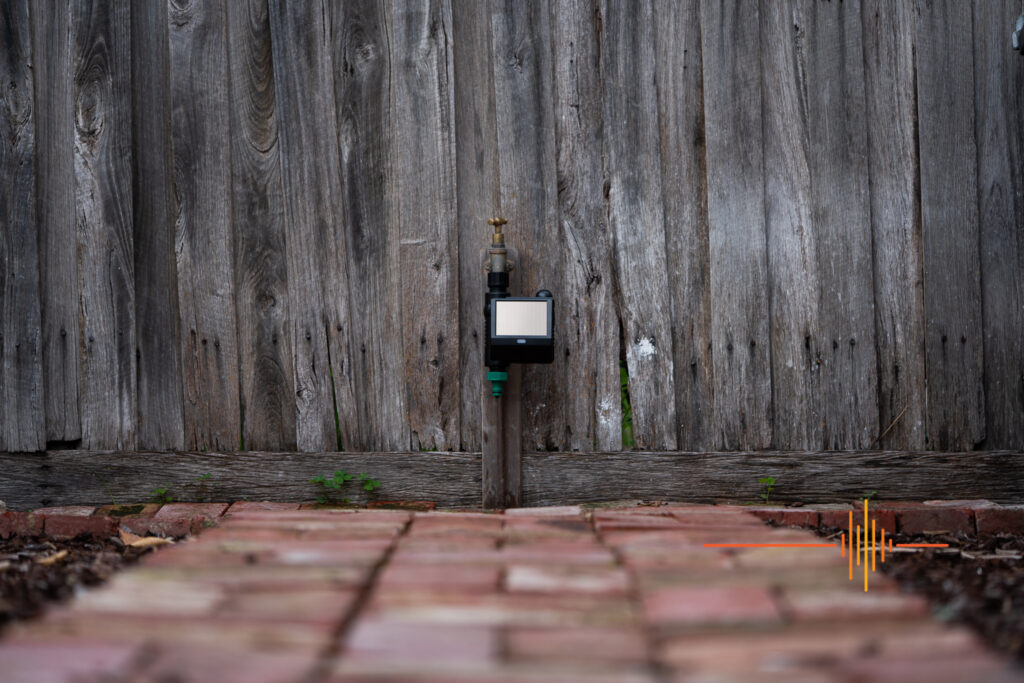
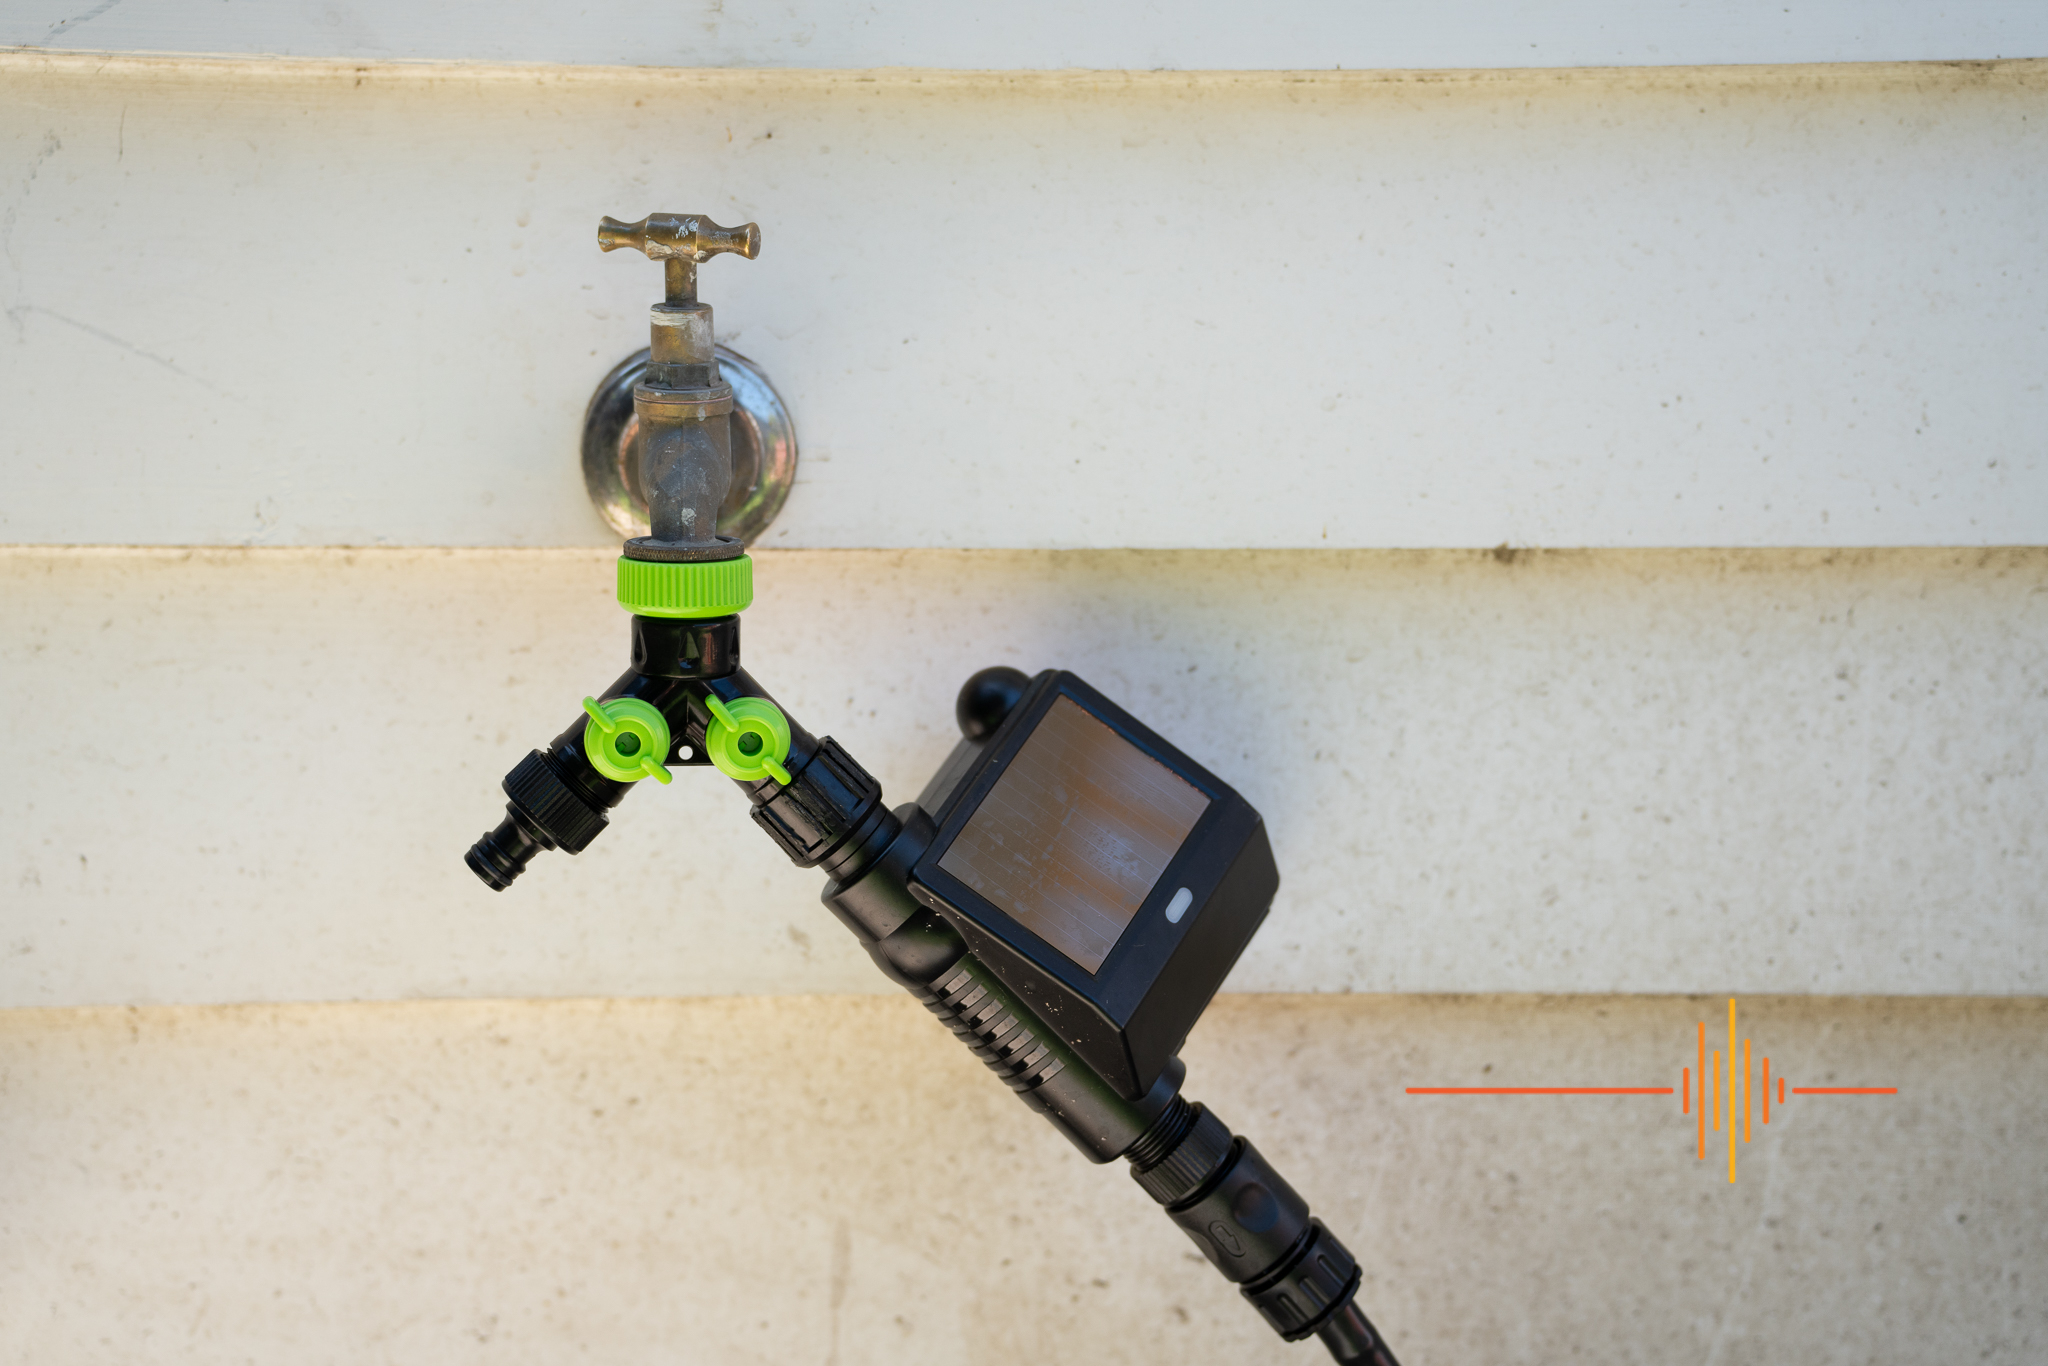
Here’s a couple of shots of my final setup, the garden isn’t up and running yet, but now that the watering system is mostly in I can kick on with planting! The sun’s just about to come around that corner and top my batteries off for the day! Perfect.
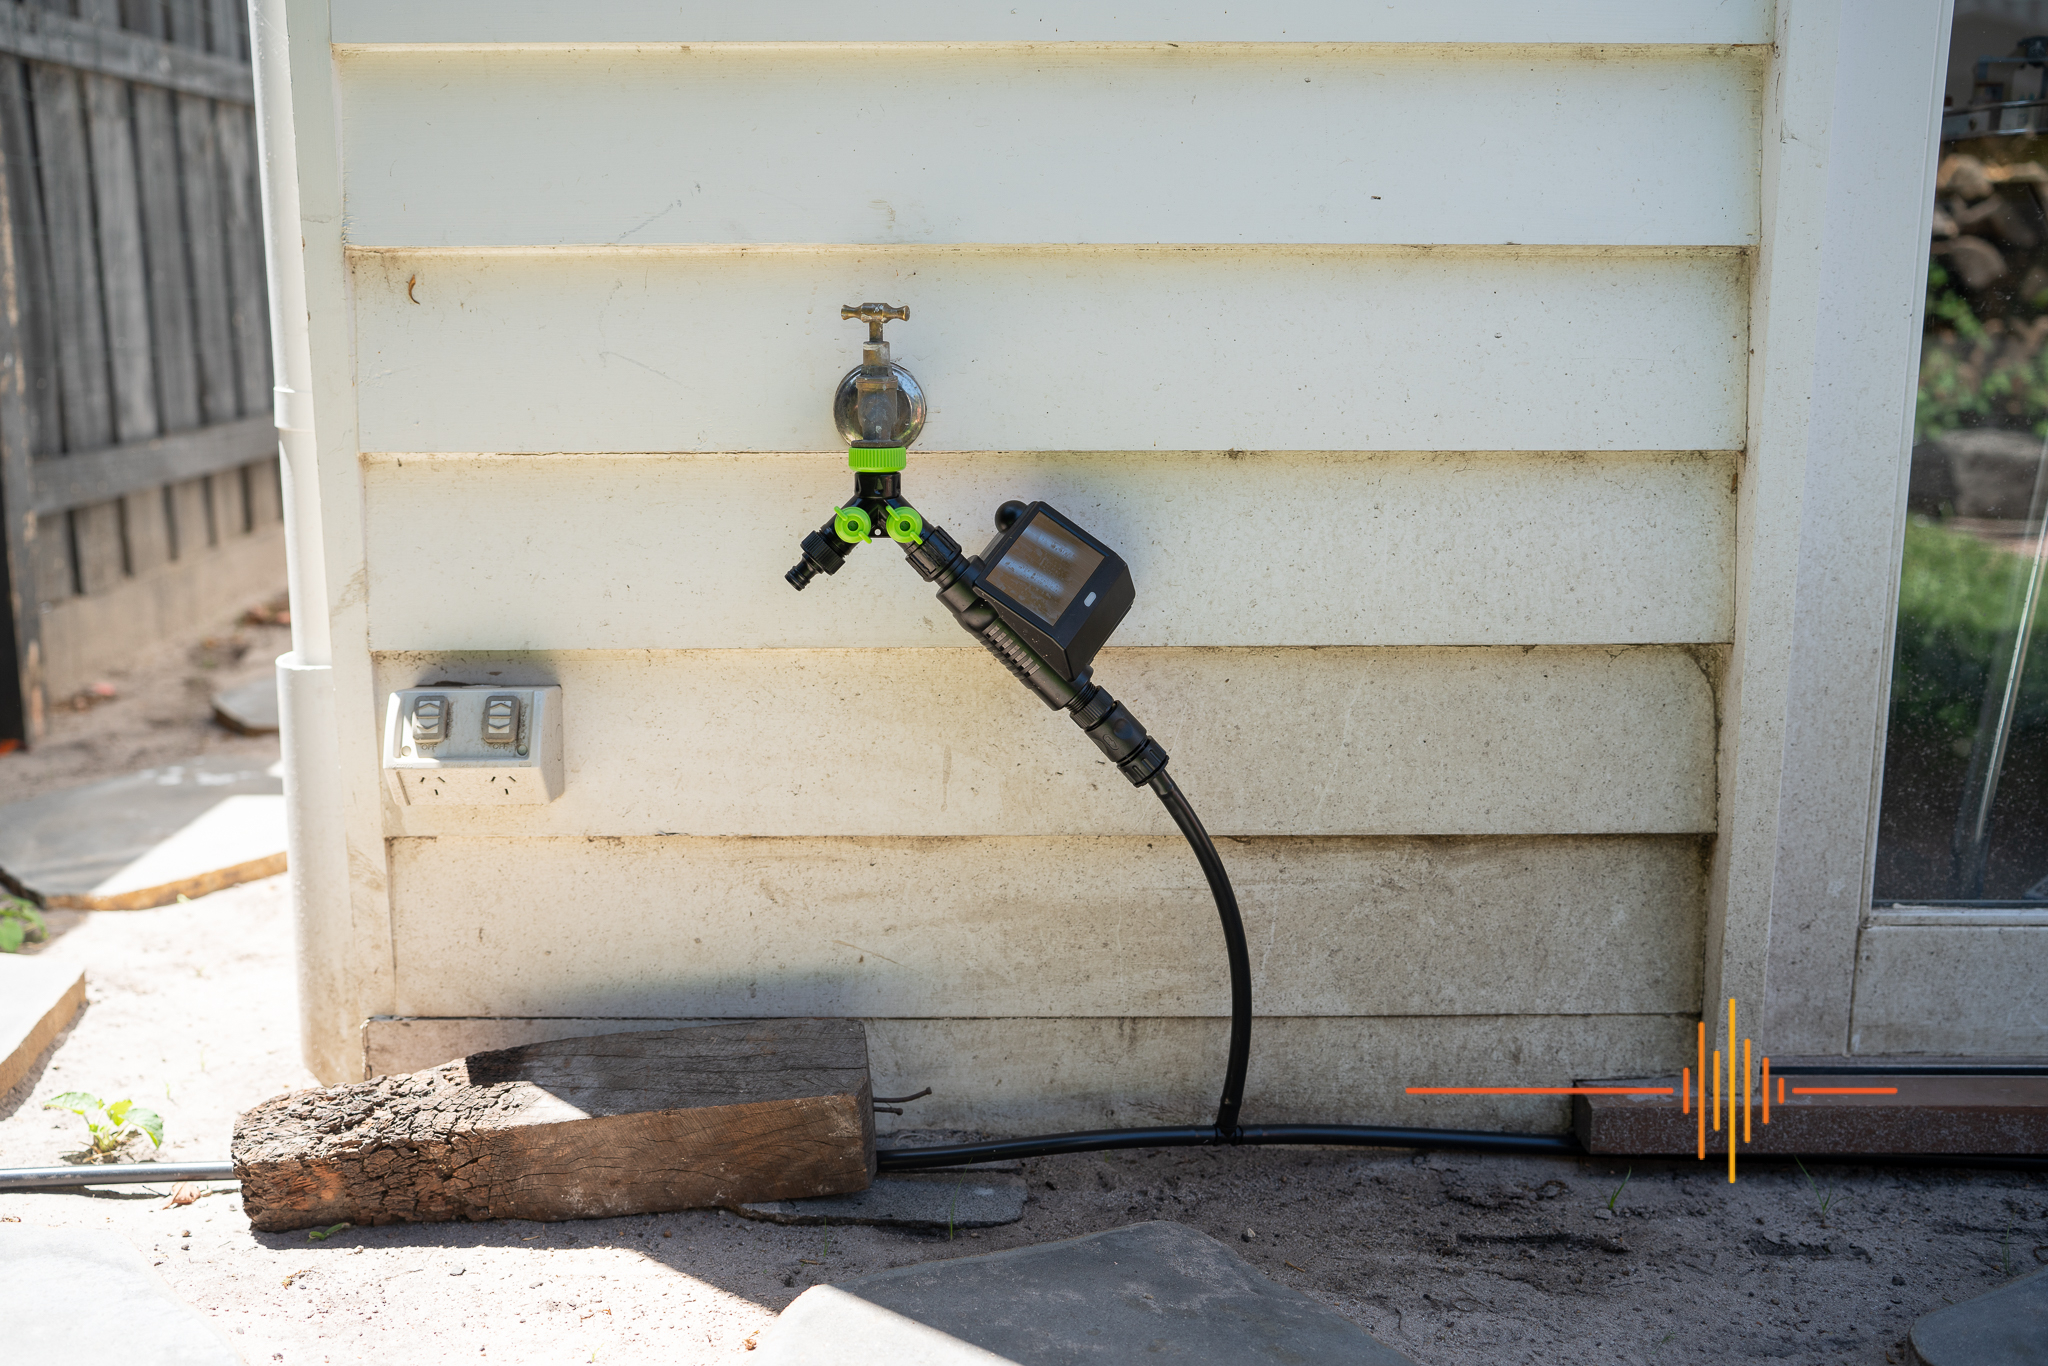
You can see below that I’ve put the controller on one side of a Y-splitter with individual stop cocks, this is purely down to my better half not being much of an ‘automated everything’ kind of person and just wanting to “turn the tap on, you know, like normal people!” her words, not mine… I’m picturing that meme in my head right now “Why can’t we have both!” – and now we do.
I honestly can not find a downside for this review, I think the device has a sturdy build (I guess ask me in a year) and the setup and control is so very simple, so I’m award the Connect Smart Water Controller a total of 5 fully grown carrots (out of five) from my garden!
Again, sorry this took so long! I will do better next time! Anyone want to buy an unused rain water tank pump!?
