
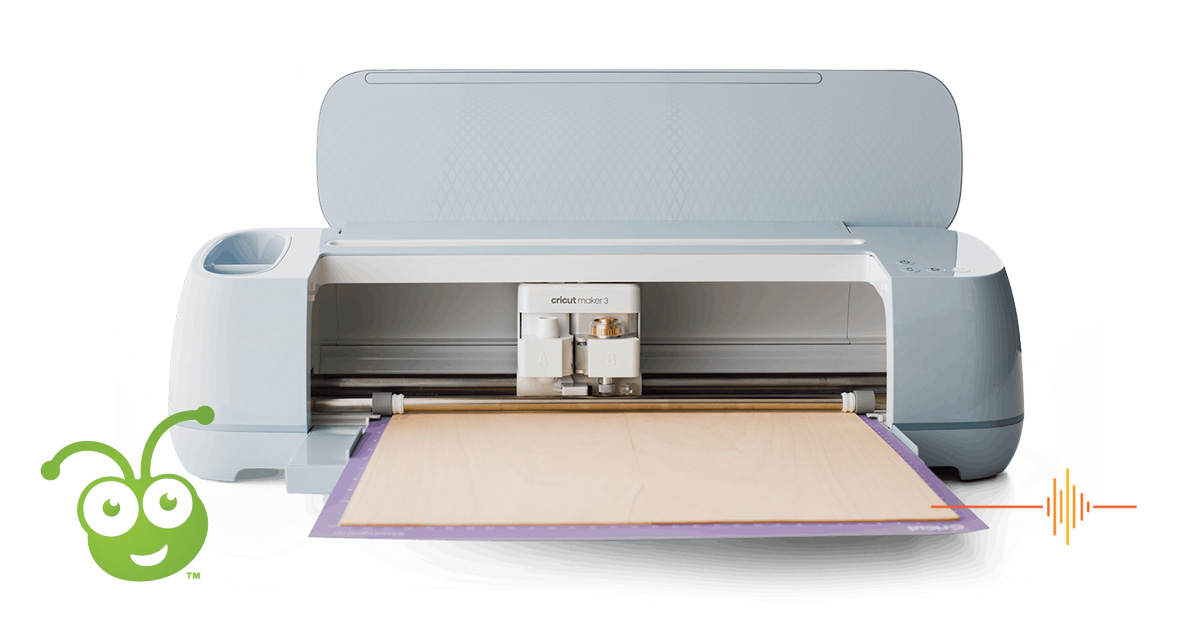
Smart, intuitive, yet capable of extremely complex designs, the Cricut Maker 3 is the ultimate crafting machine.
The Cricut Maker 3 works with 300+ materials, has multiple tool options and gives a professional finish no matter how big or small your project. The Cricut Maker 3 is, in my opinion, the best crafting machine on the market.
Is there an award for crafting machines? There should be, because I cannot fault the Cricut Maker 3. I’m an out and proud Cricut fangirl and my family is on the verge of staging an intervention.
I see Cricut opportunities everywhere I go. A t-shirt design? A laptop bag embellishment? Text for a poster? Labels for all the things?! I AM AT ONE WITH YOU, CRICUT.
So much so, I have set aside a spare chest of drawers for all of the Cricut materials and accruements such as weeding tools, assorted spatulas and blanks (t-shirts, plain baby shirts, hoodies etc). Organised chaos, absolutely, but it all helps when I feel the need, the need to … weed. *coughs
Let’s have a deeper look at why I’ve been so caught up in the Cricut Maker 3 experience.
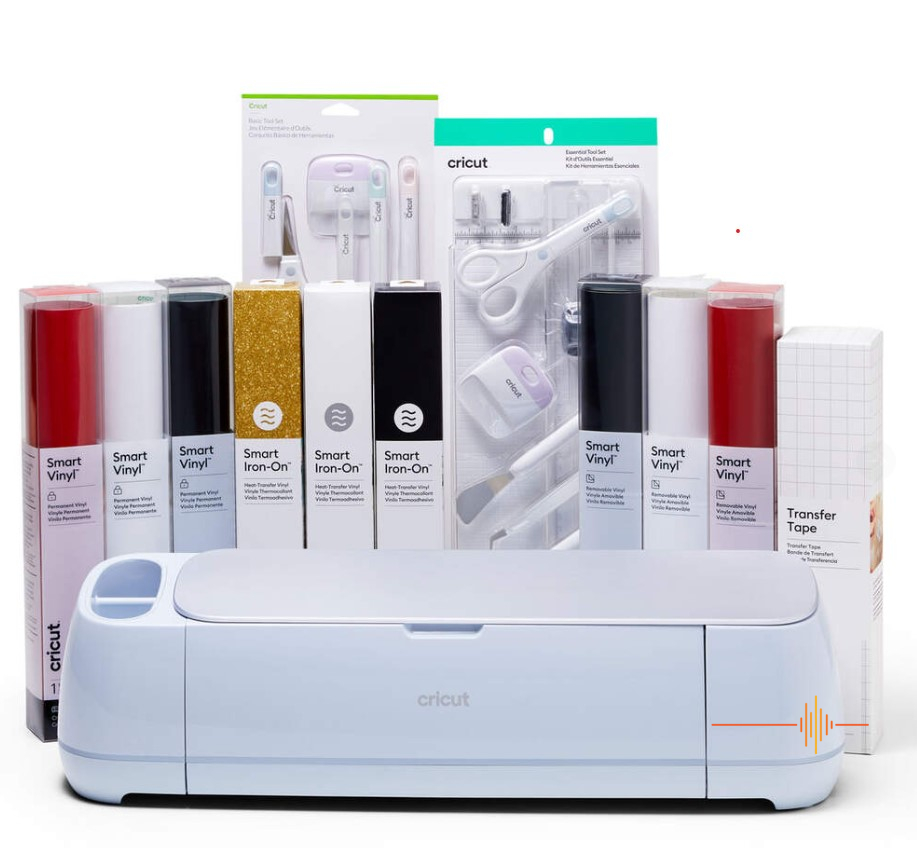
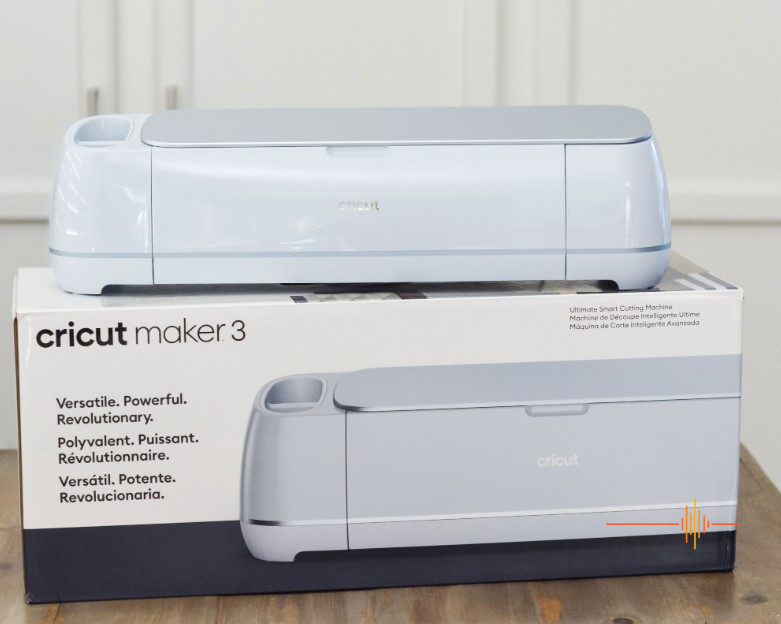
WHAT’S IN THE BOX
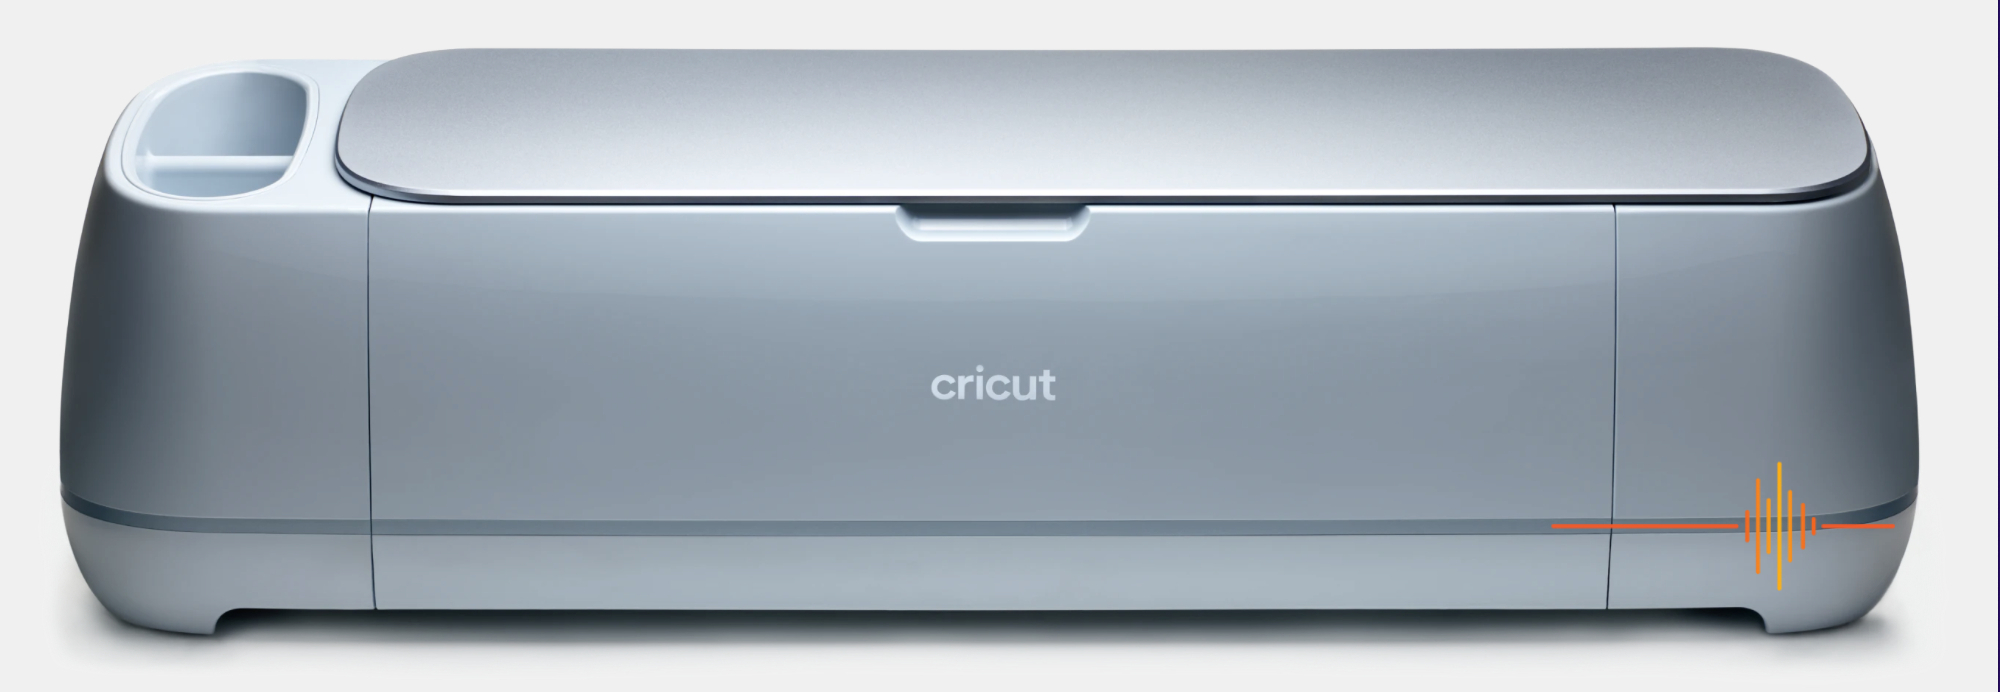
It’s a solid unit but was easily lifted up and out of the packaging. At first blush it is solid and well made with an understated style I really like. The normal bits and bobs are included and there’s lots of tips to get you started and online quickly.
Included in the box:
- Premium Fine-Point Blade and housing.
- Welcome card
- USB Cable
- Power Adapter
- Free trial Subscription to Cricut Access (for new subscribers)
- 100 free, pre-designed projects in the Design Space
- Materials for a practice cut
GETTING STARTED
Firstly, no experience required! Plug in your compatible device and make sure your wifi is on. It’s as simple as pairing your device with the Cricut Maker 3 in Design Space and you’re set.
Cricut kindly provide you with a test bag of goodies and instructions in the box on how to make some basic iron on/vinyl projects. There’s lots of free workshops and tutorials too. Thank you Cricut!
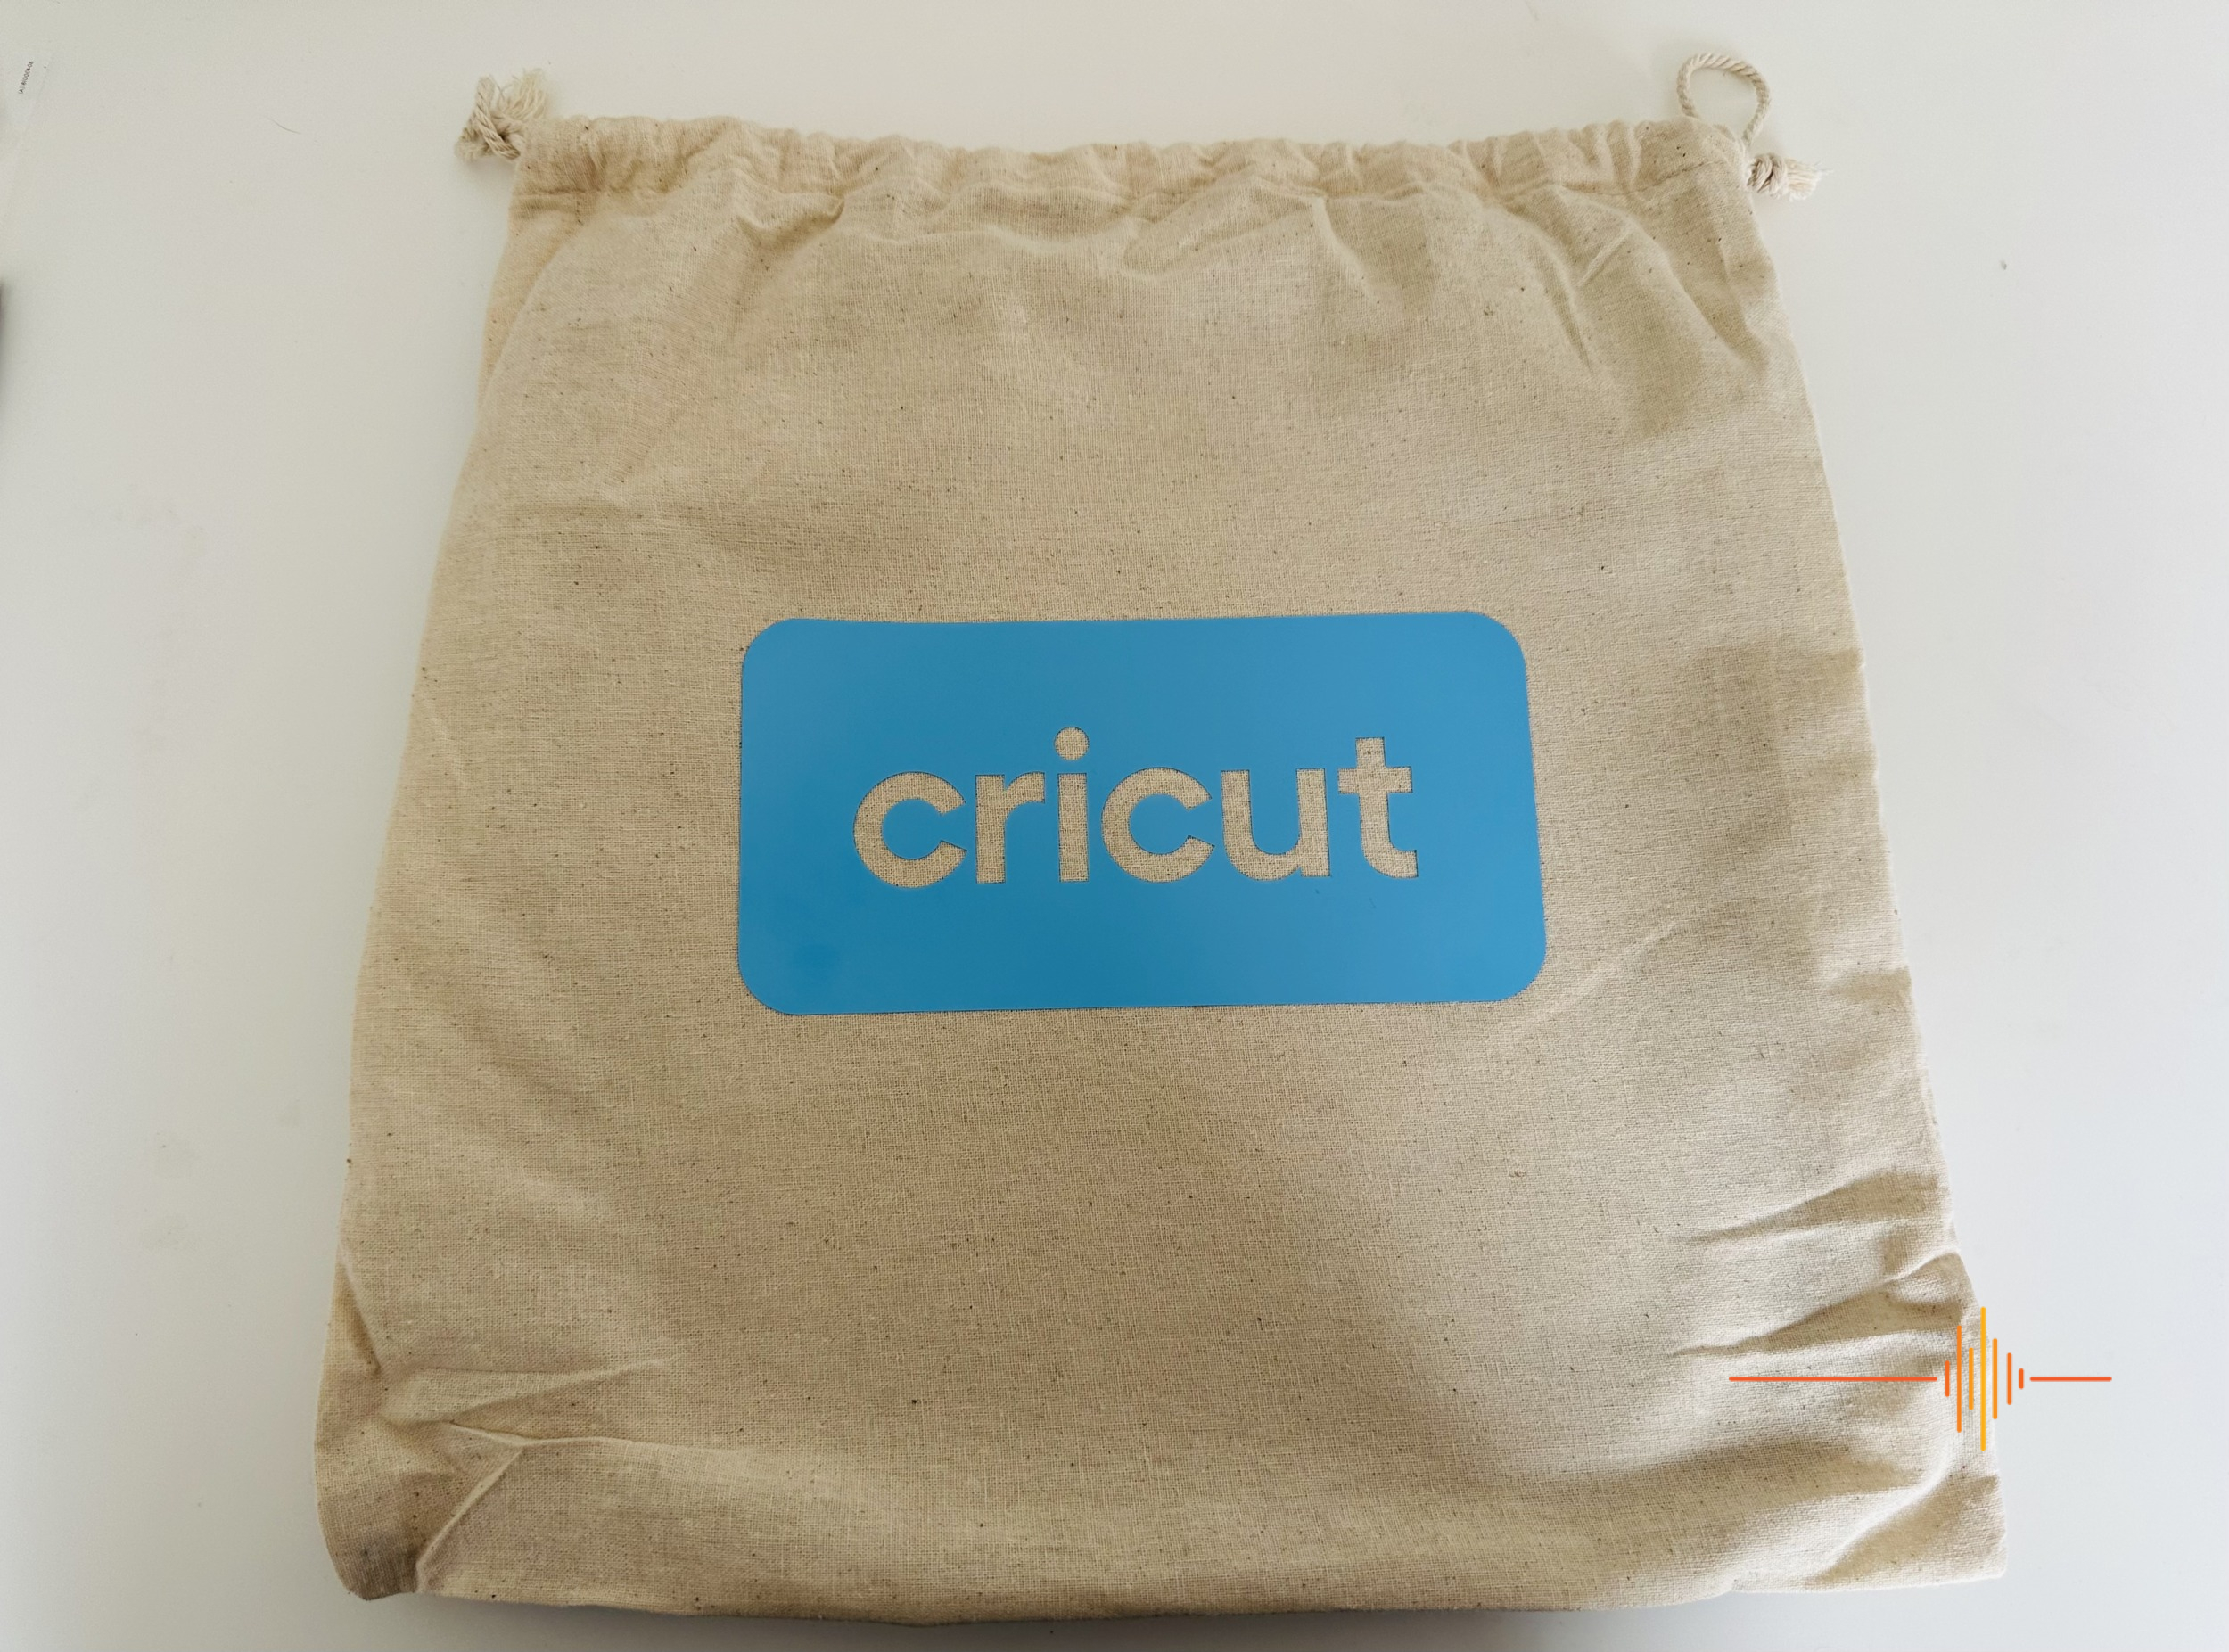
The Cricut Maker 3 also came with a little calico bag (called a blank for crafting purposes) and some extra materials ie. A sheet each of various mediums: vinyl, iron on transfer materials, etc. This gives you the opportunity to do a few test runs and create your first item. And voila! Didn’t turn out too bad for a first go, even if I do say so myself.
I printed the design using the Cricut Maker 3 and then pressed the adhesive vinyl using the Cricut EasyPress 3. I’ve recently reviewed this great addition to the Cricut line up, and I’d seriously consider purchasing one to complement your Cricut crafting experience. It makes the entire transfer process incredibly simple with excellent results.
ACCESSORIES
But before you start, you will need a few materials, in addition to what’s included with the Cricut Maker 3.
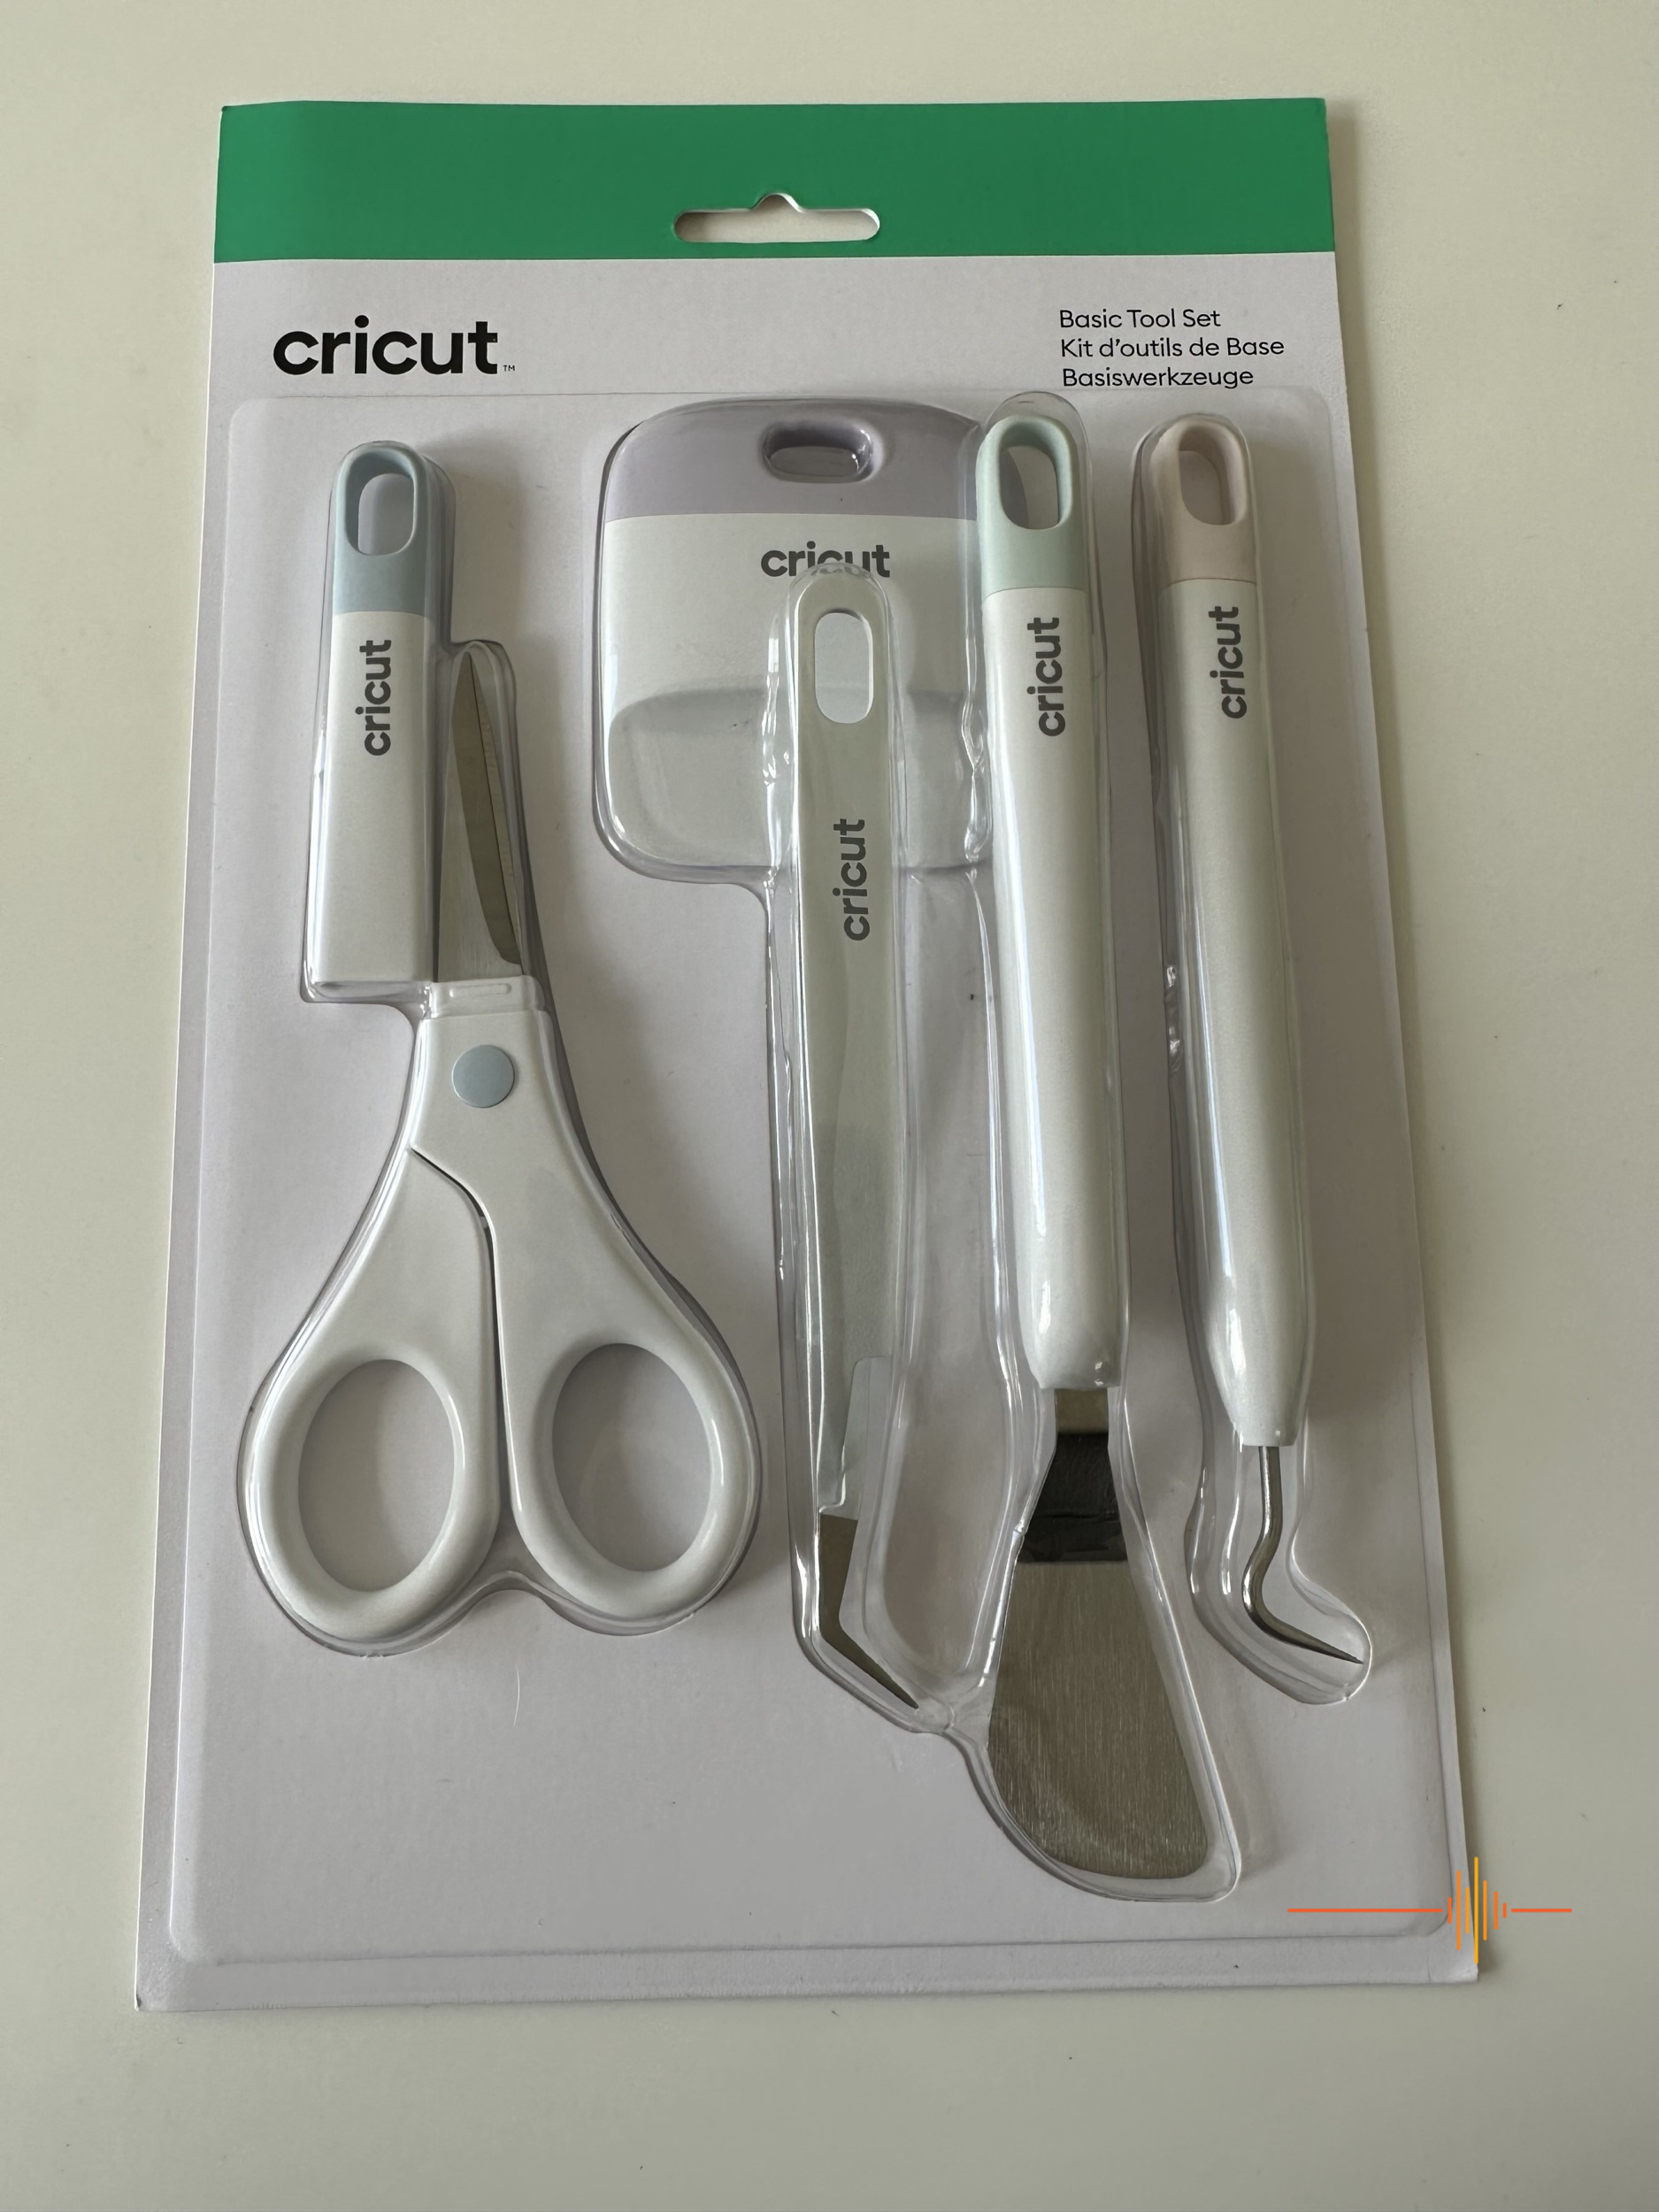
I suggest a couple of mats and basic tools. Basic tools include the sharp scissors, a couple of weeding tools (sharp hooked implement), a flat spatula for those pesky bits, tweezers and scraper to ensure good adhesion of your materials to the mats.
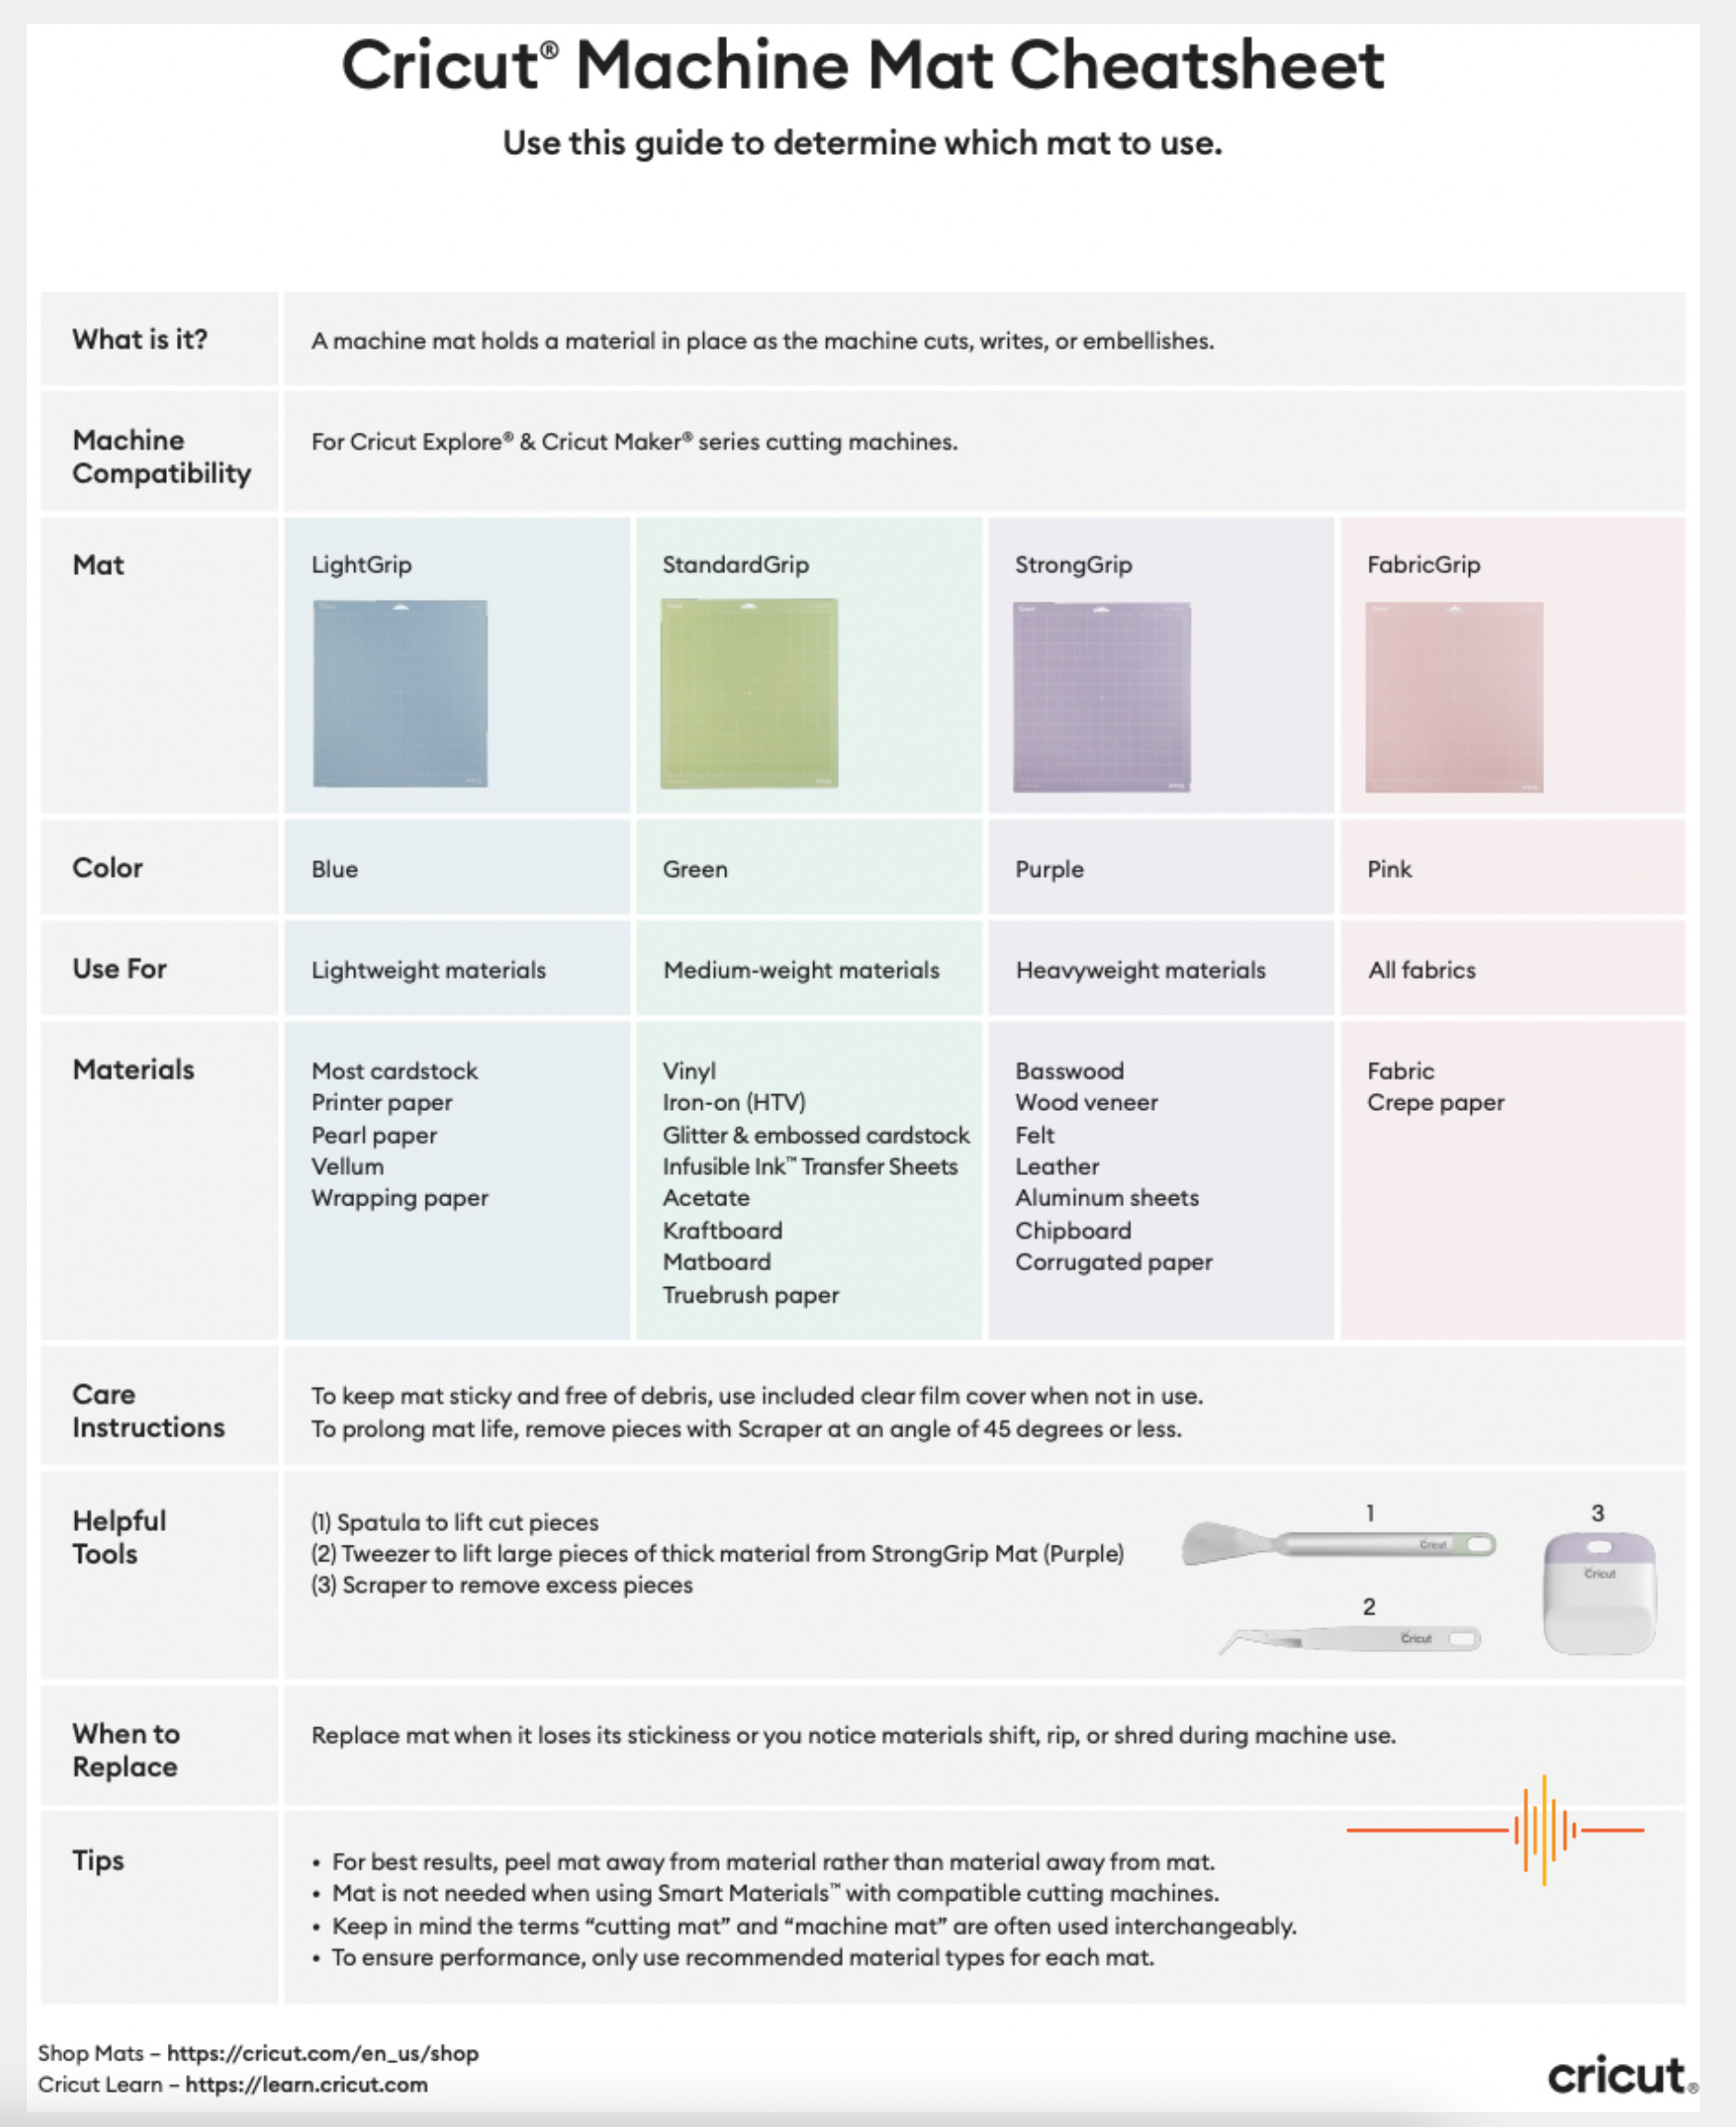
Cricut very kindly provide a cheatsheet on which Machine Mat you will require for your crafting.
I would also suggest you obtain a large craft mat to protect surfaces, some small rubbish containers to put excess weeding materials in and enough room to spread yourself out as you get to crafting. I have a very large green mat, visible in some photos within this review, and it is very handy if I need to cut anything up. It also serves to protect the work top of your tables/benches.
There’s a variety of blades for use and it is handy to have a couple as backup. Also consider pens for drawing and a range of Cricut materials because you never know what you can create until you try.
MULTIPLE MATERIALS FOR MULTIPLE APPLICATIONS
There are almost limitless materials available for you to purchase from any Cricut stockist. The great news is you can trim and minimise wastage, using offcuts again for smaller jobs. I am very impressed with the array of materials available instore and online. With the help of Cricut Design Space, you can find instructions for practically any blank material and the application instructions. I’m once again impressed at how thorough the Cricut designers have been and commend their dedication in creating the perfect app to complement the Cricut Maker 3.
Materials available include:
- Cricut Sublimination (Infusible Ink)
- Cricut Permanent Vinyl
- Cricut Everyday Iron On
- Cricut Holographic Iron On
- Cricut Heat Activated Iron On
- Cricut Sportsflex
Application of these include use with
- Fabric – cutting
- Foil embossing
- Drawing
- Cardstock embossing
- Cutting carbon fibre
- Cutting canvas, carbon fibre, leather, light wood, etc.
New uses are being developed everyday, so keep your eye out and make sure you update your machine regularly to maximise any upgrade releases.
TERMINOLOGY
You’ll be learning a lot of new terminology if you weren’t already family with these crafting terms. Cricut acknowledge this and have provided a handy short list of essential terms to help you understand the lingo.
There’s a lot more out there to learn and you’ll certainly appreciate the Design Space and social media links to help you maximise your Cricut Maker 3 knowledge.
WHAT CAN I MAKE WITH CRICUT MAKER 3?
The question is, what can’t you make? From personalised clothing and fabric, cards, decals, sublimation and full colour stickers, to creating cards, quilts, wooden décor items and jewellery, your imagination is the only limitation.
NEW MATERIALS RELEASED
Cricut offered me some new materials in a variety of colourways to trial. So in the next few weeks I’ll be experimenting with them and writing a review exploring their application. Watch this space.
EASE OF USE
I do admit to being a bit anxious about using the Cricut Maker 3. Would I stuff it up, how do I do things, what on earth is a blank, “What do you mean, I have to mirror image wording?!” and so on.
It’s true. No experience is necessary. The huge number of tutorials, plus the in app step by step assistance, provides you with every opportunity for a successful crafting outcome. Yes, there’s a learning curve but at the same time, it becomes second nature after only a short time. I really enjoy using the Cricut Maker 3 and tend to find the hours just slip away as I become engrossed in all the possibilities. So don’t be worried, you’ll pick it up in no time, especially with all of the help available in app and online.
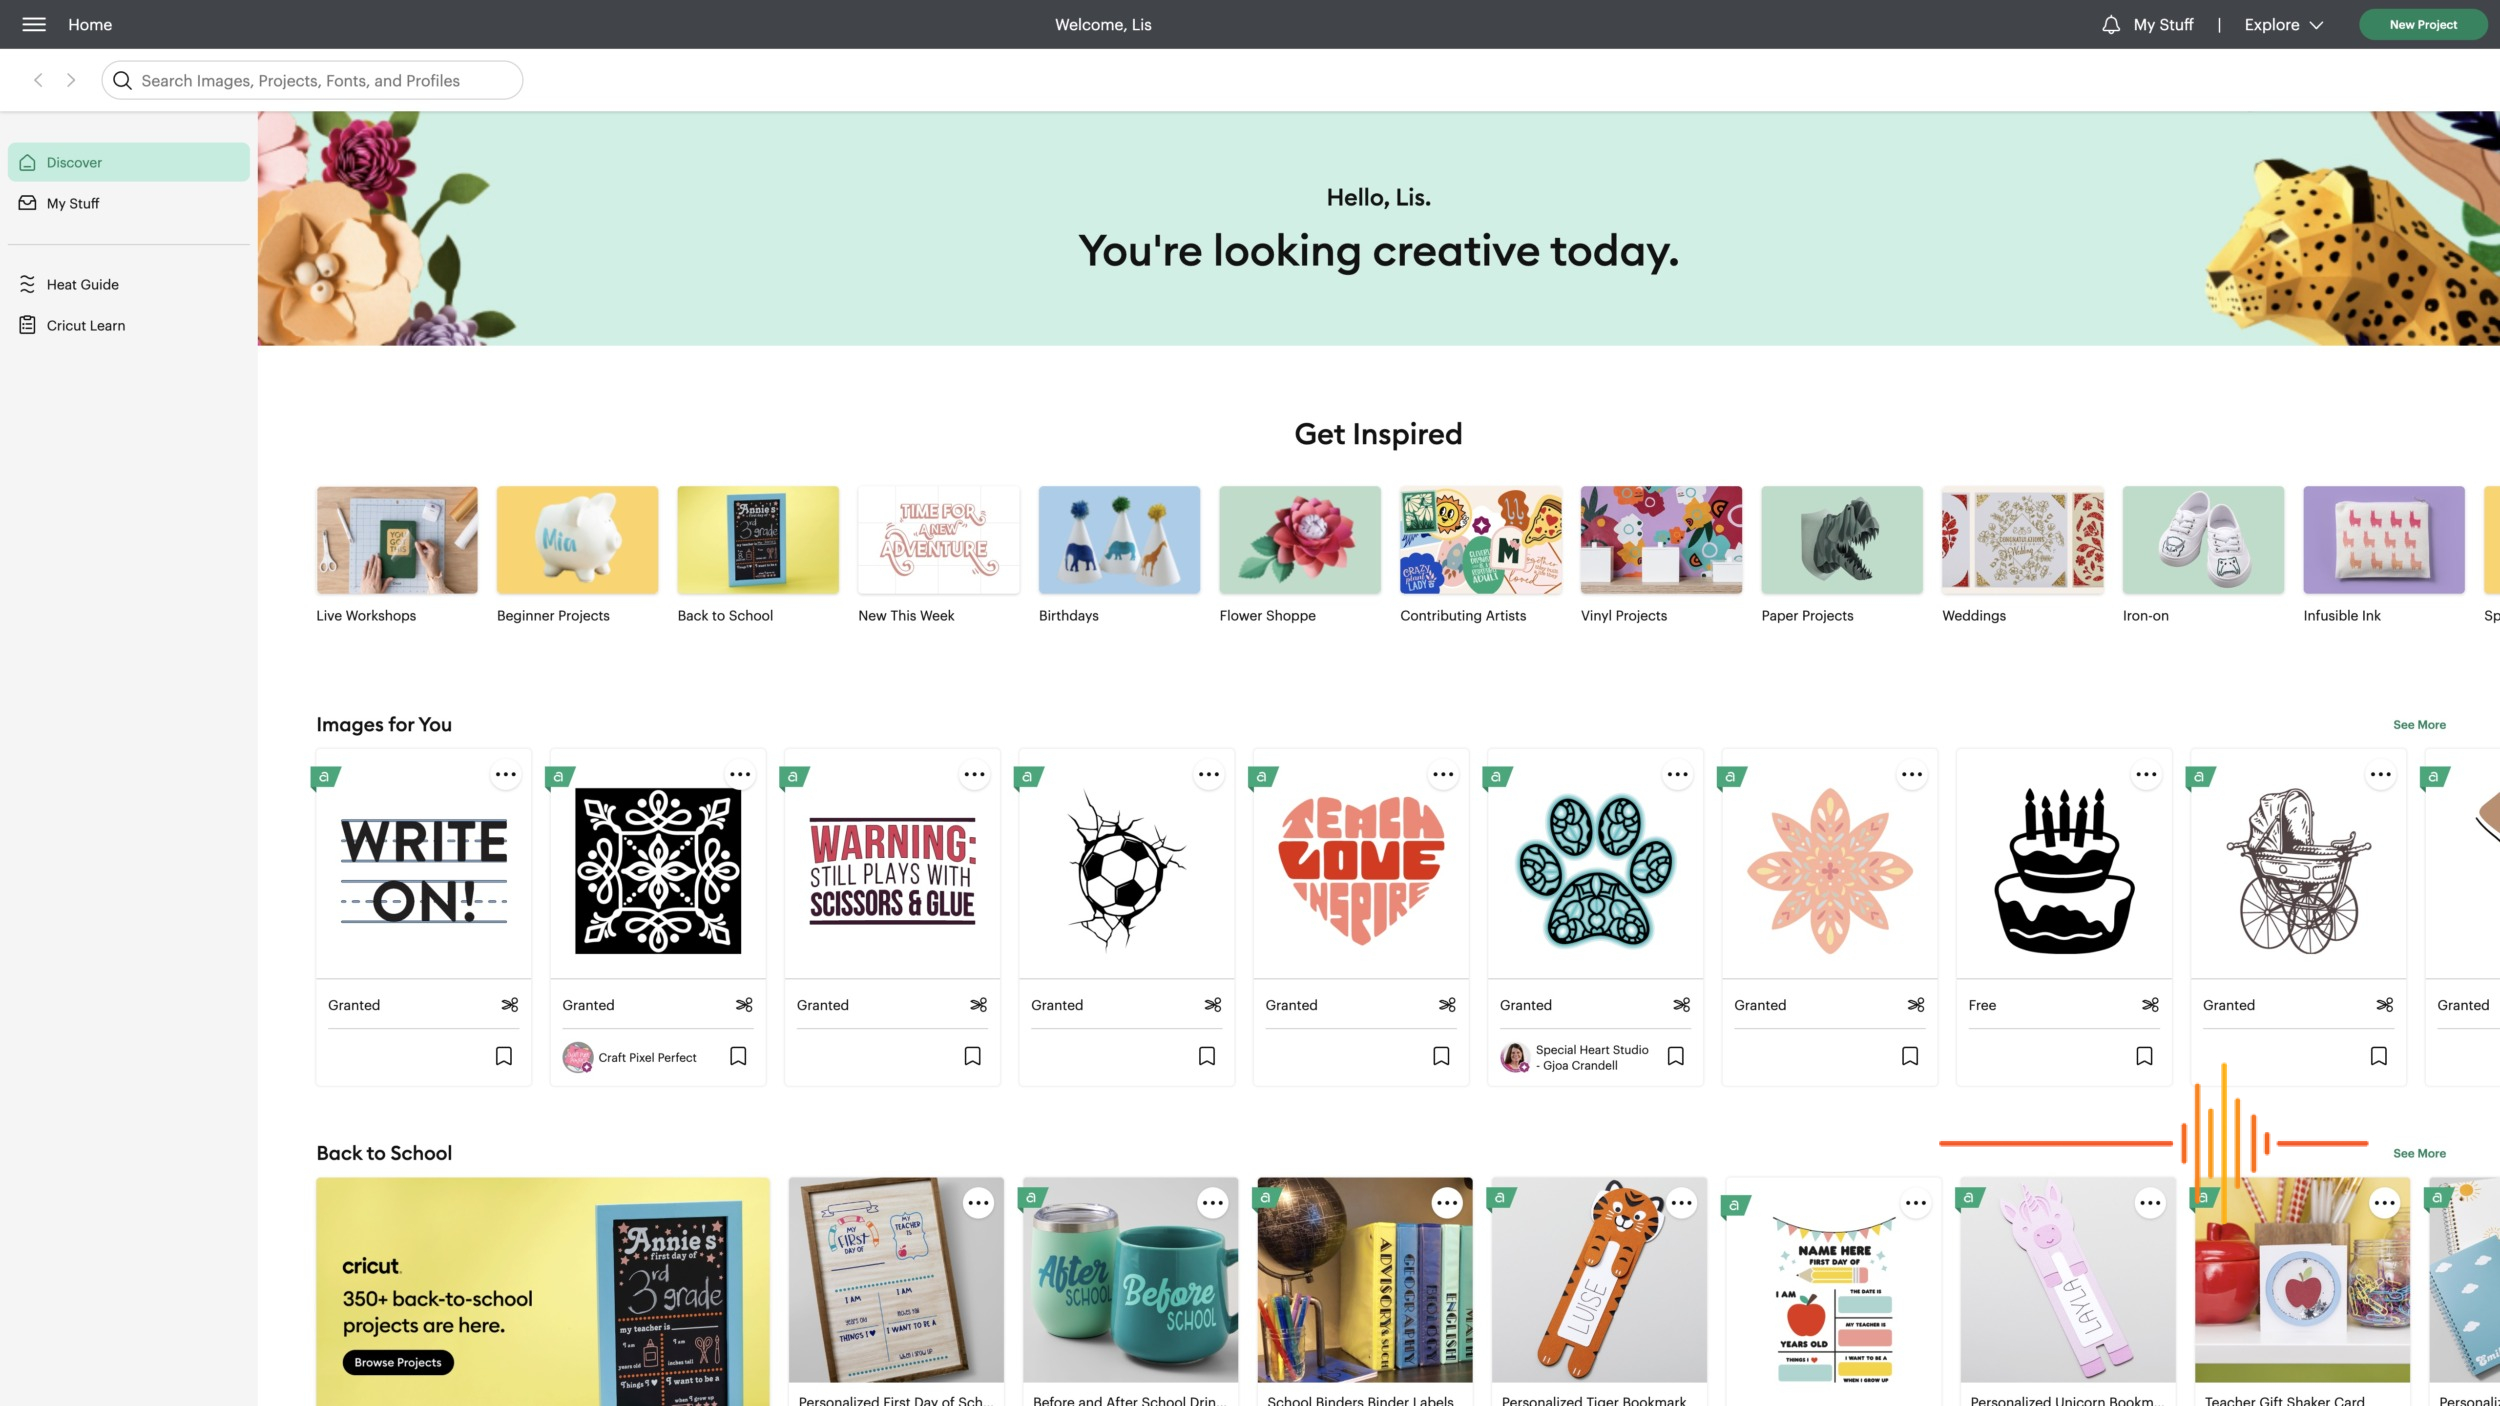
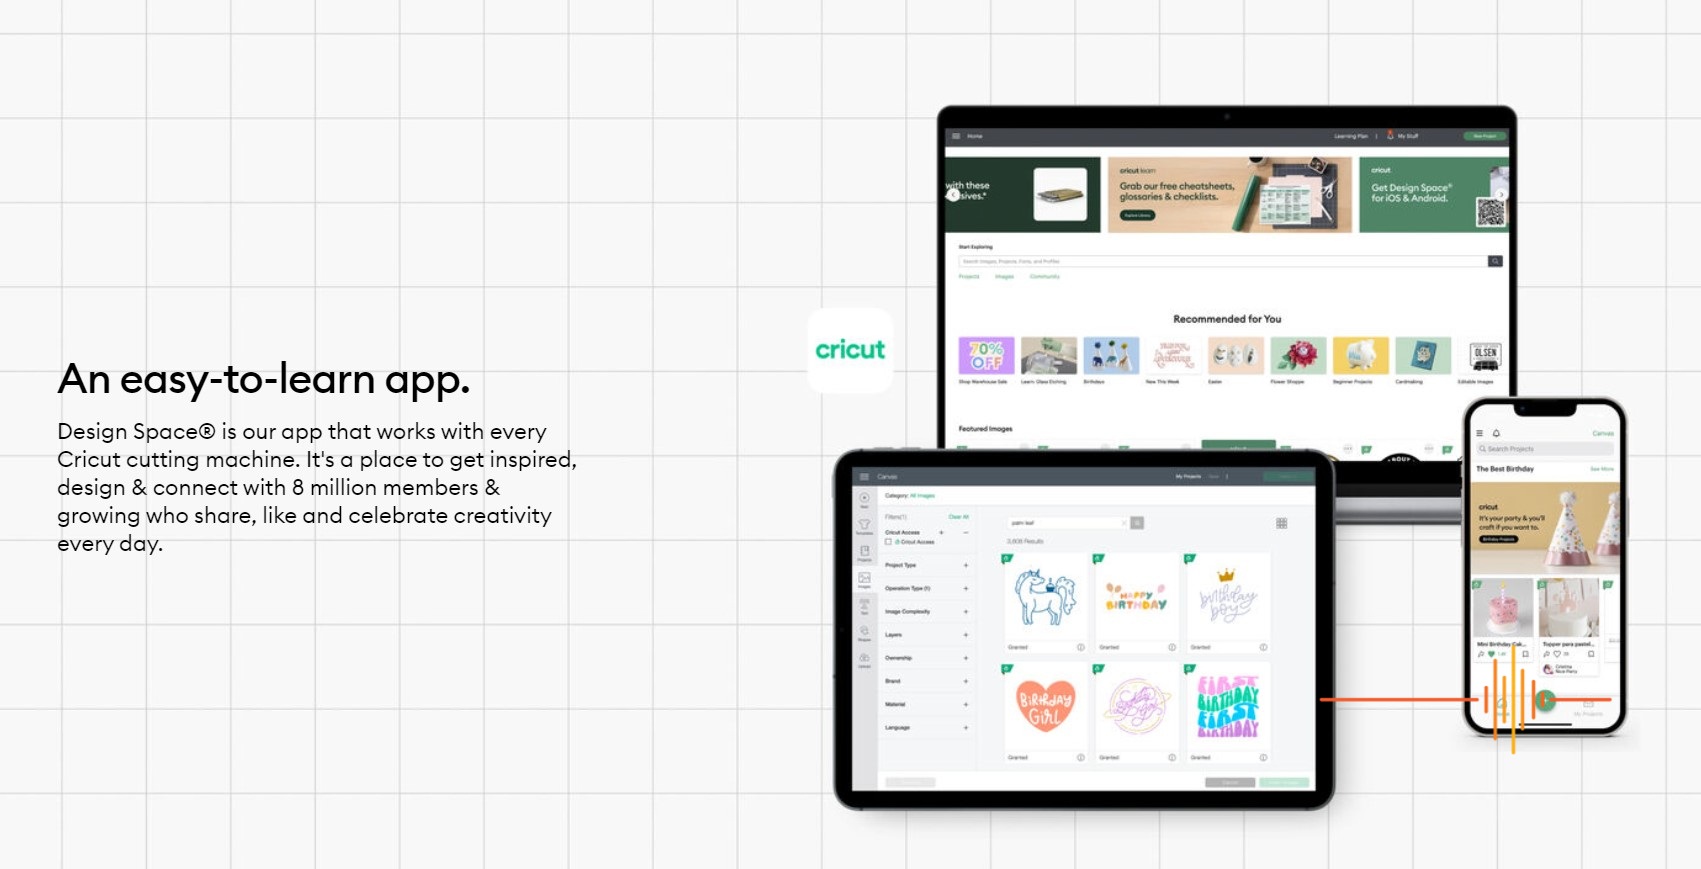
DESIGN SPACE
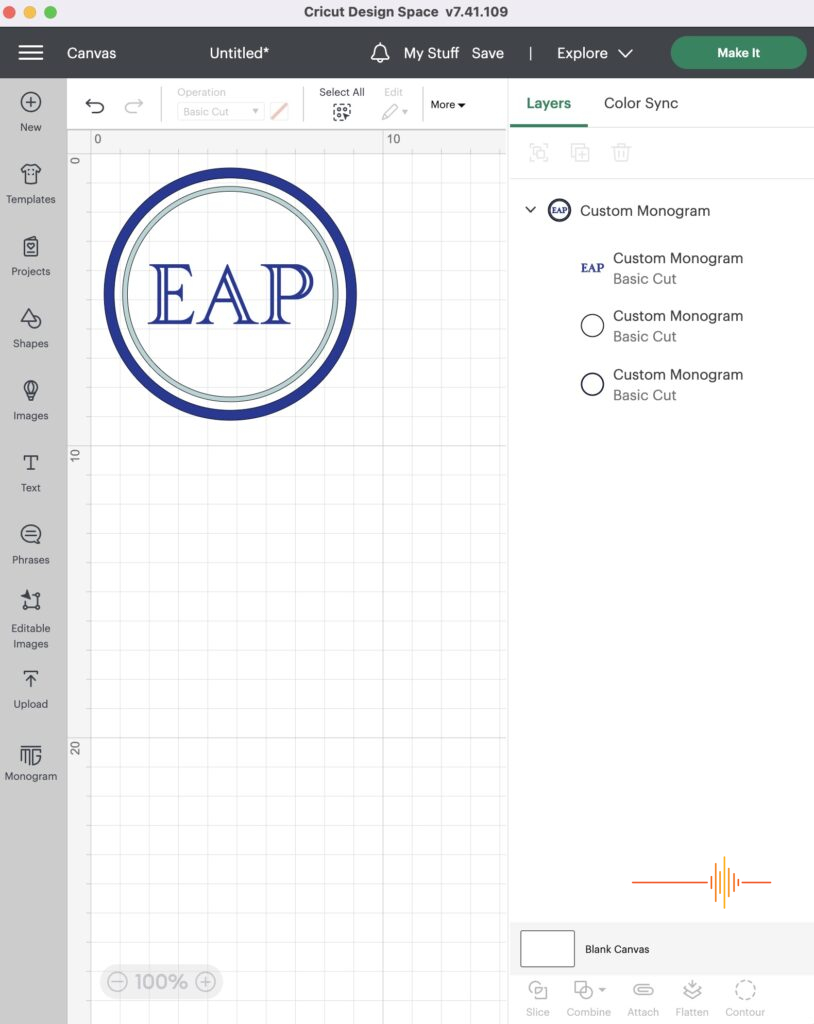
Have no fear, Design Space is here! This is a well thought out and developed application, which is also downloadable in desktop form. There’s a number of free designs to get you started. The addition of basic fonts, images and customisable free projects to get you started is a great introduction to the vast possibilities at your fingertips. Below is an example of the desktop version for Mac:
But if you want to maximise this excellent design software, consider the paid CricutAccess subscription. The subscription unlocked multiple design options, font, images, design templates and priority member care. You can also utilise what other creators have made and use their designs for your own purposes. Honestly, it’s a win/win in my opinion. You get so much more access, including the impressive Monogram Maker. It literally takes 10 seconds to create and refine your Monogram, which is very handy for labelling purposes.
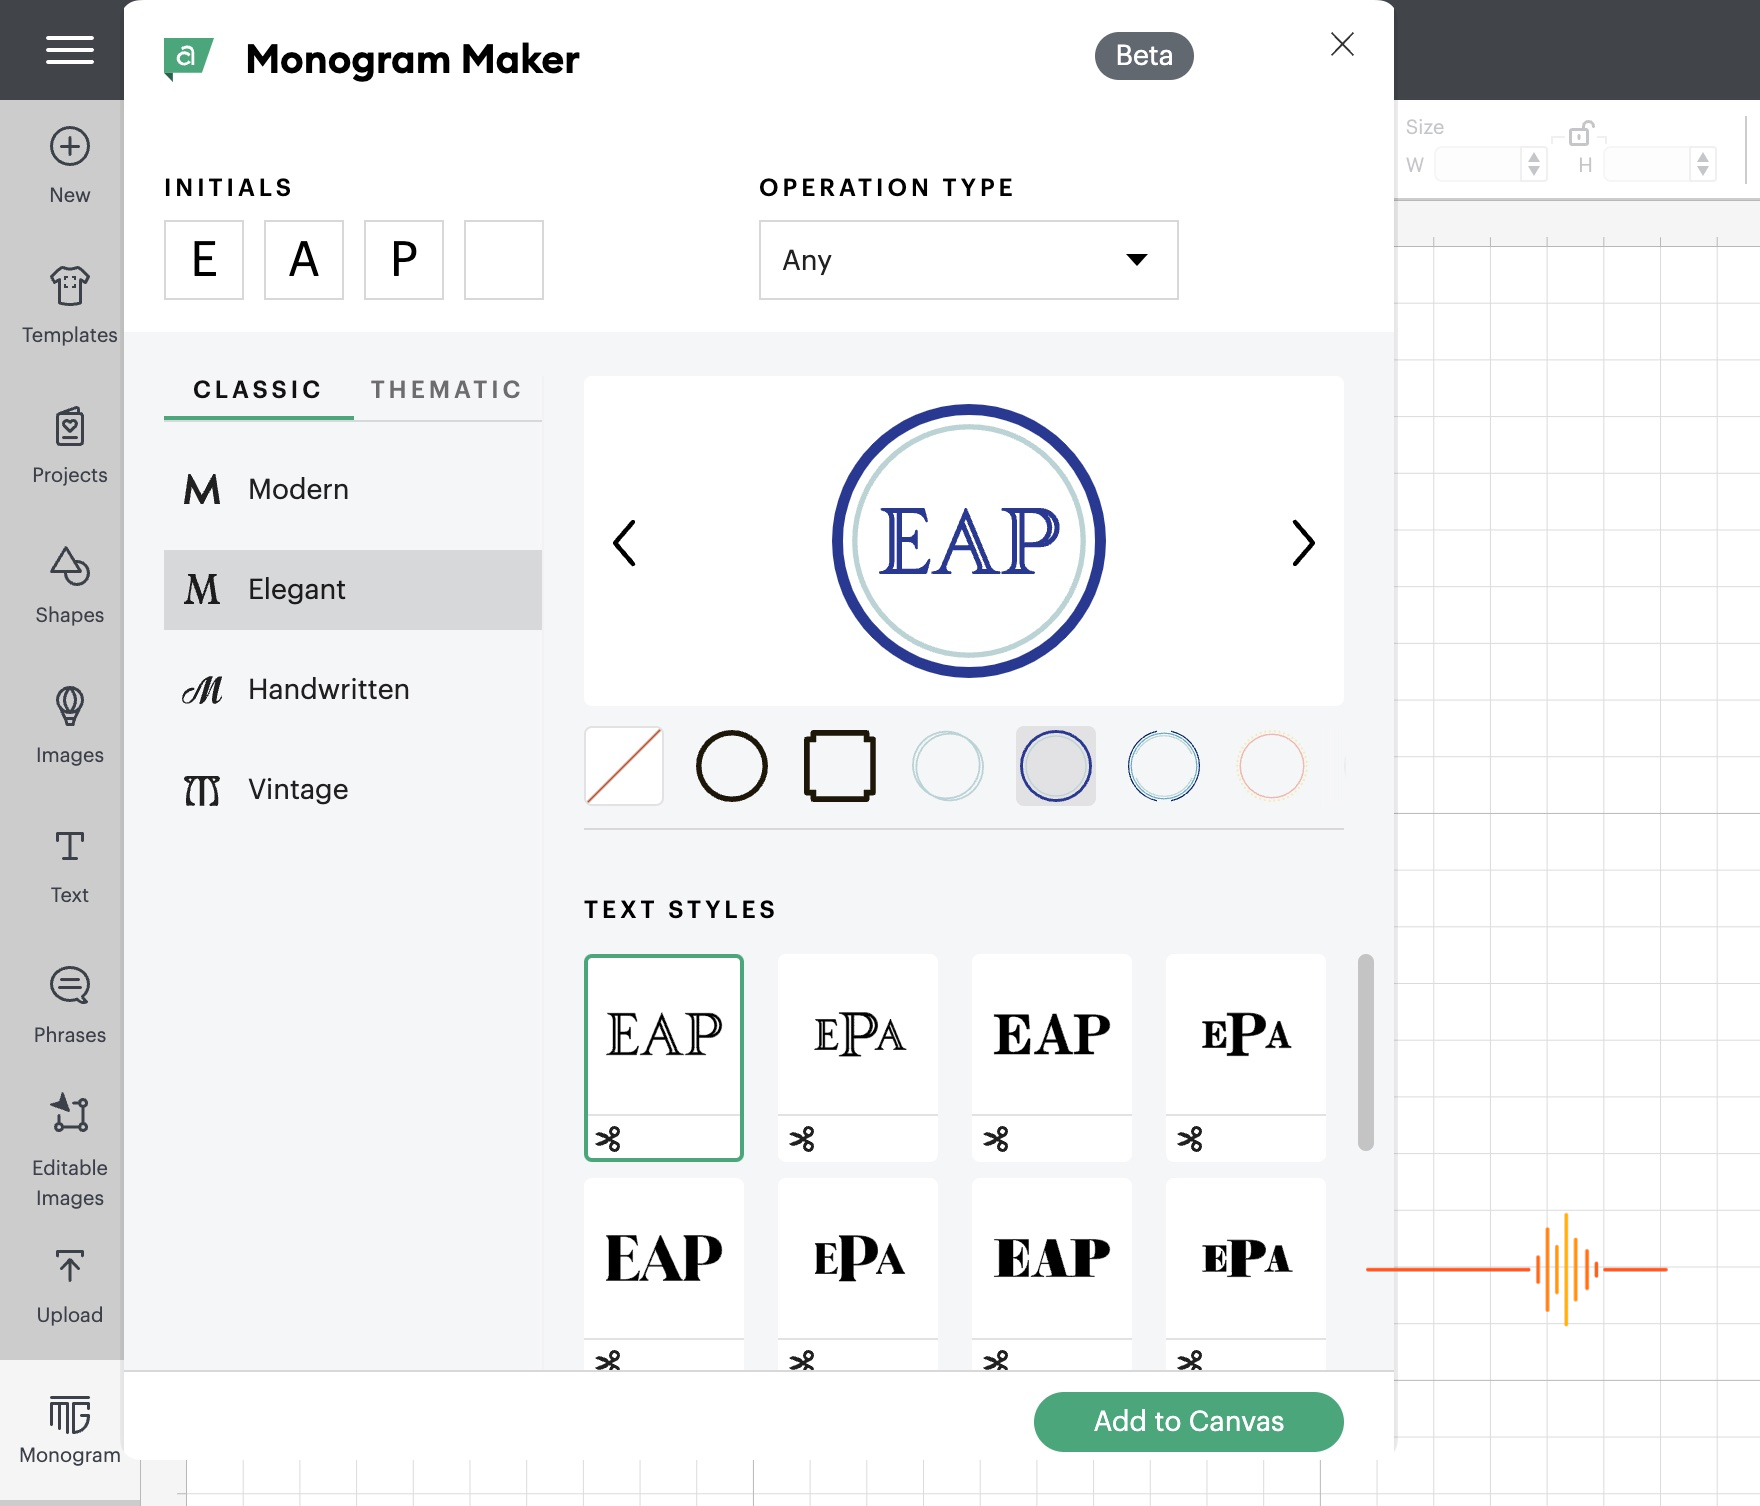
Completed monogram design below. You then click “Make it” and it connects to the Cricut Maker 3 and walks you through all of the steps.
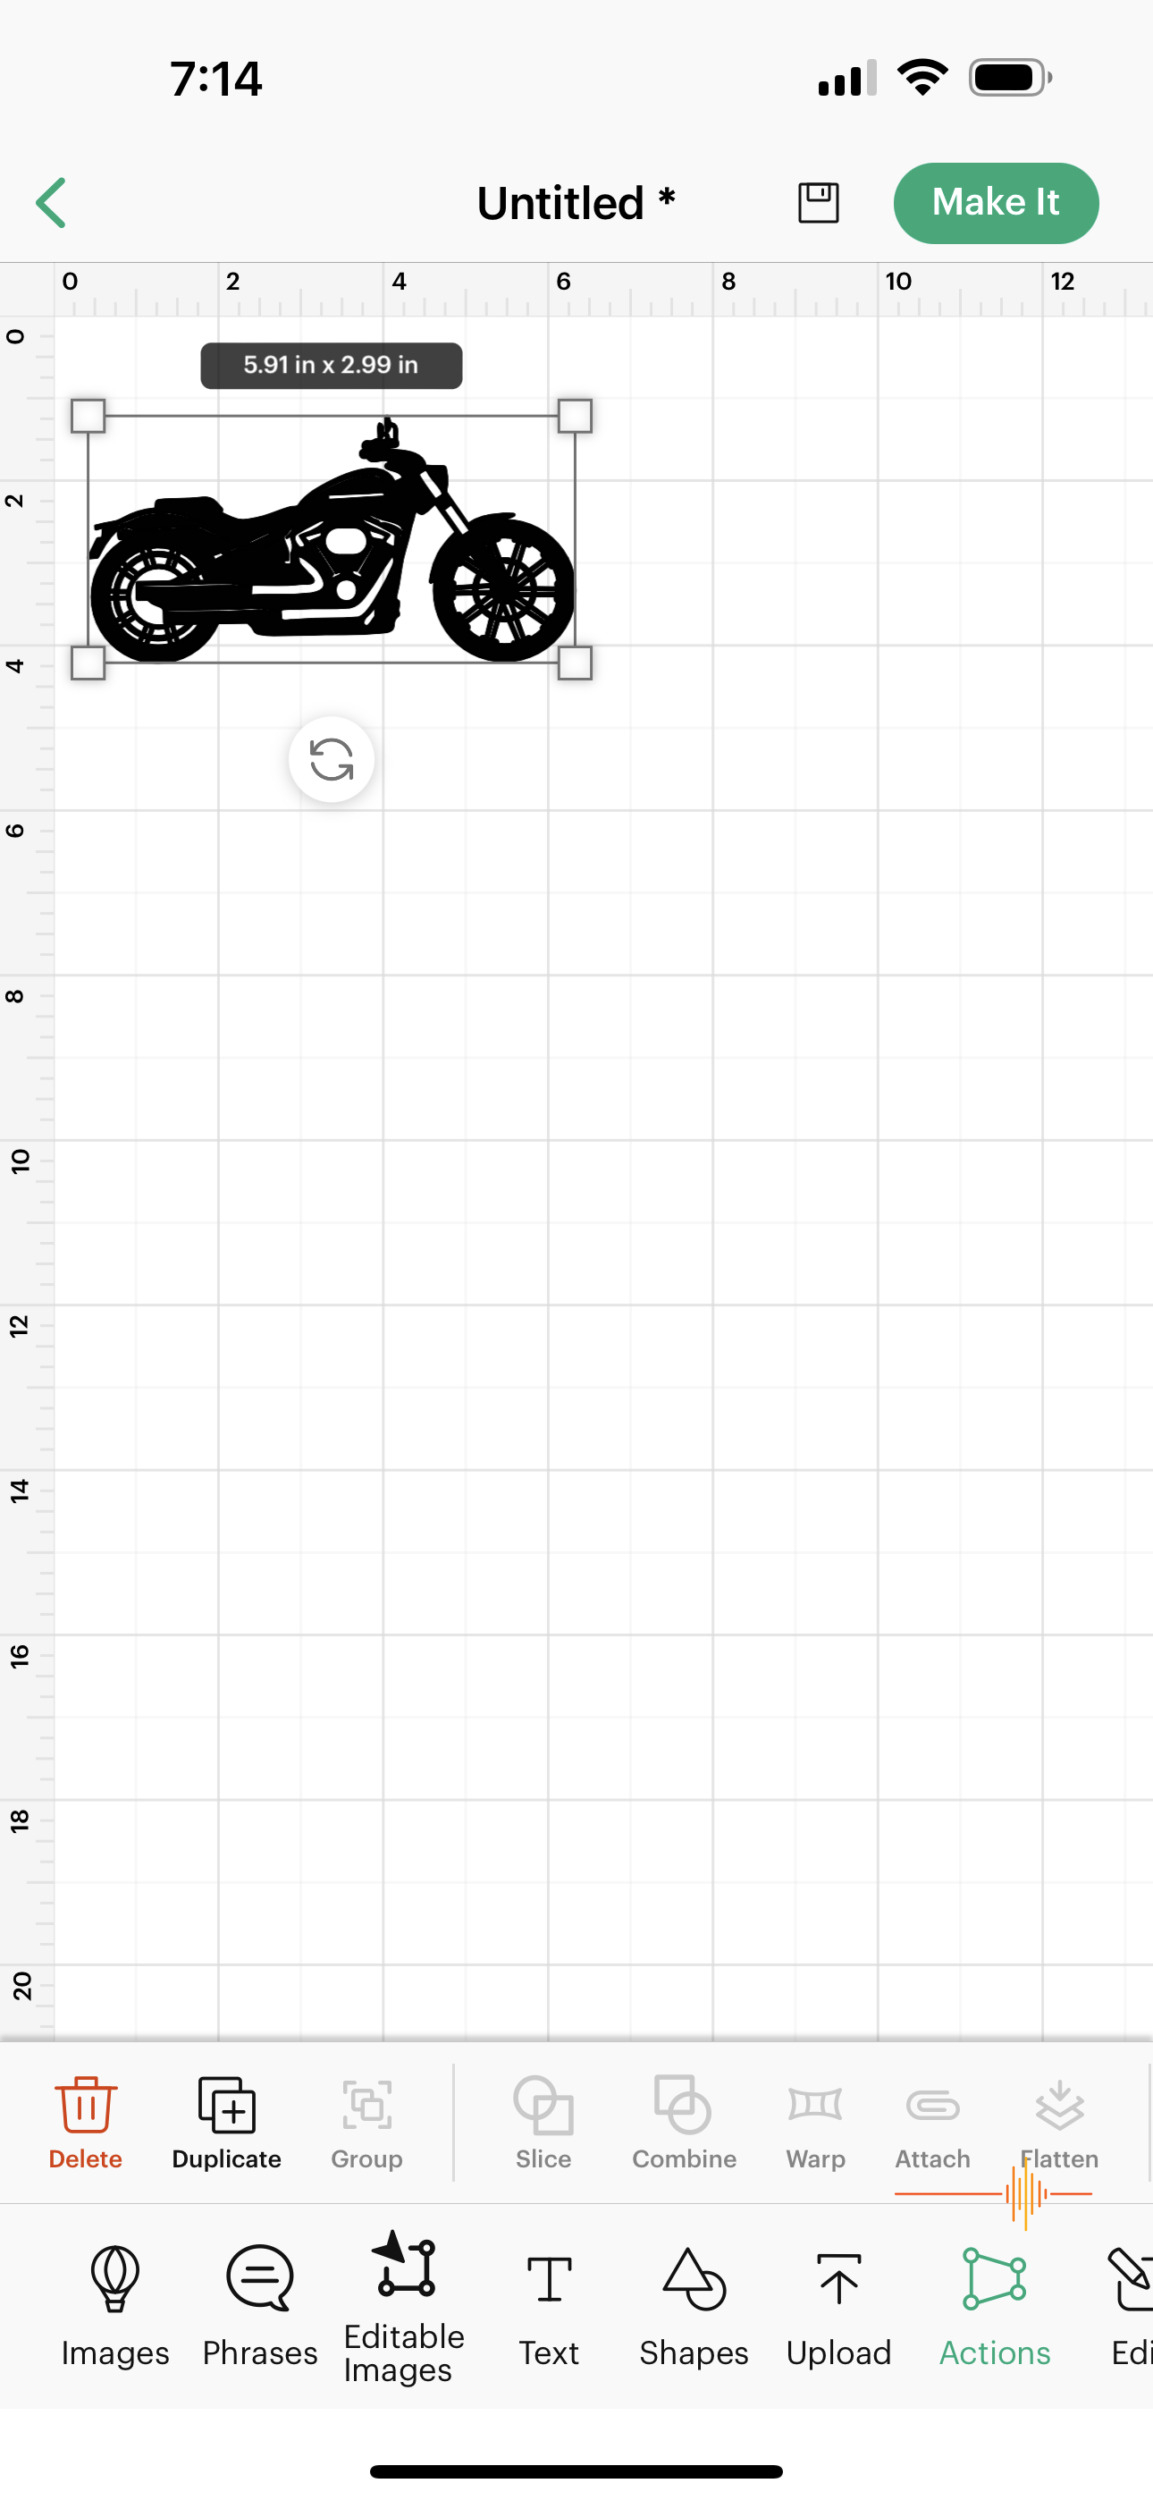
I’ve subscribed beyond the initial free tester subscription and it has been a real bonus, especially when I wasn’t too confident in creating my own initial designs. CricutAccess subscription has given me ideas, prepared designs and provided the capacity to create some really lovely items and gifts for family and friends. Below is an example of the mobile based Design app.
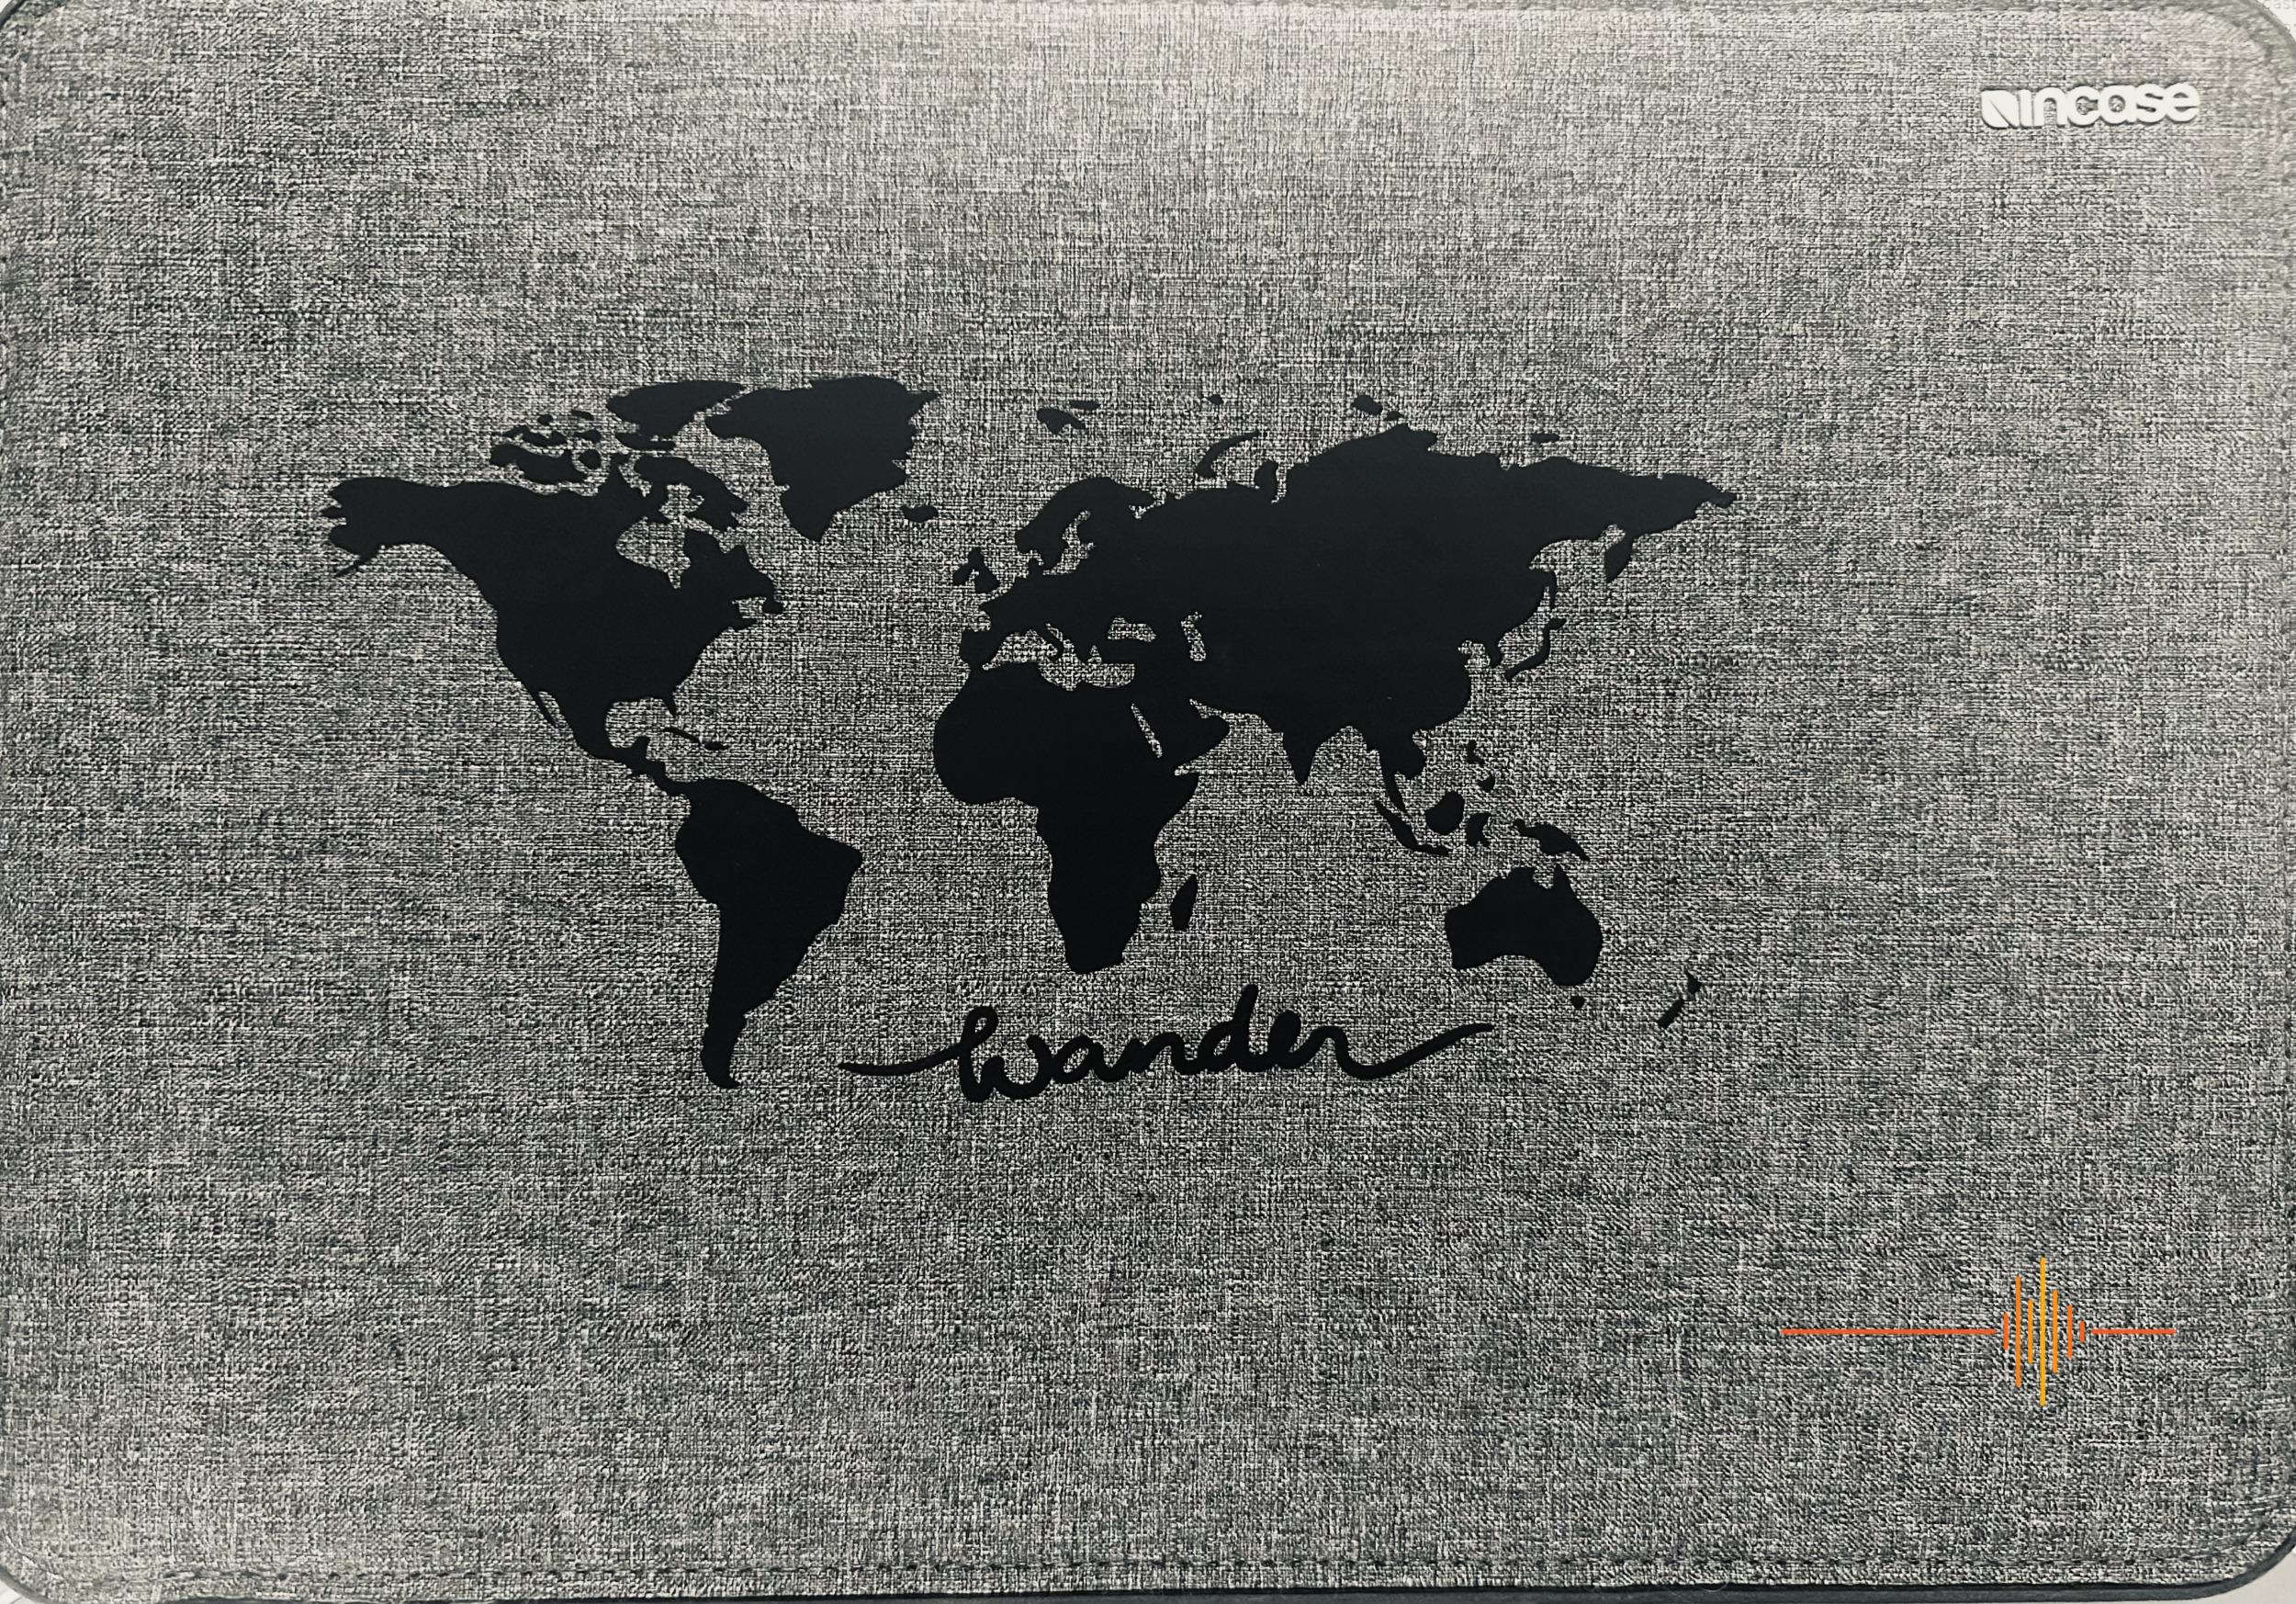
This global map below is a great example of some of the designs available. Using my laptop sleeve as the blank, I found and adjusted sizes etc in Design Space. I printed out on Everyday iron on and pressed onto my laptop sleeve using the Cricut EasyPress. I’m very happy with the finished product.
Design Space encourages users to become part of the Cricut community and to share their experience with others. Cricut highlight creators and really work hard to help you get the best out of your Circuit Maker 3.
MY PROJECTS
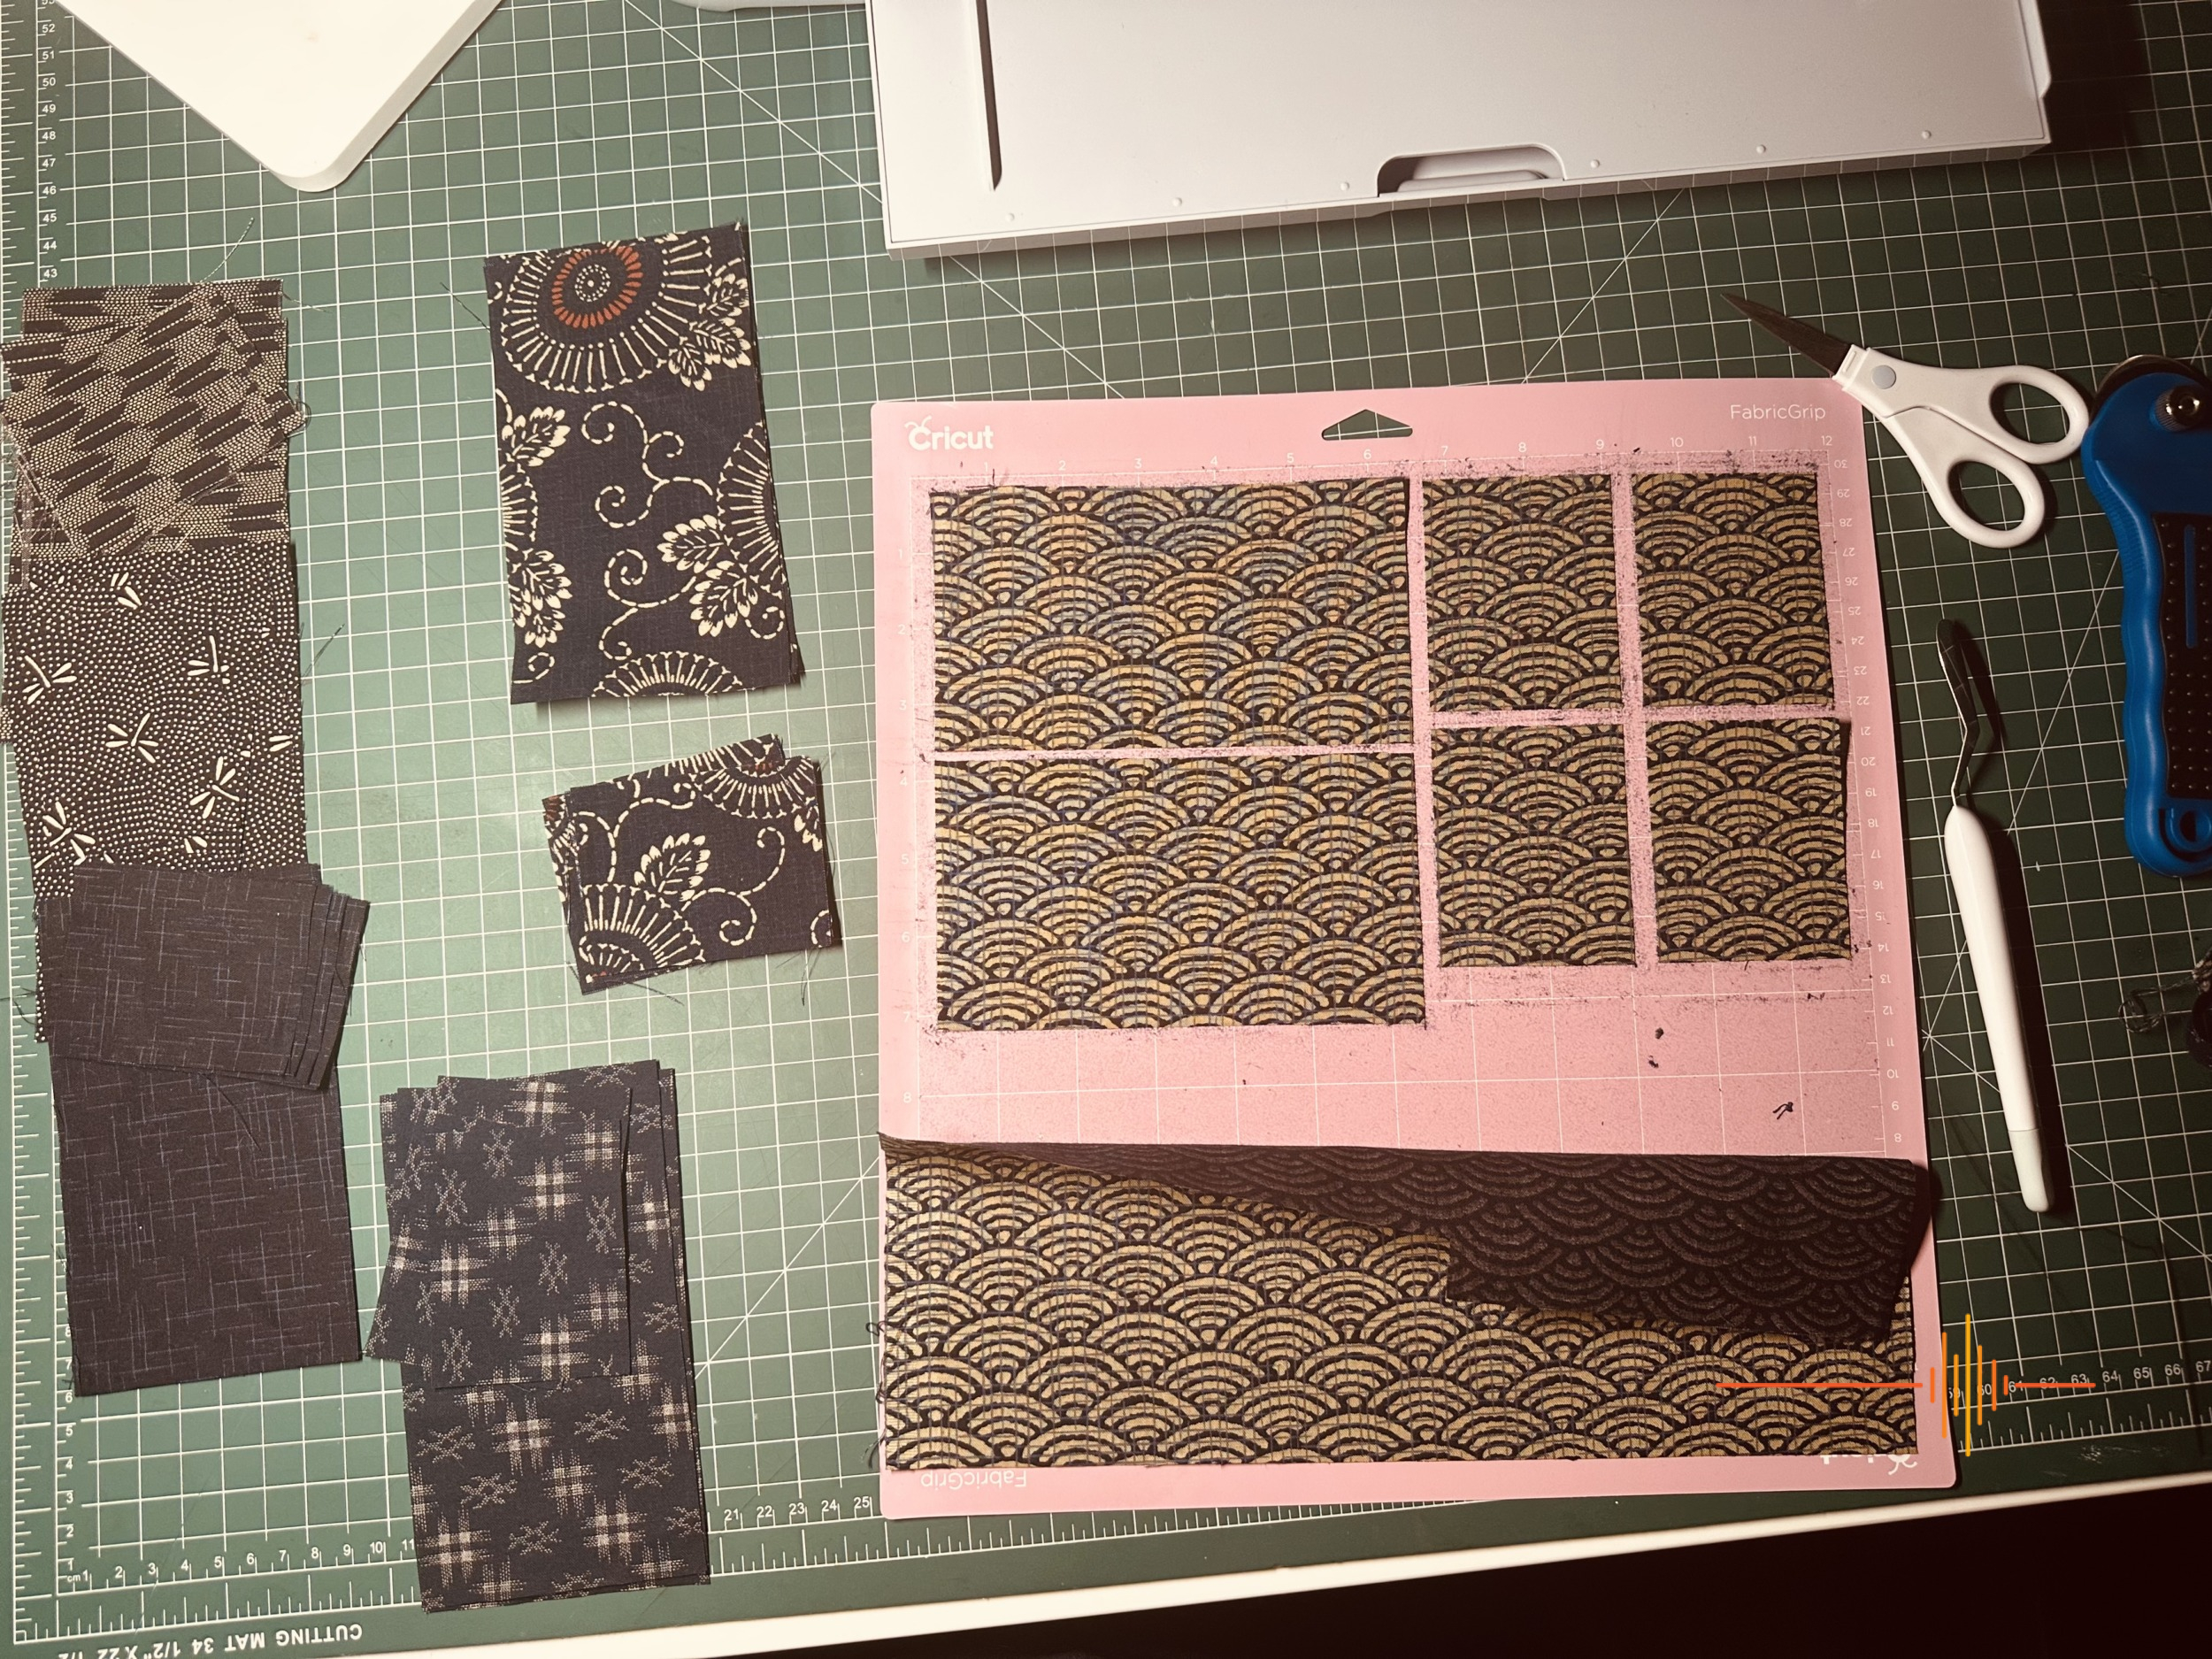
I was slightly ambitious when I started my Cricut journey and announced to the world I would be making a Japanese inspired quilt. The good news is I bought all the material and cut it out using the Cricut Maker 3 and Design Space for inspiration and design. The bad news is I haven’t quite got around to sewing it together yet… BUT you will have a fairly good idea of how it will look below.
For this task I used the Fabric mat (pink) and ensured my fabric was cut to fit the mat. I then used Design Space to organise my shape sizing and placement, to maximise material use, and commenced Fabric cutting .Once I was confident with my cutting and had my material ready to go, it was an easy task to get everything cut quickly and accurately. You do need a separate blade for this process but it is easily purchasable at any Cricut accessories stockist.

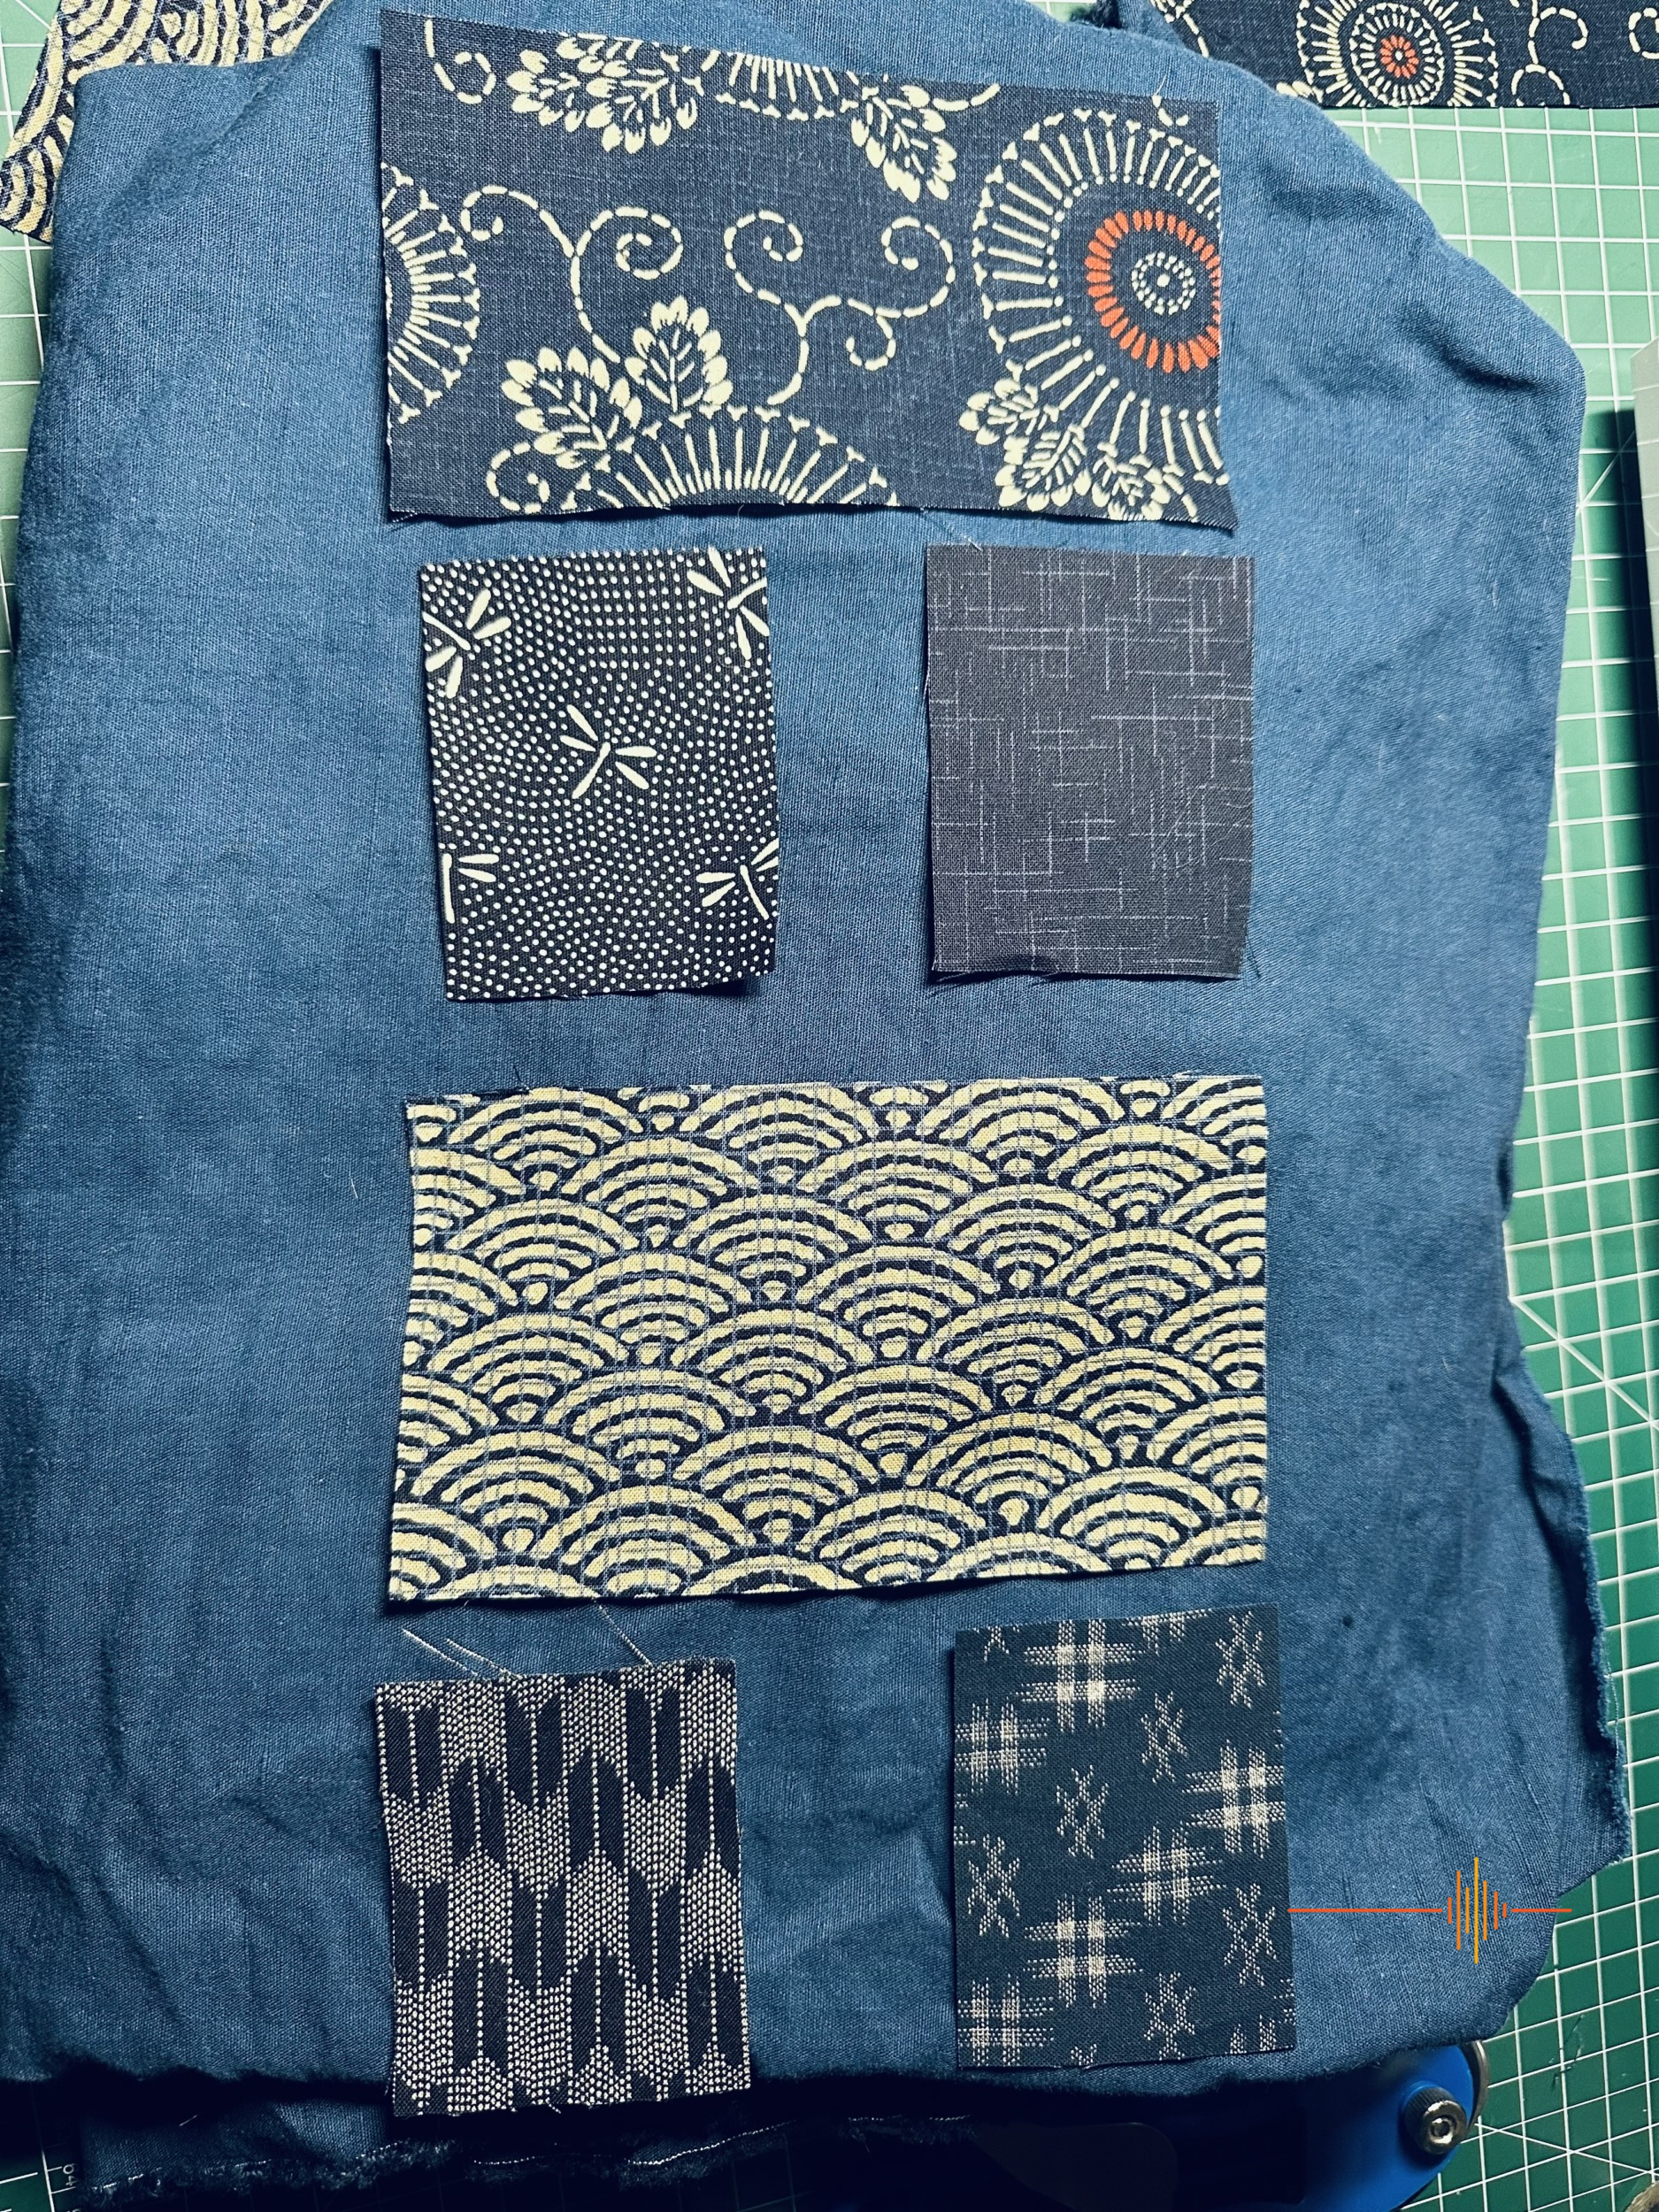
I’ve laid out the quilting background, but here you get an idea of my finished block design. Using the Cricut Maker 3 to cut my fabric gave me confidence my sizing would be perfect, everytime. As soon as I have time to sew it all together, I’ll do a quick review on the finished product. But for now, with a little stretch of your imagination, you can see how lovely it will look.
BUT WAIT, THERE’S MORE!
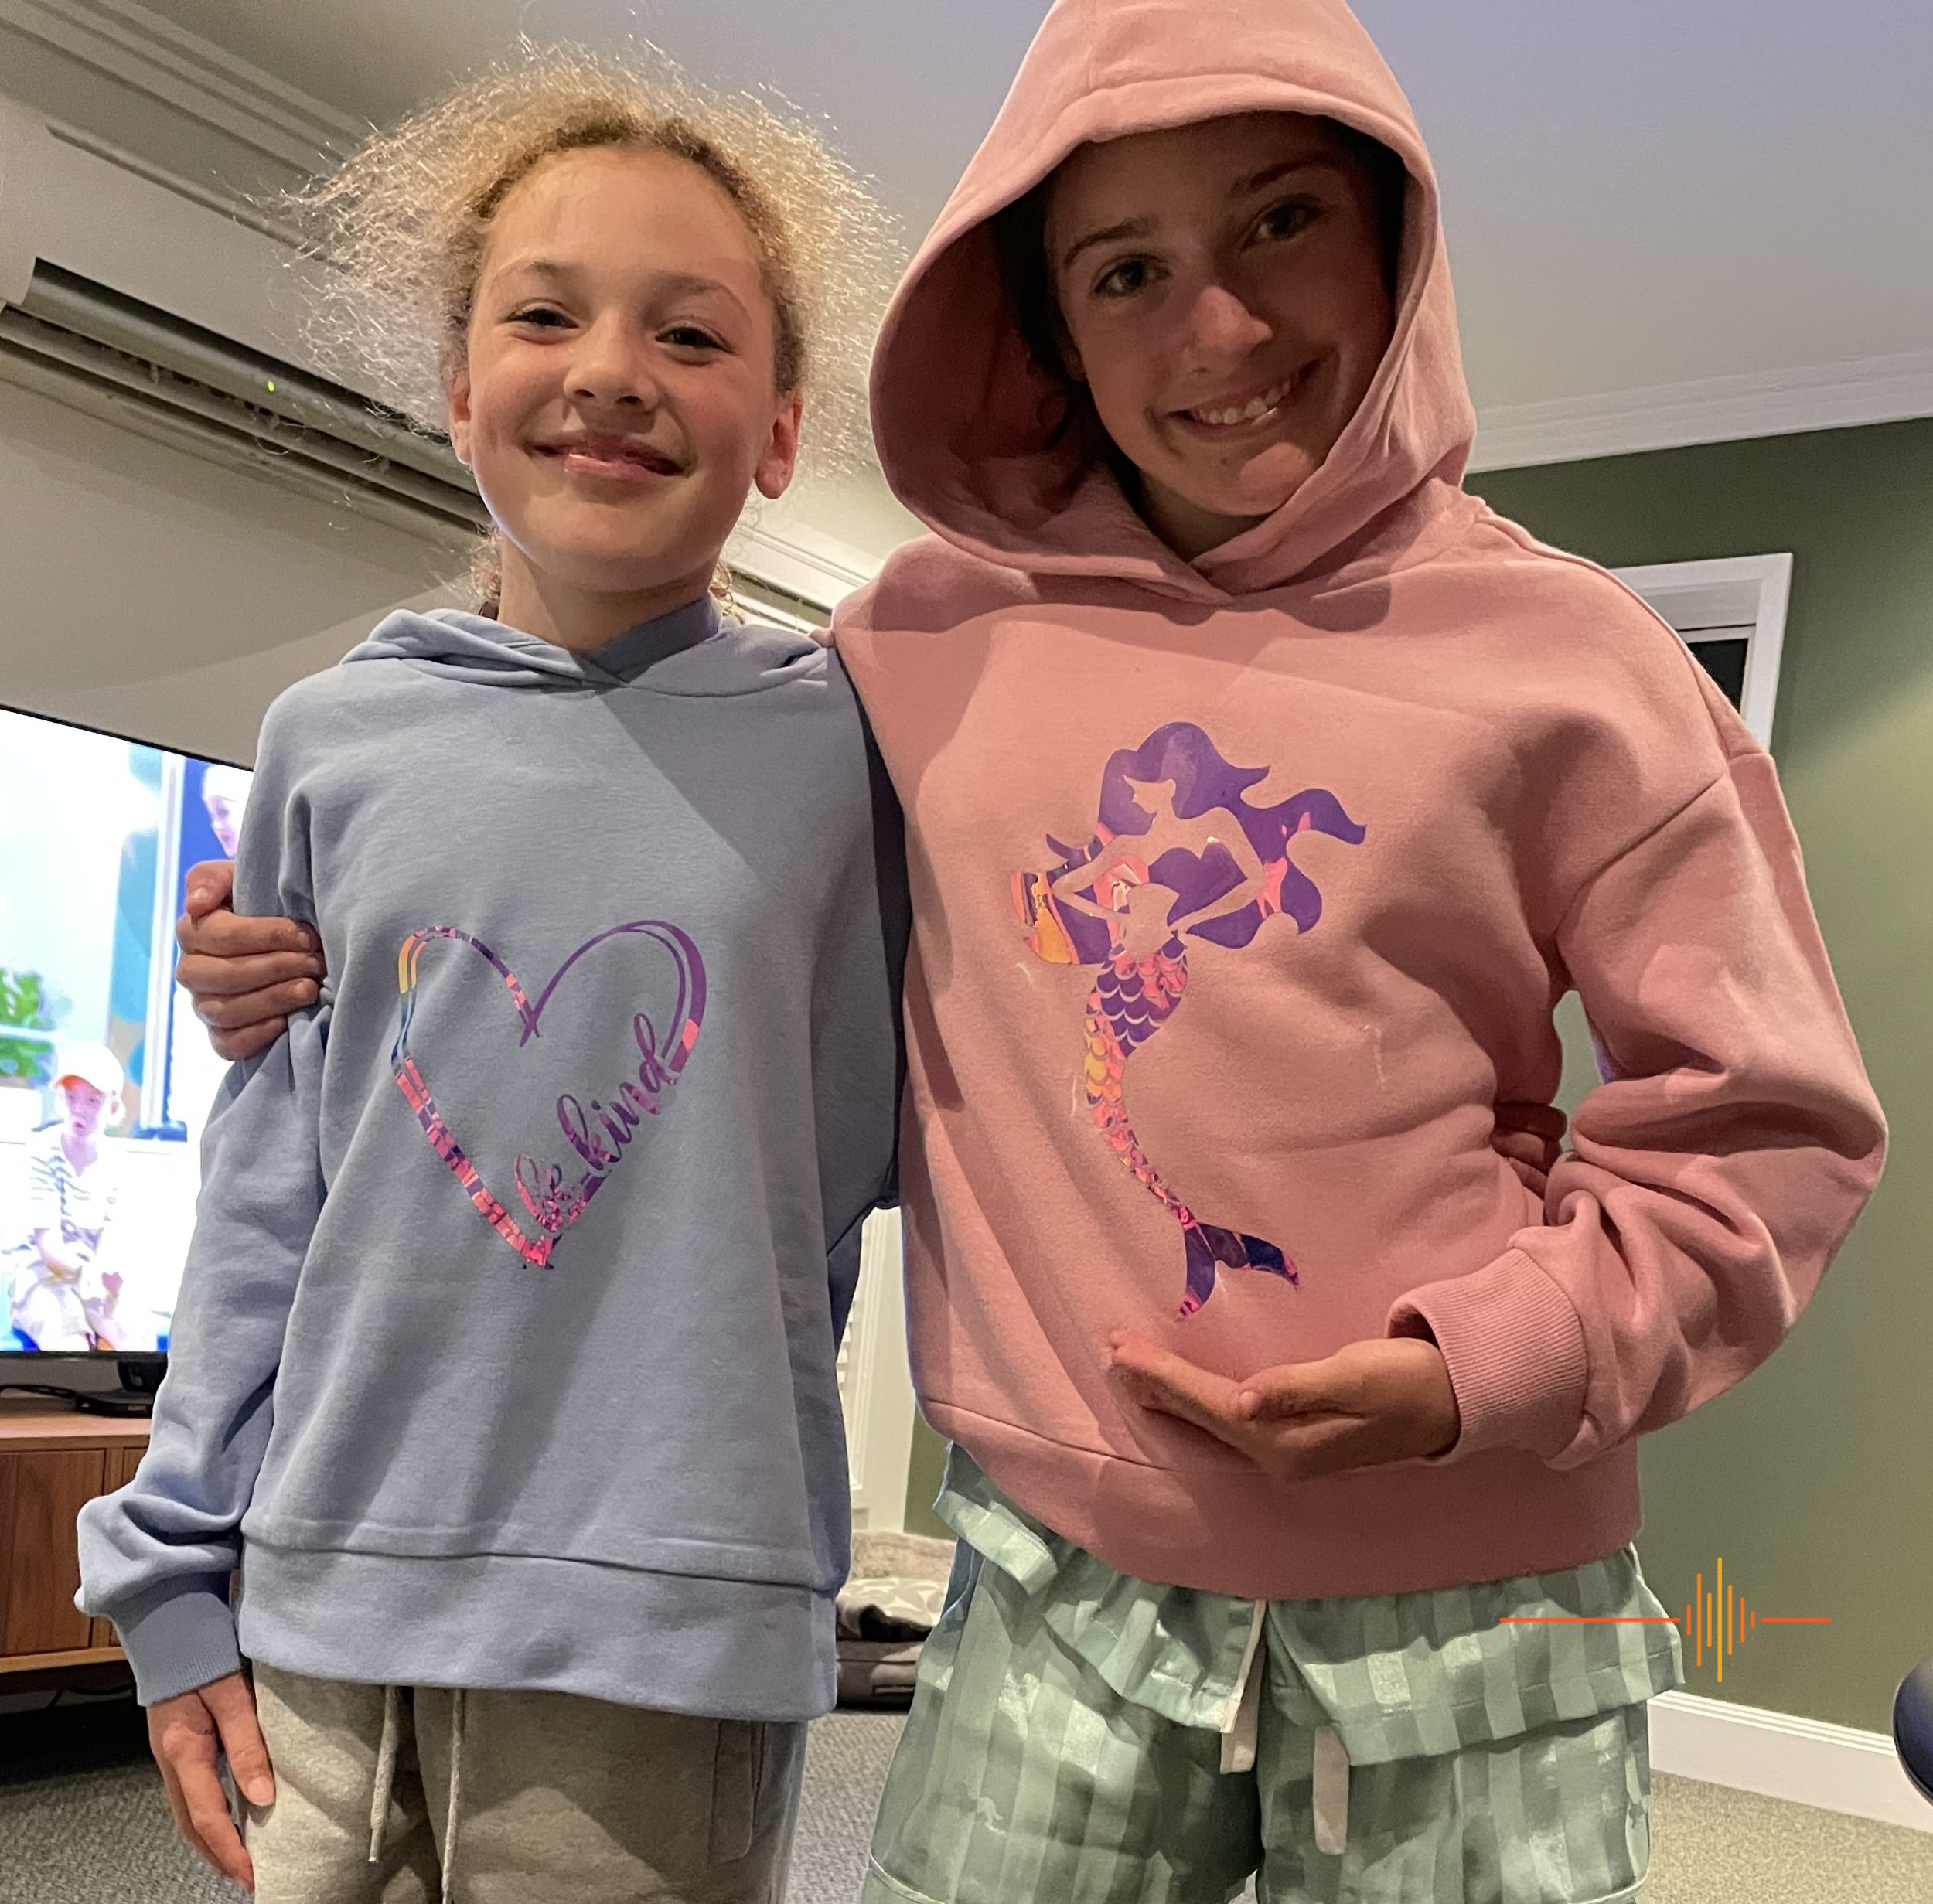
There’s some great age appropriate designs for my work colleague’s daughters, and using a couple of hoodies and Cricut Holographic Iron-on, I got to cutting and pressing using the Cricut EasyPress 3. They were very happy with the hoodies and designs and I was happy they were happy with them :).
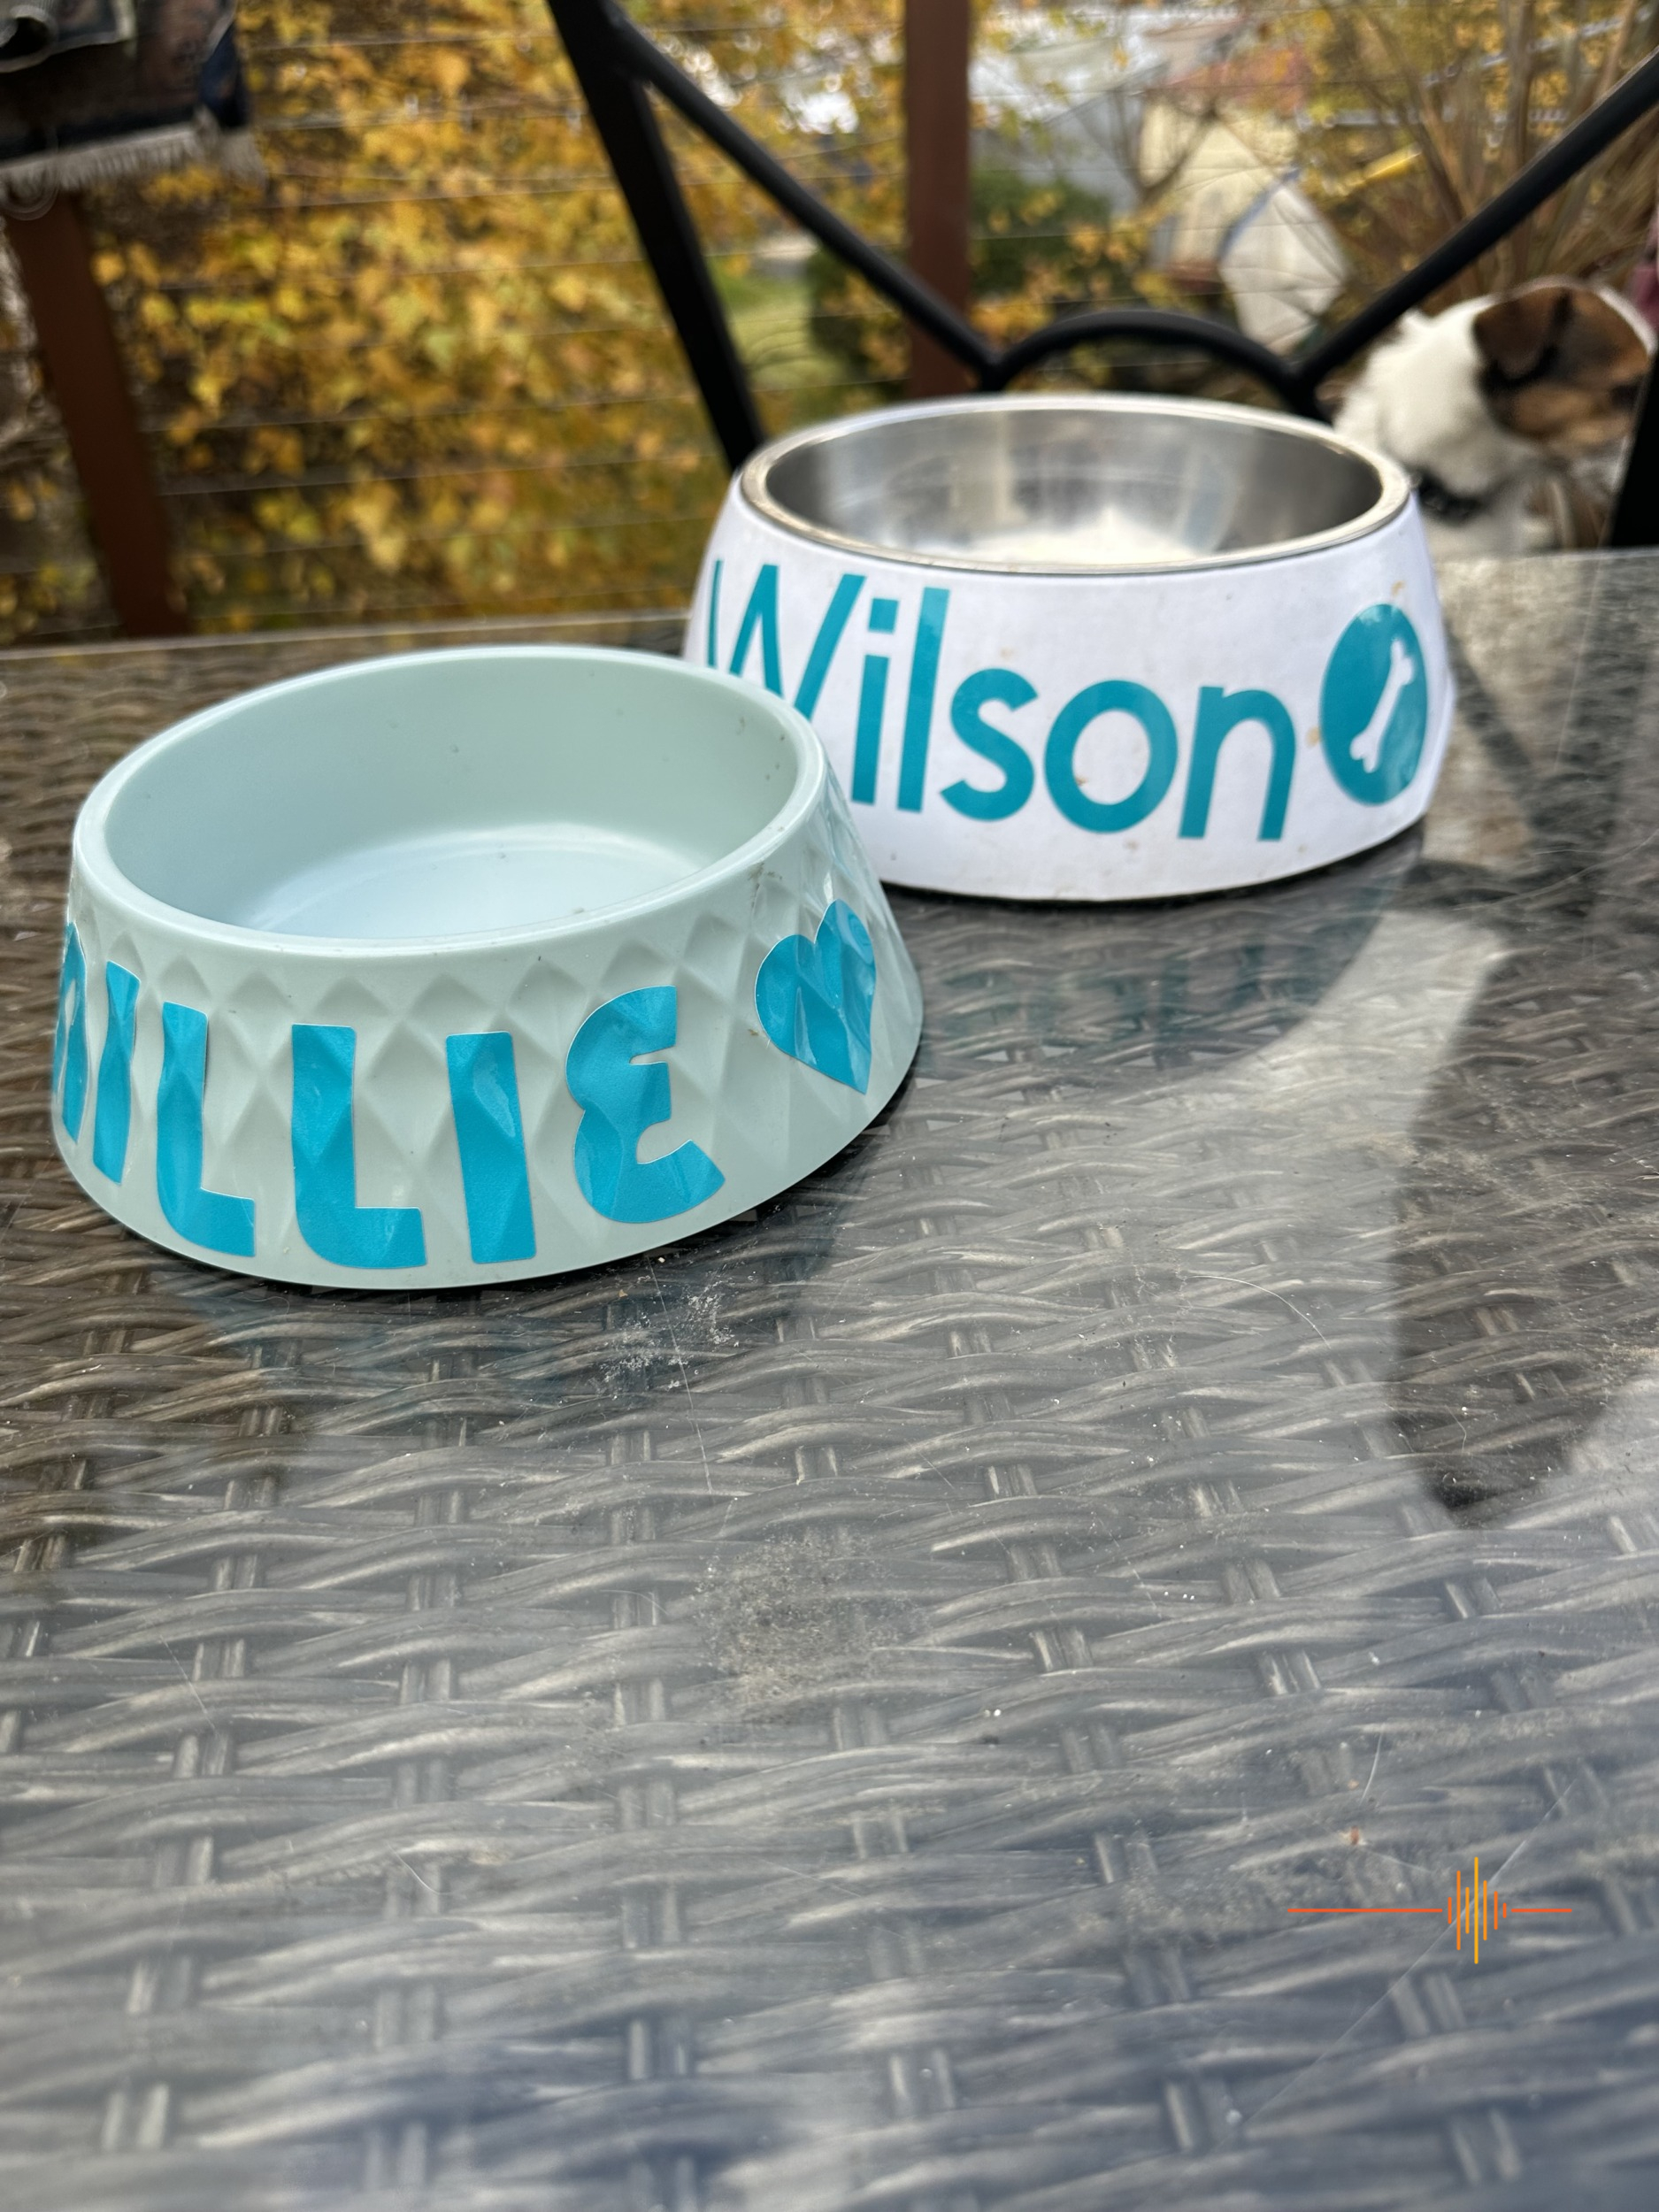
Ah, the dog bowls. Don’t look too closely but it was only afterwards I realised I could have curved the wording in Design Space to fit nicely. Never mind – I know for next time. For this task I used Cricut Removable Vinyl.
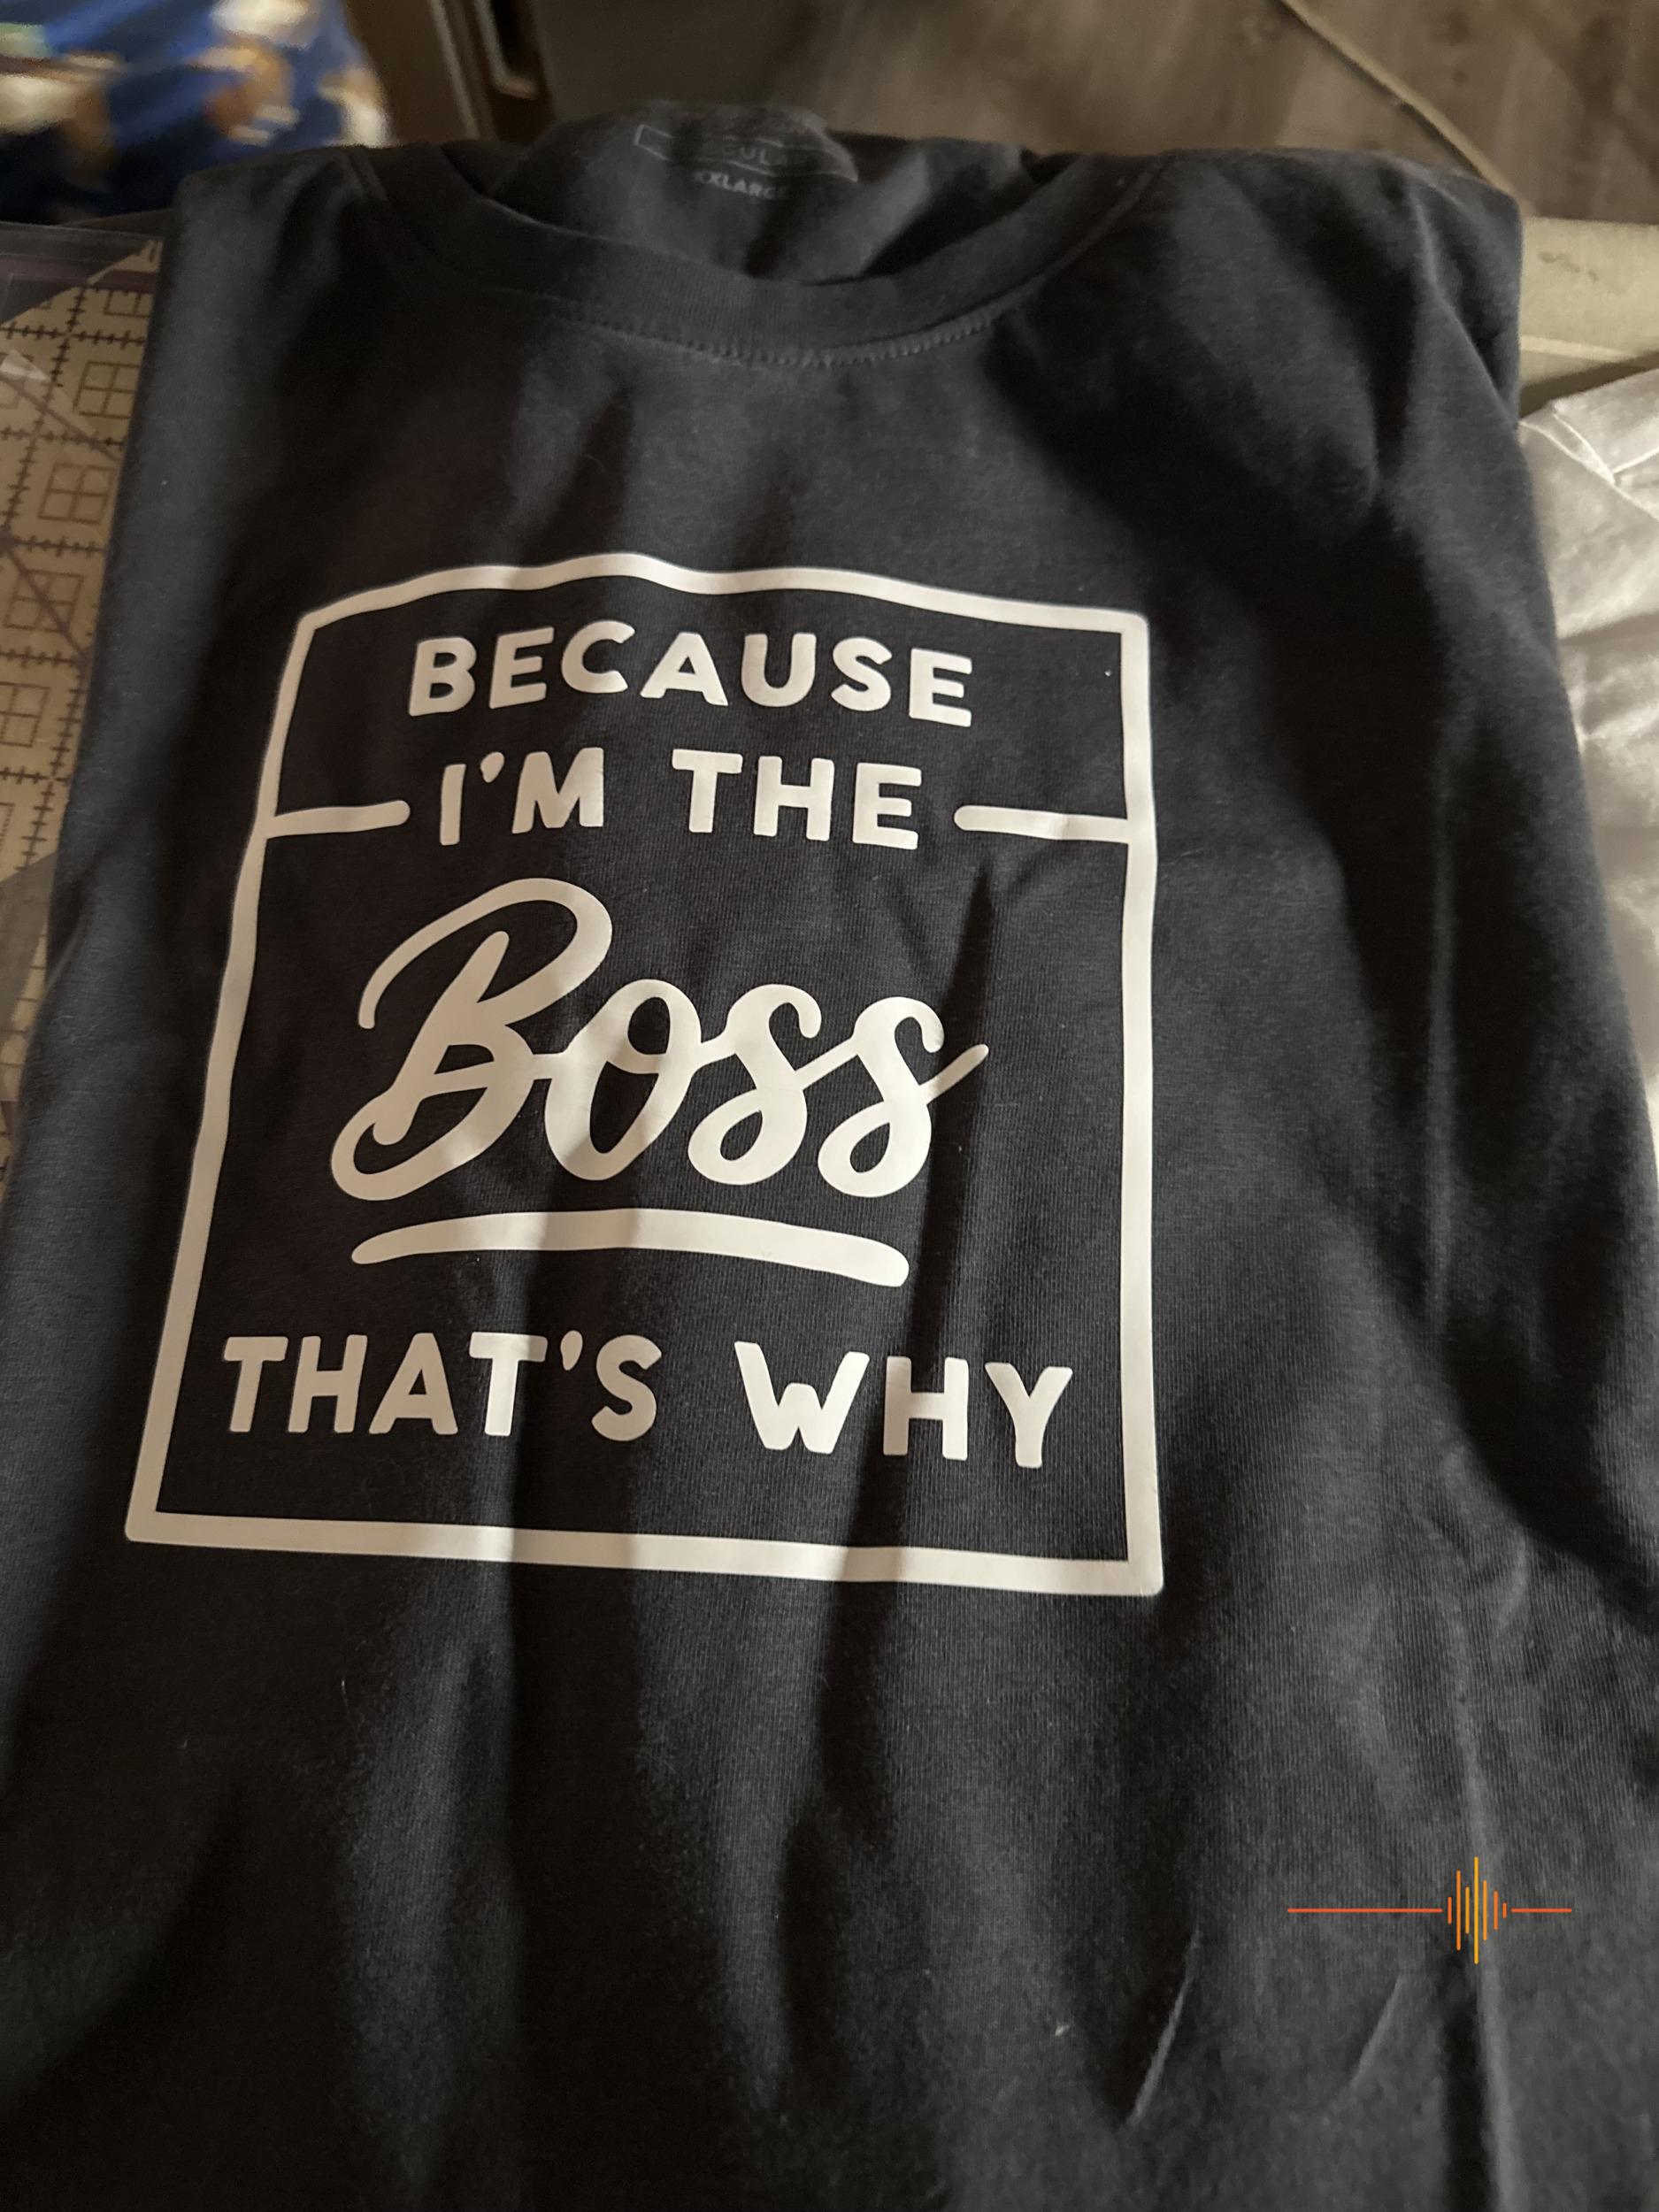
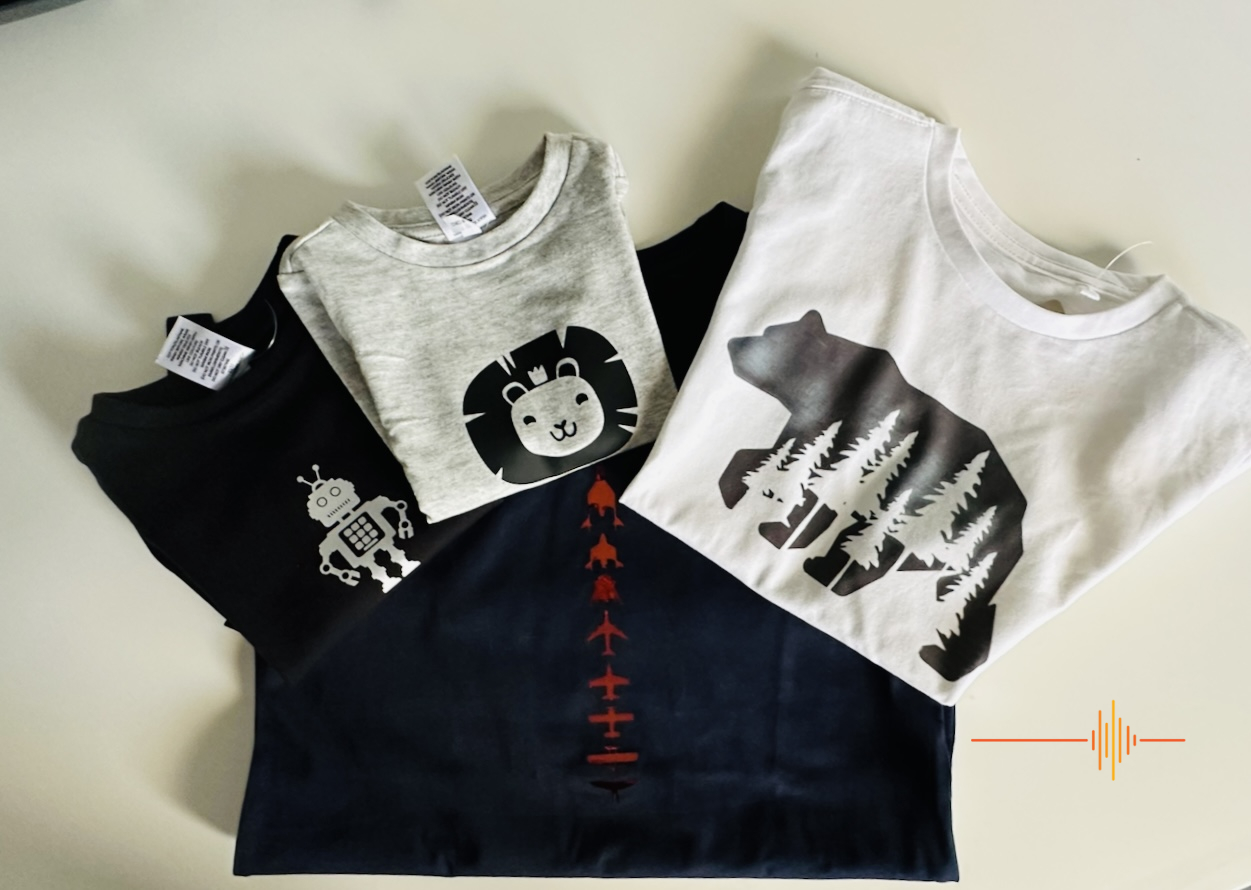
A variety of t-shirt designs were created using different mediums (Cricut Hologram iron on, Everyday iron on vinyl, Infusible Ink) designed, cut and pressed onto various purchased blanks:

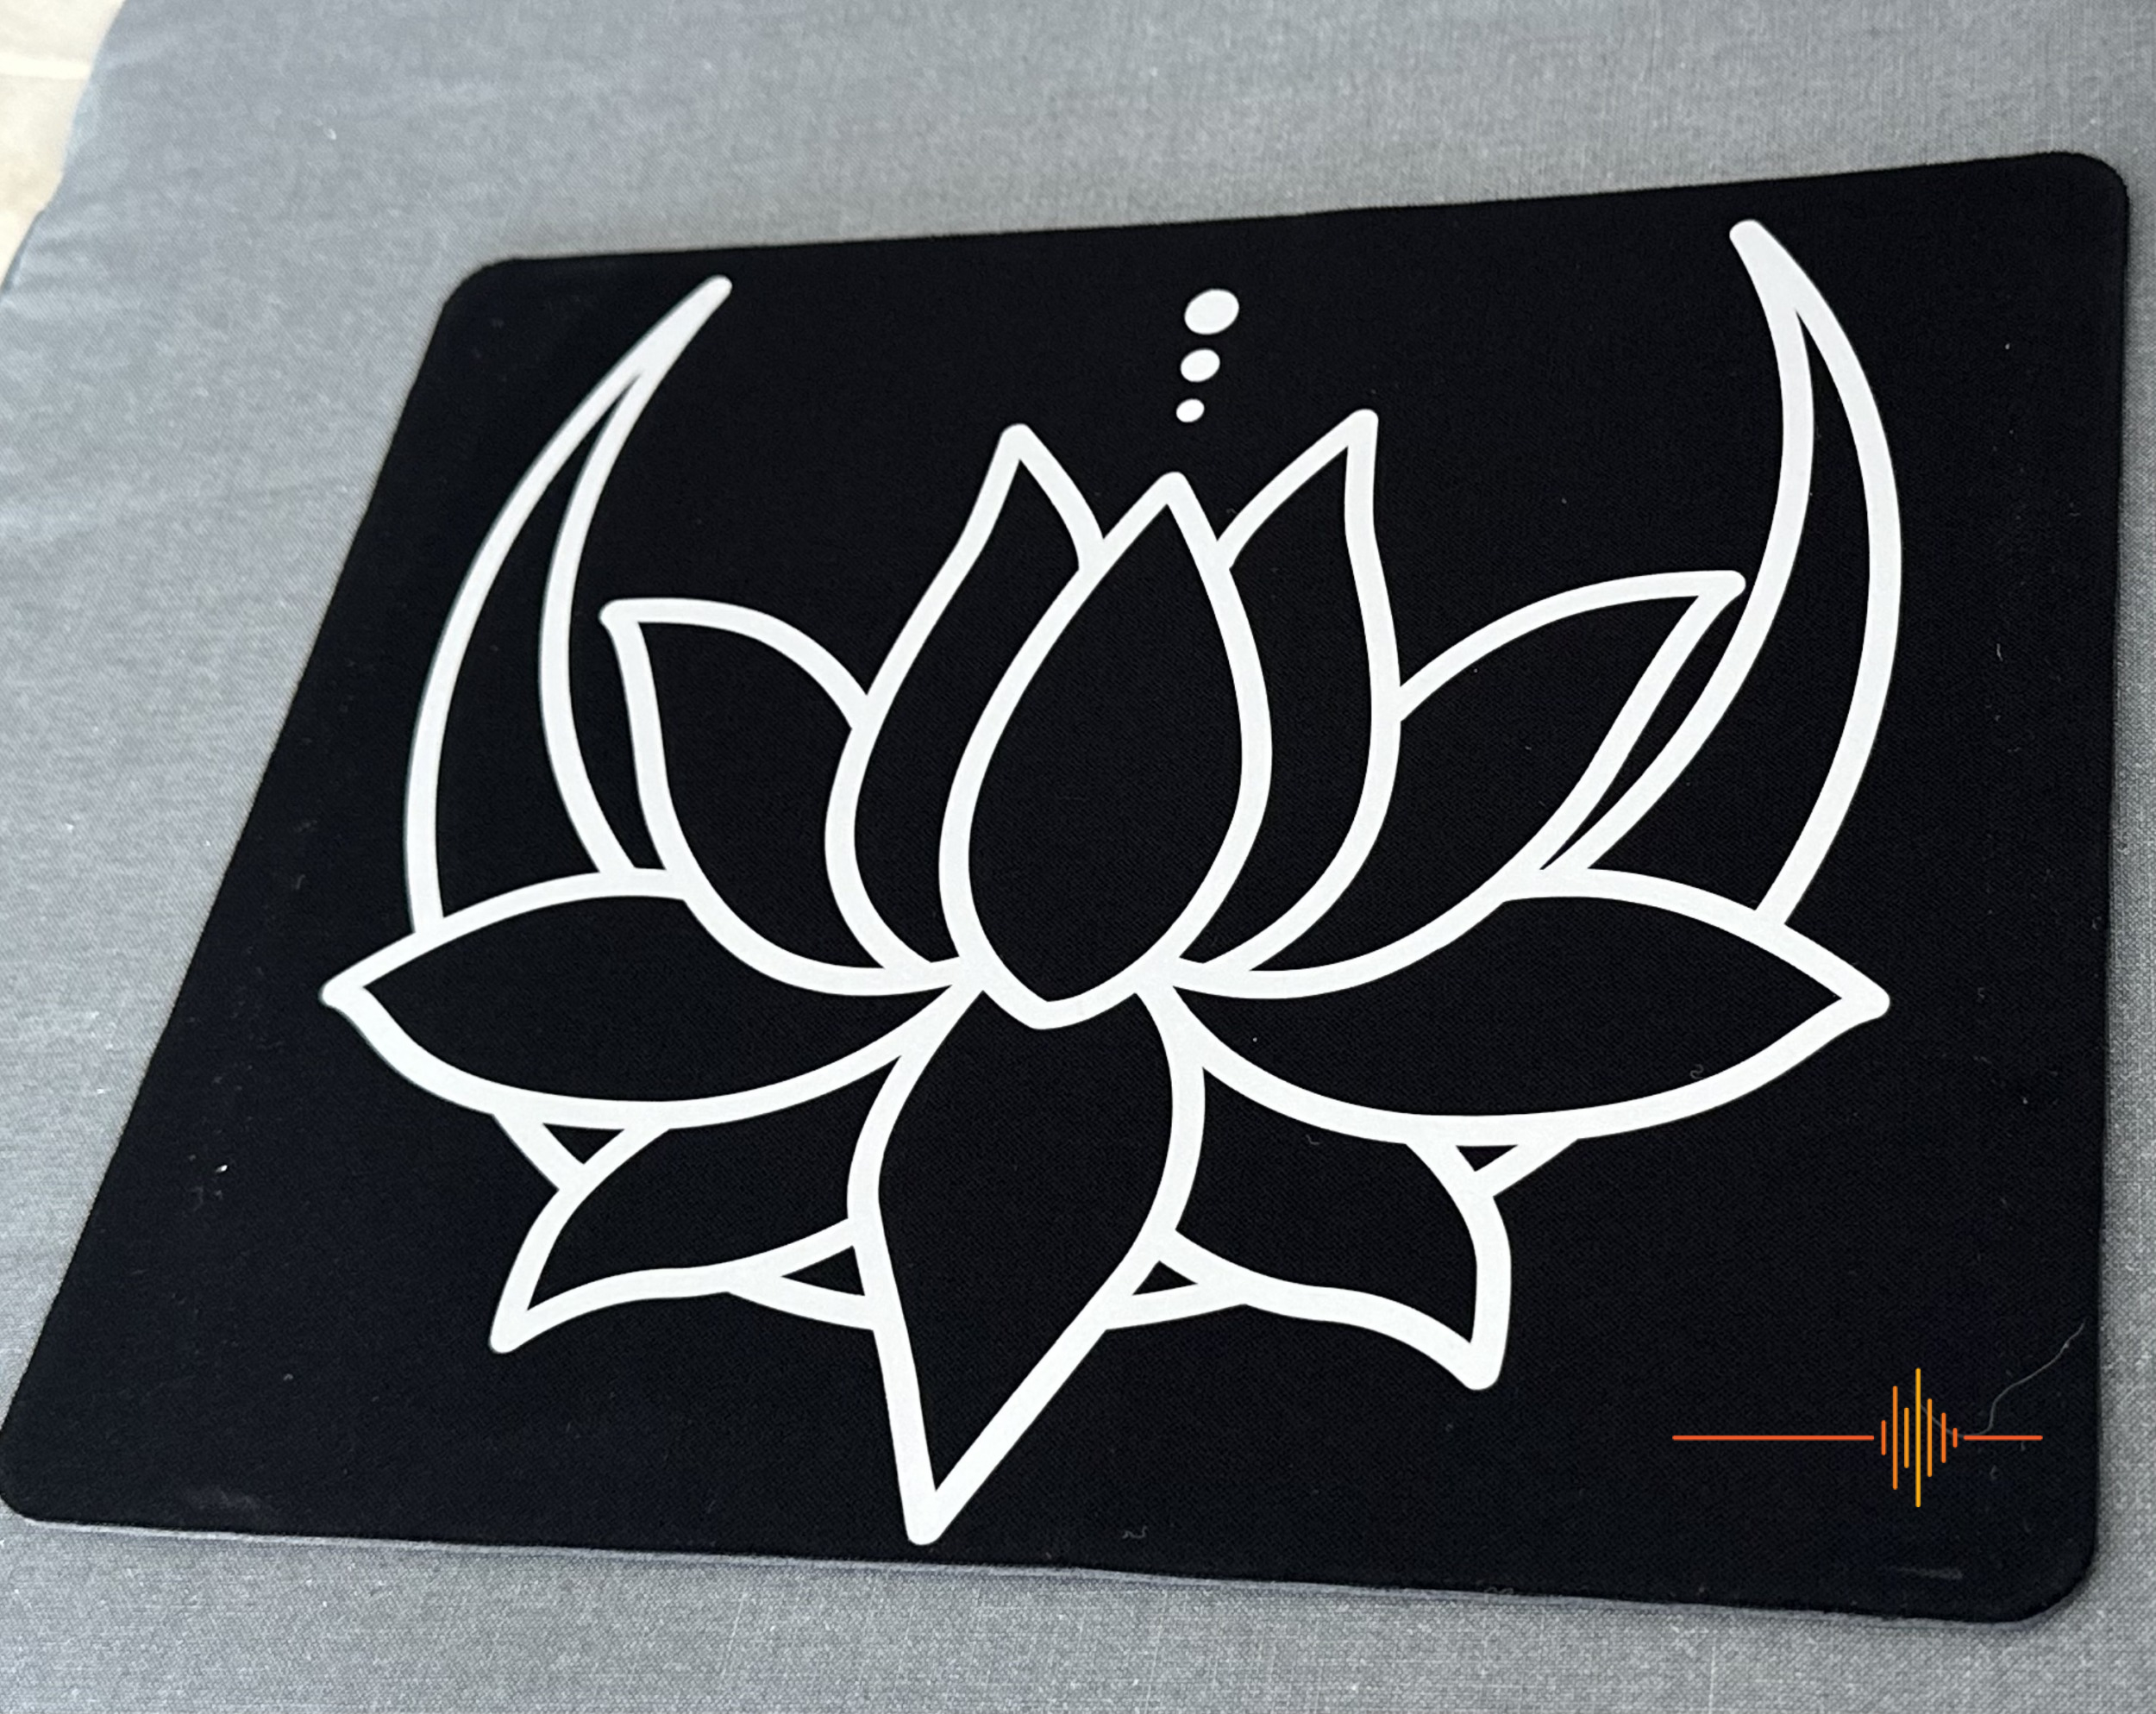
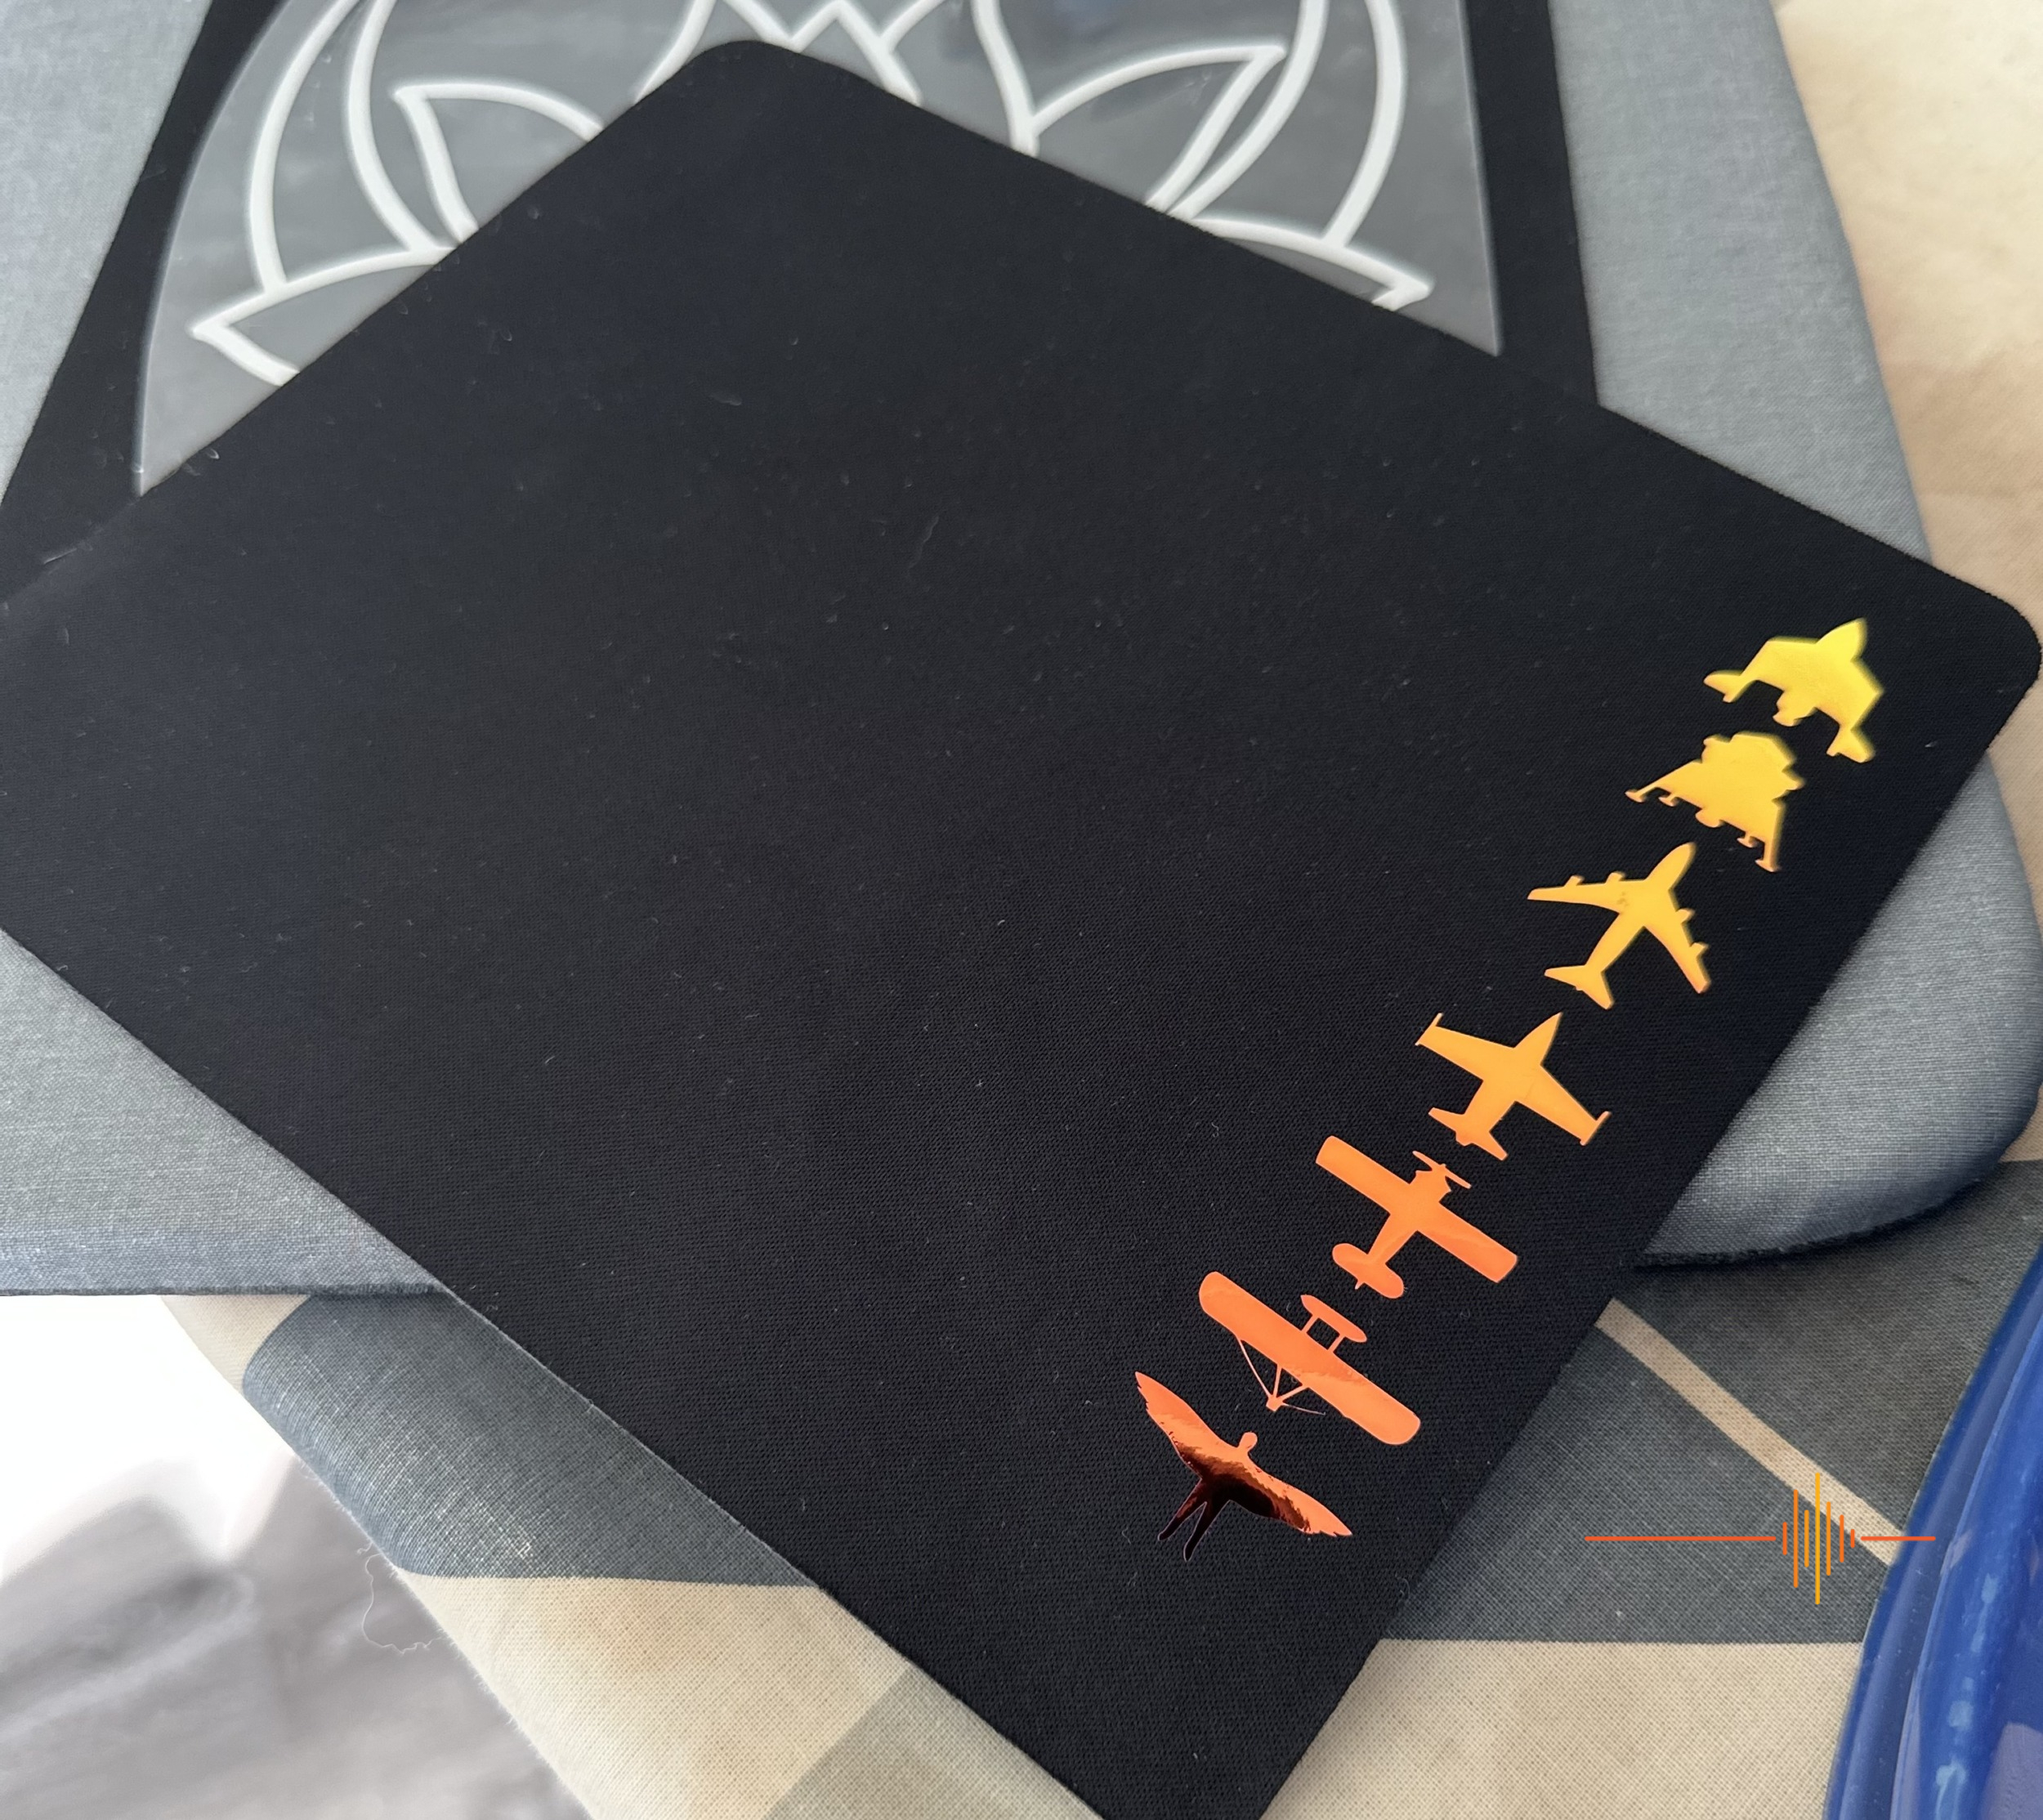
Neoprene mouse pad Iron on decals were designed, cut and pressed:
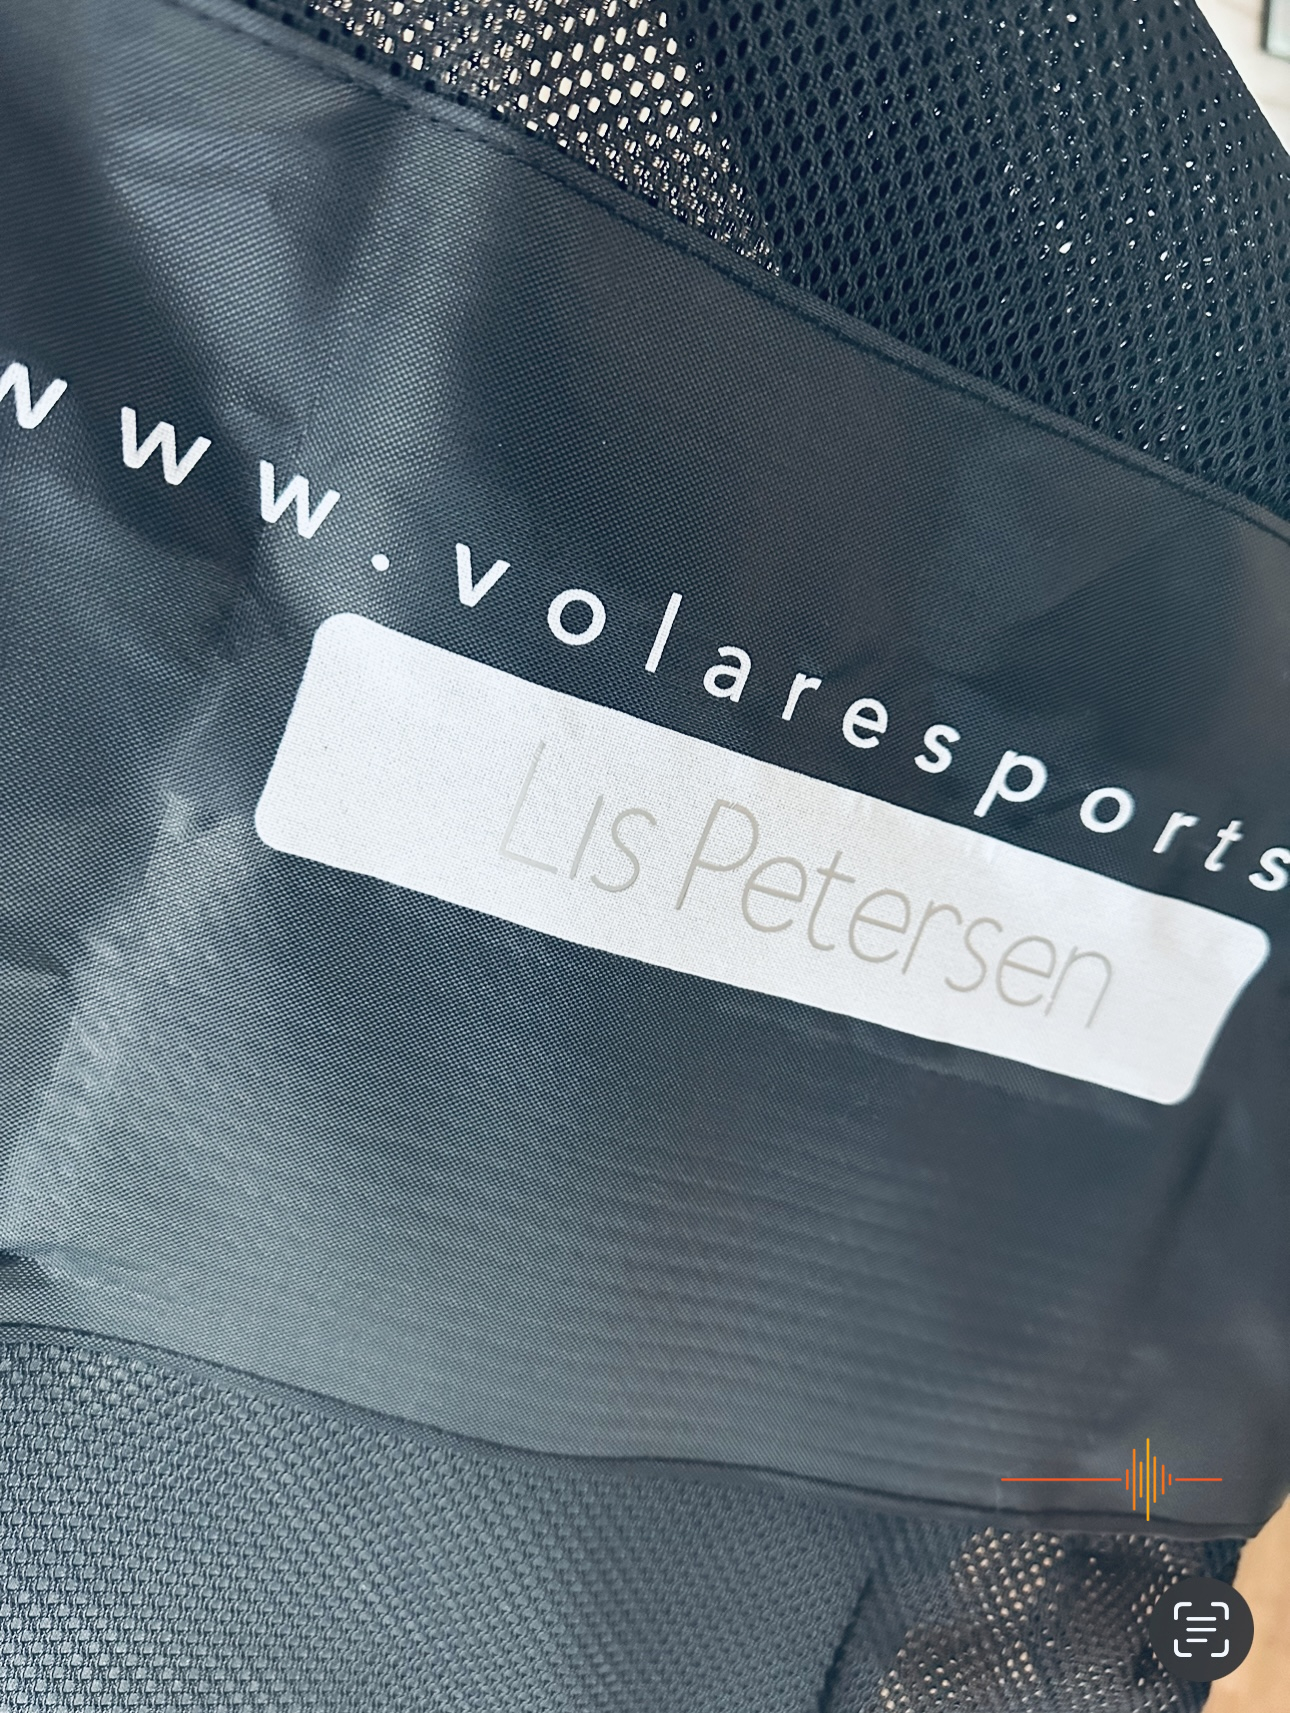
And I took liberties with my wetsuit bag, recreating my name using Everday Iron-on and pressing onto the bag. It turned out very well.
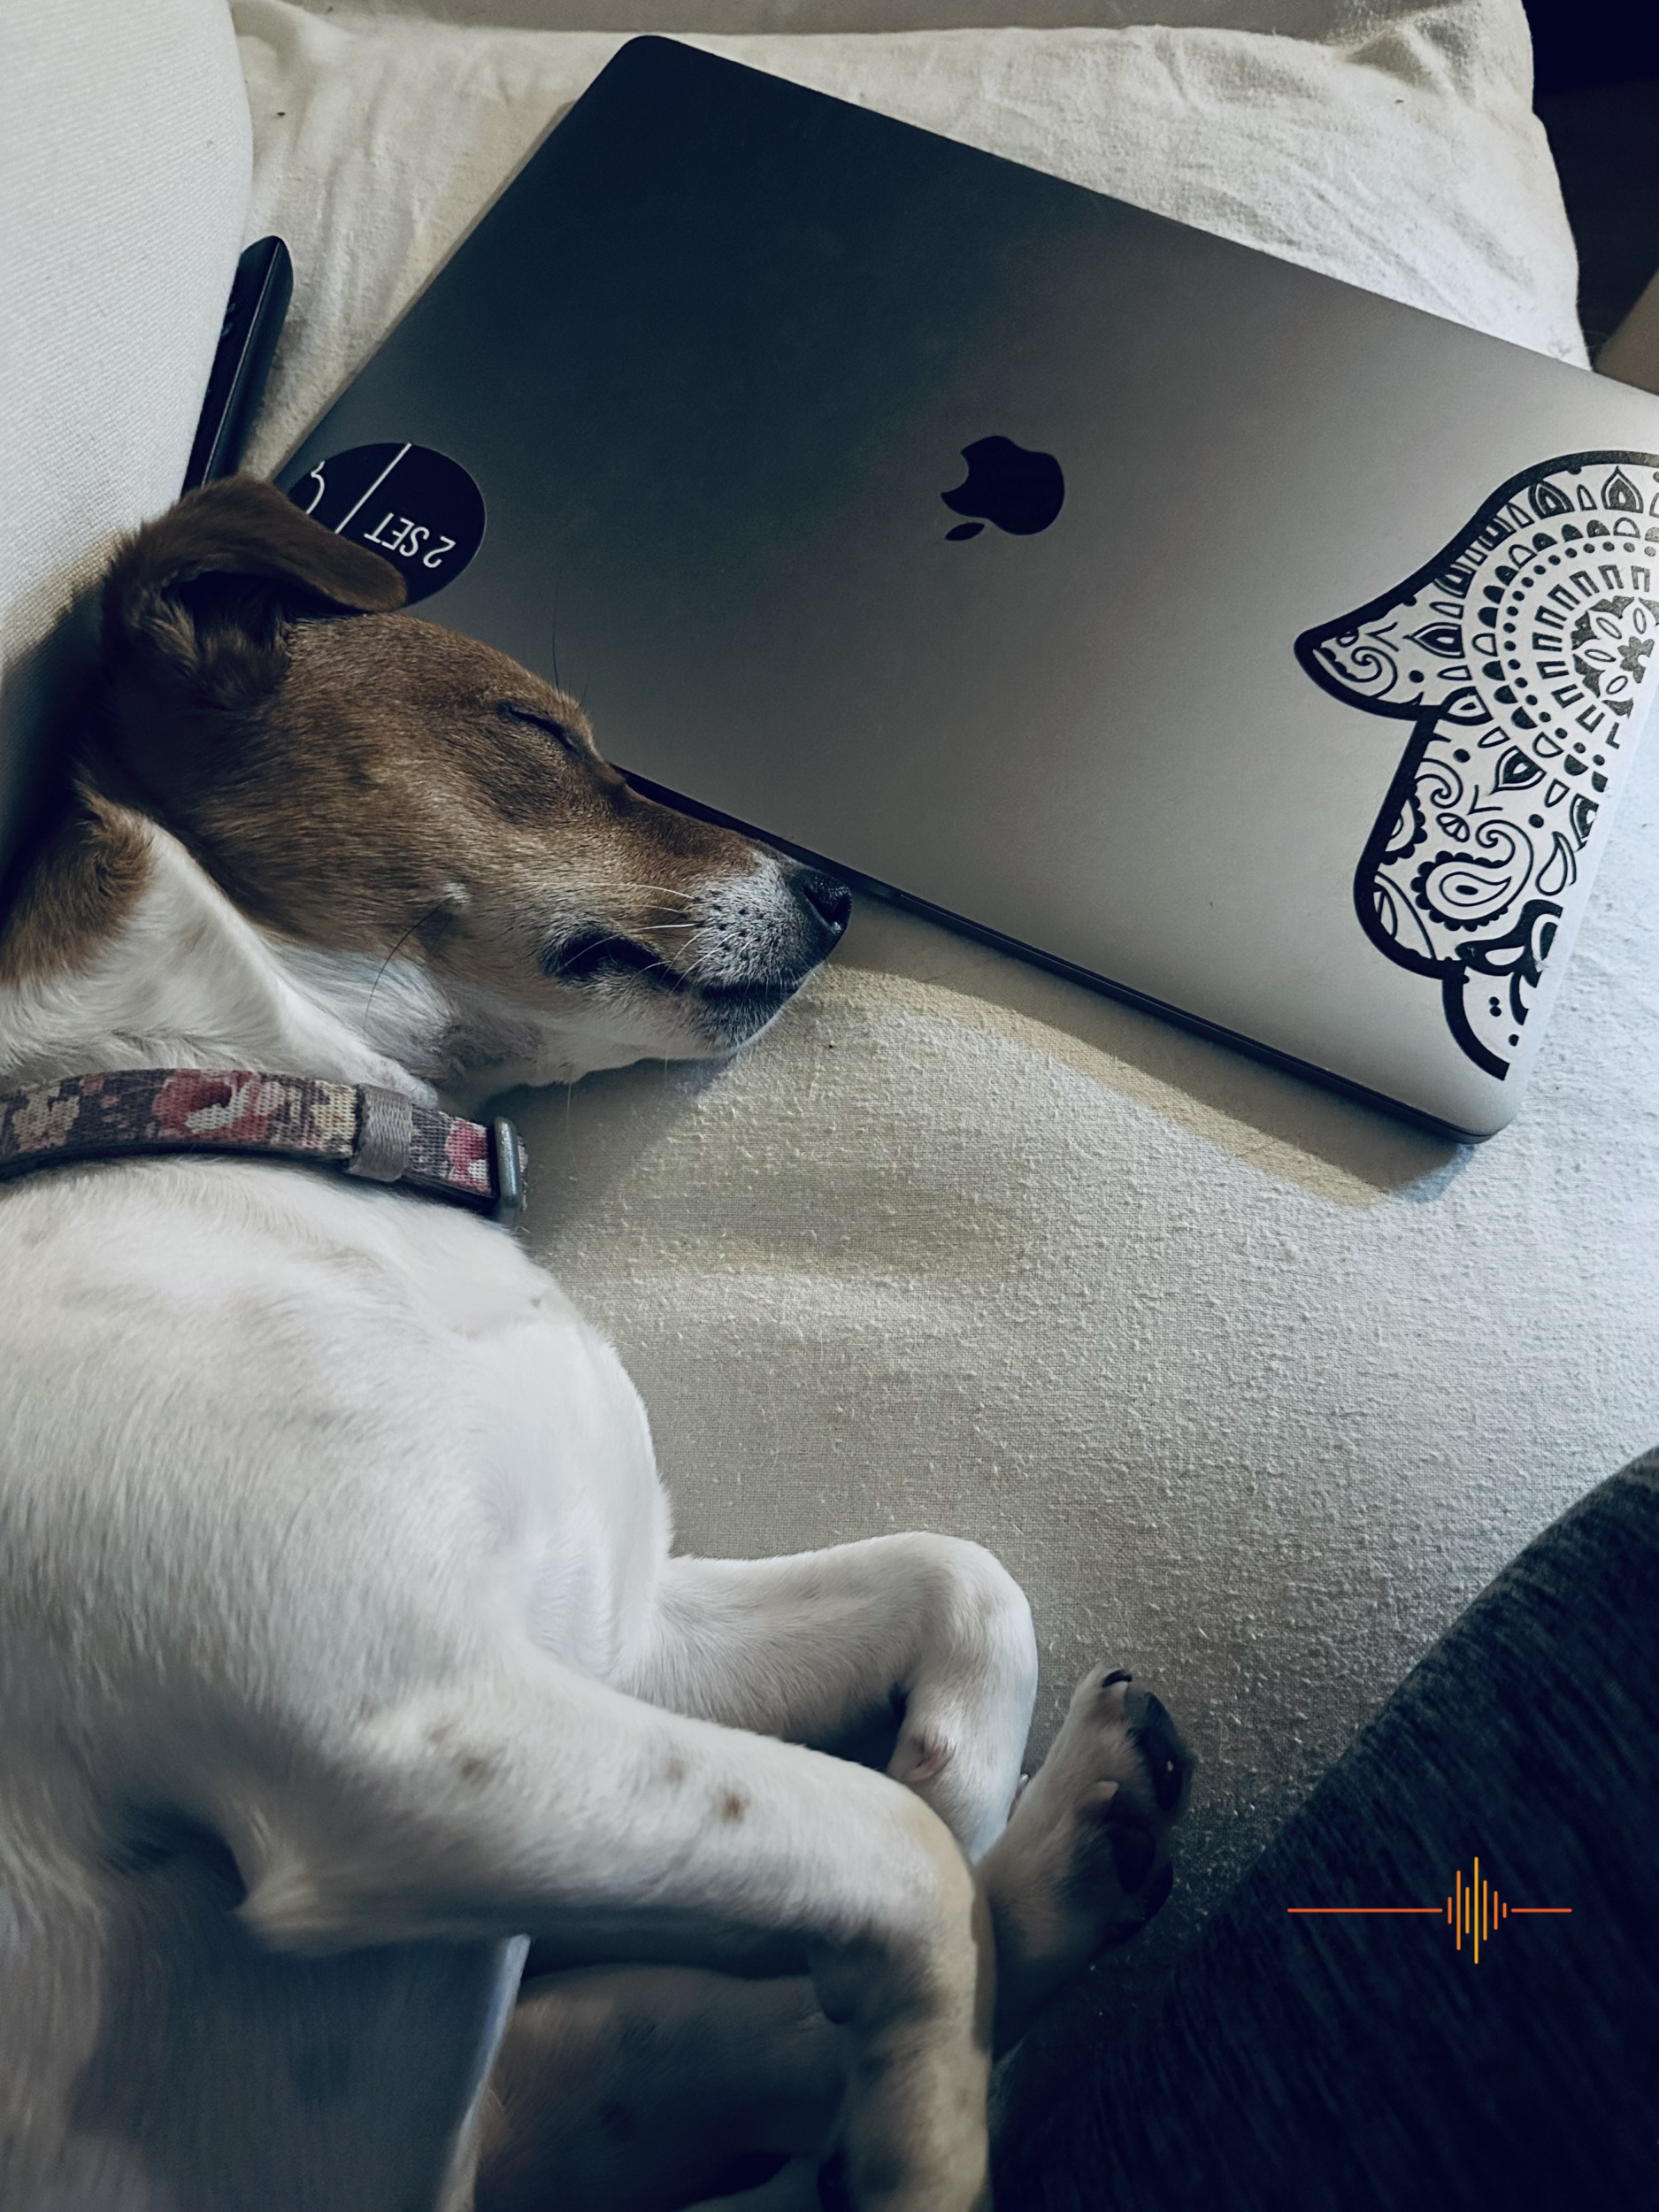
A variety of Vinyl decals permanent and removable were created. Here I made a very intricate hand which I accidentally stuffed up during weeding. No worries; I cut it in half and stuck it to the front of my MacBook! Unfortunately, Cricut have not yet developed the technology to design and cut out Jack Russells. But I’m sure its in the works.
Sublimation (Ink transfers) are a new concept to me and I made sure to research well before attempting. This child’s t-shirt came out really well, despite user error with the pressing resulting in a slightly faded effect. I should have applied more pressure in retrospect. Either way, it looks great and has washed relatively well. I’ll be attempting more of this material as it offers a lot of variety and colour options.

SCALABLE VECTOR GRAPHICS (SVG)
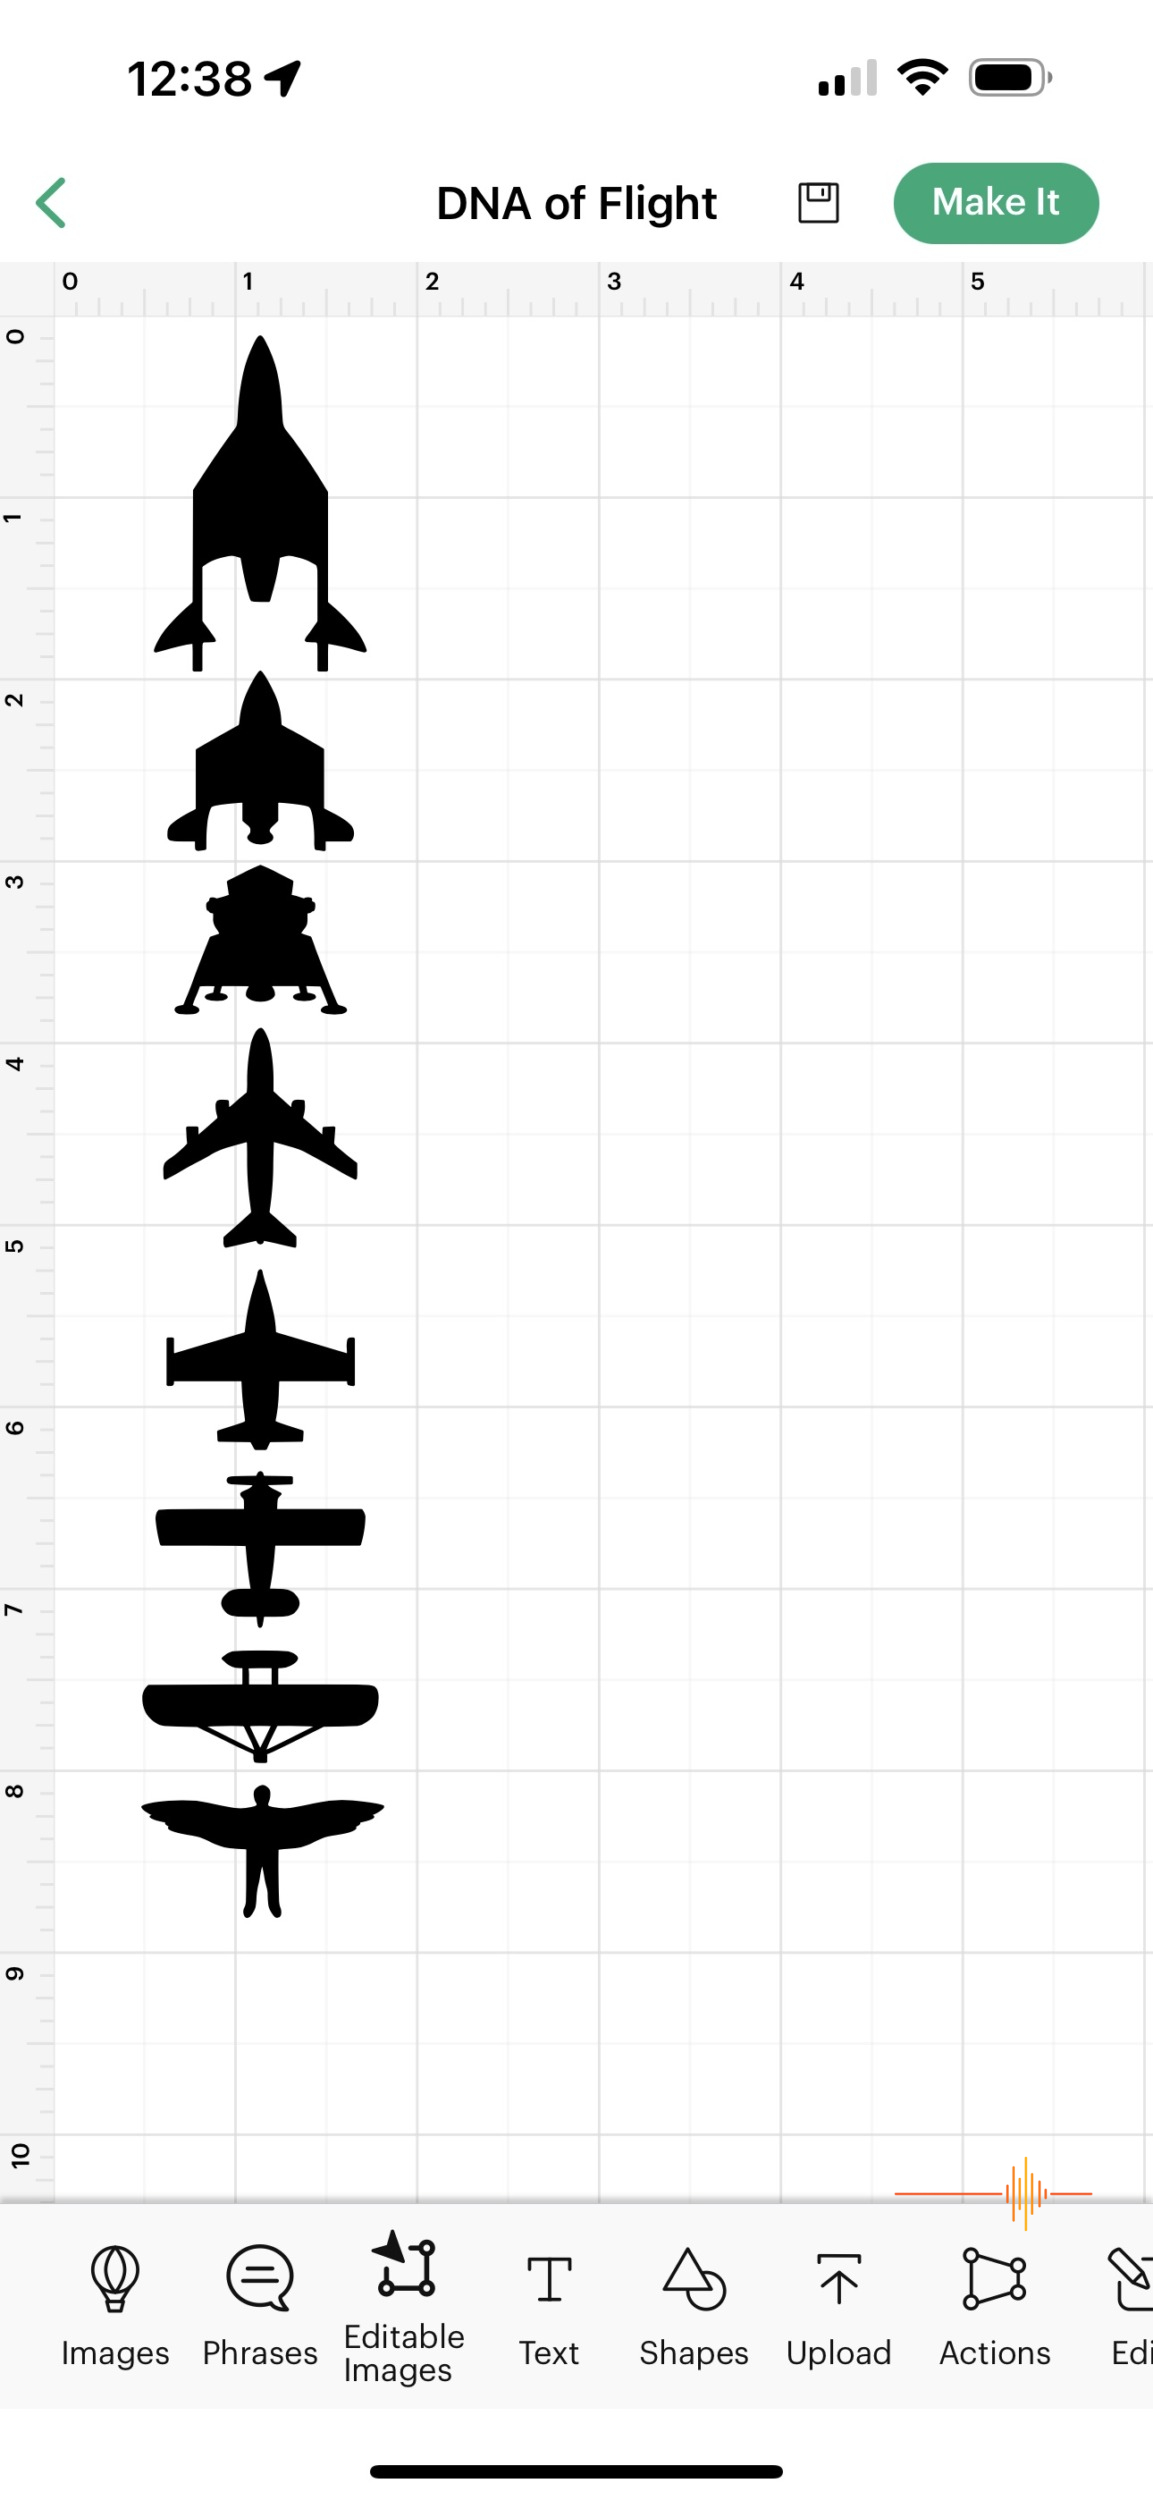
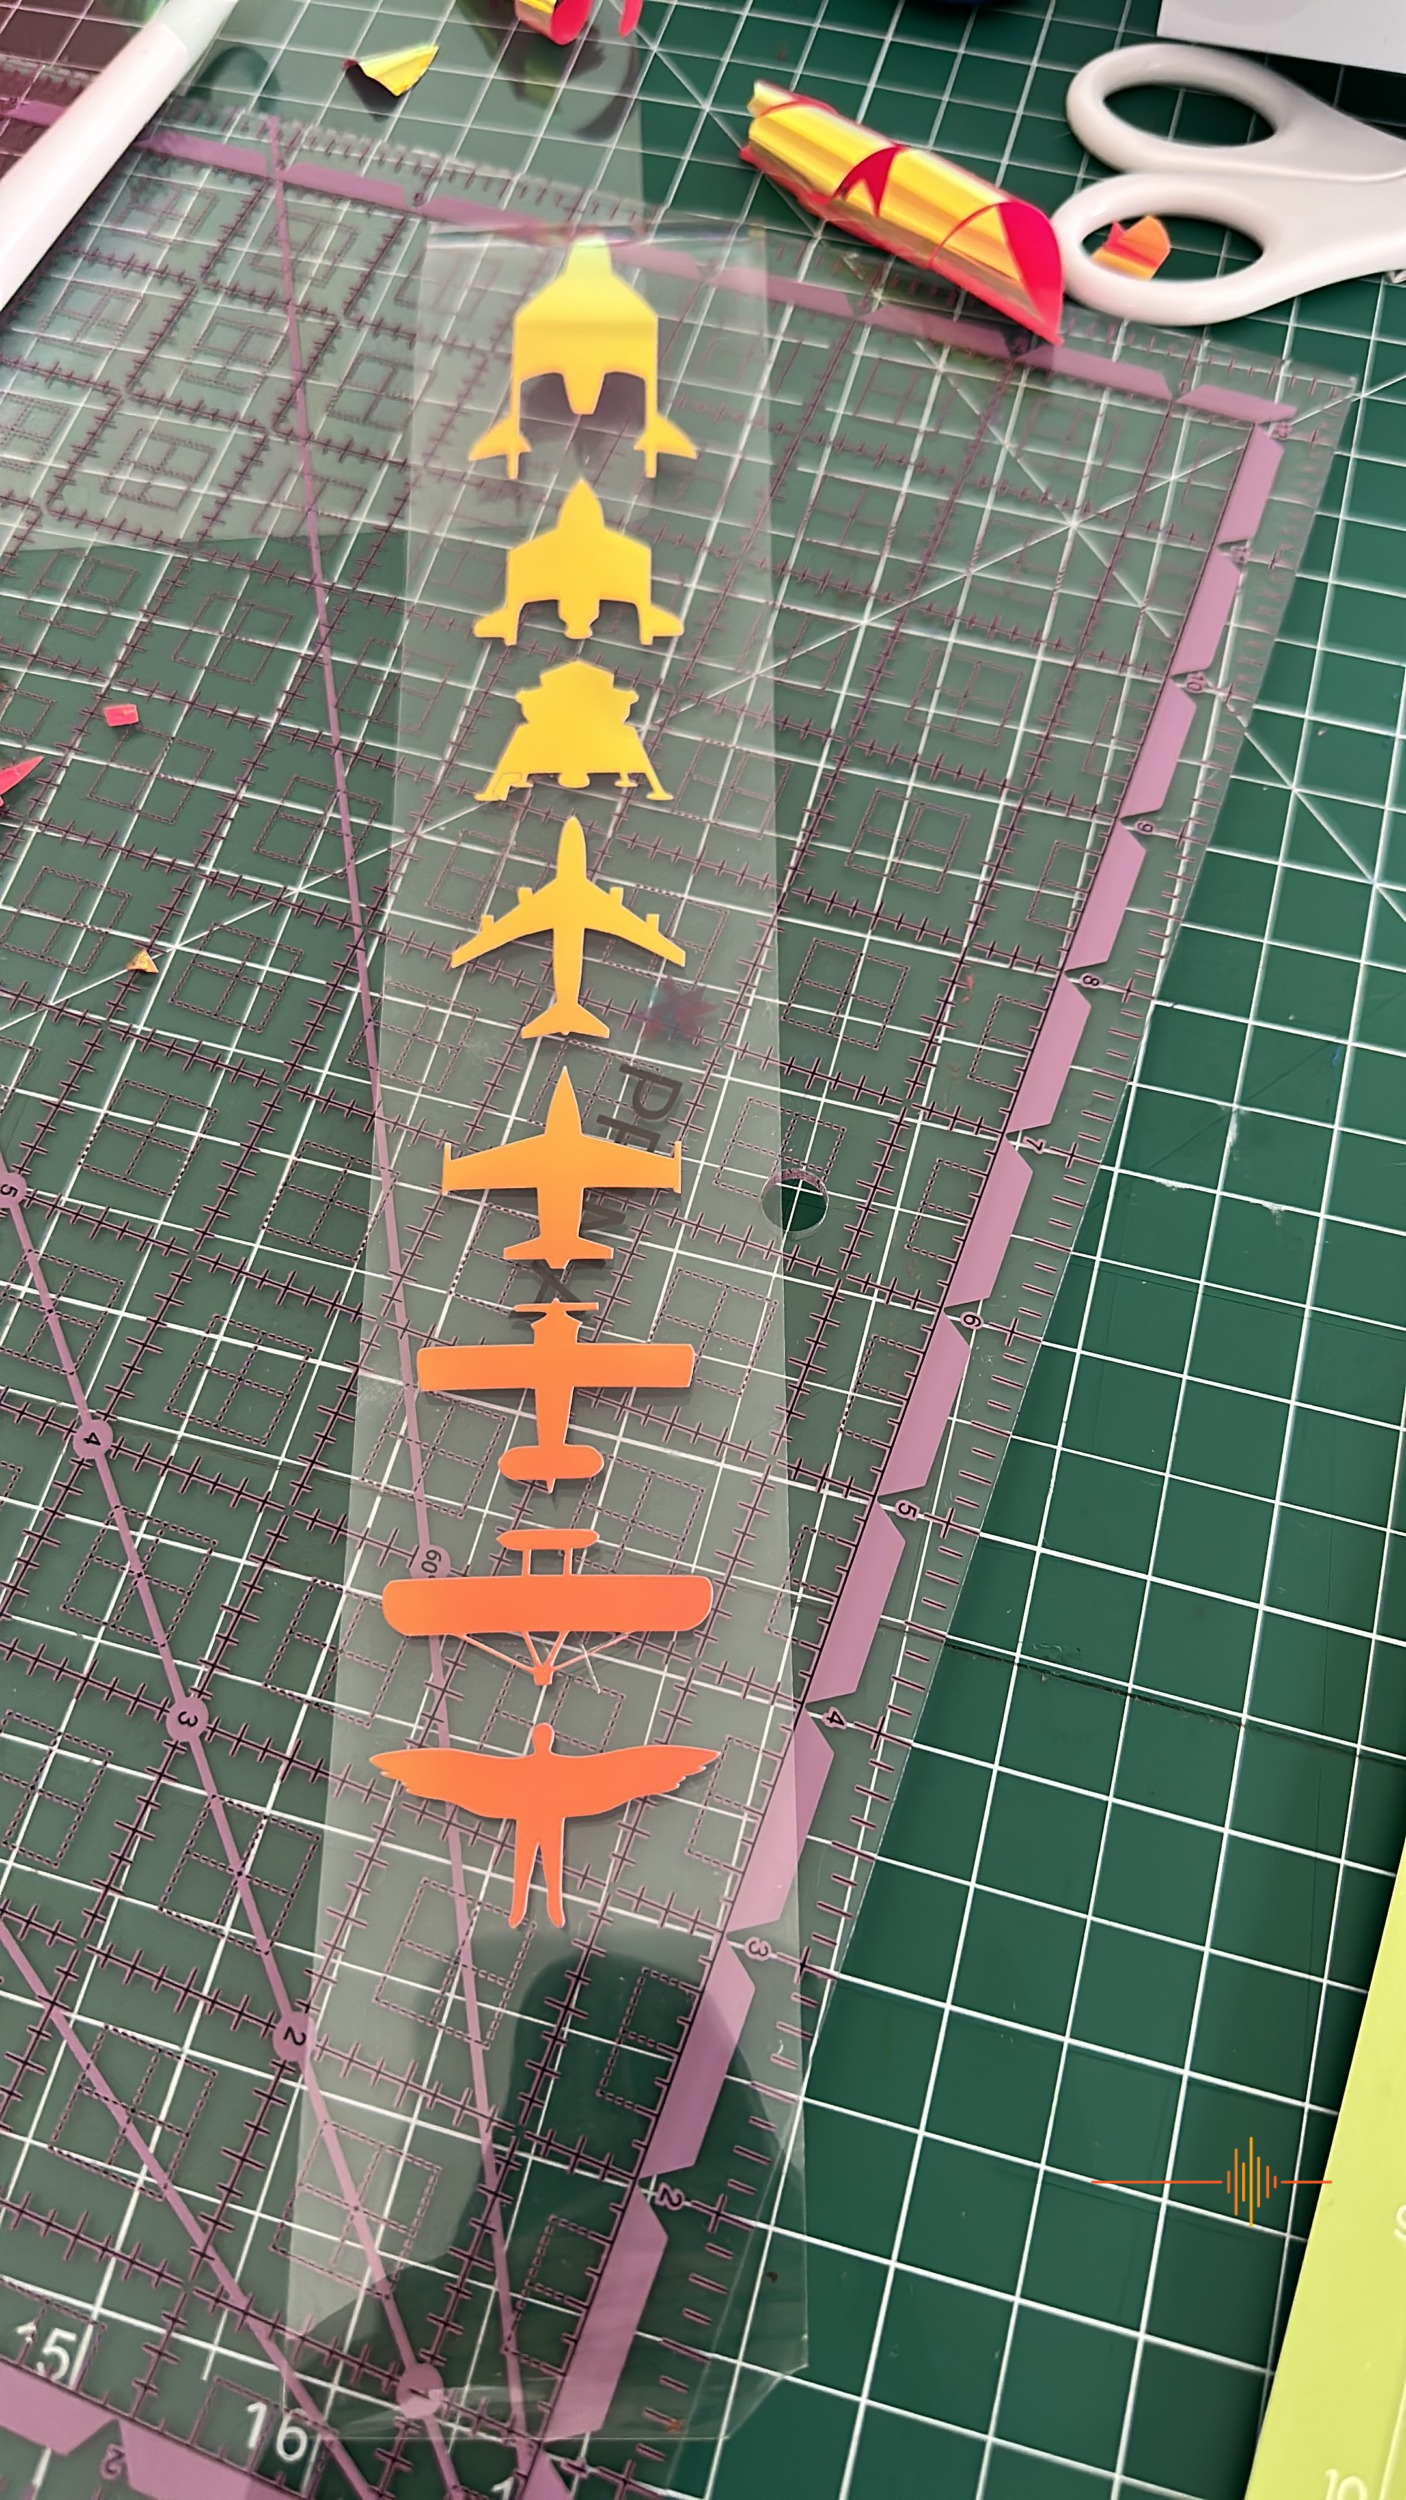
SVG’s are web-friendly vector file formats. Design Space uses SVG files and so I took the liberty of finding a couple of free ones to download and play around with in Design Space. The one I chose is known as The DNA of Flight. In the interest of research and keeping in the good books of our DRN’s Imperial Leader, Kevin, I decided a t-shirt might be a nice token gift.
Downloading the SVG file was simple and I saved it into Design Space with no issues. Once this was sorted, I was able to adjust the dimensions to fit my chosen blank t-shirt.
I then chose my Cricut material, in this case the Holographic Iron-On, and proceeded to “Make it”. Once the design was printed, I then commenced carefully weeding.
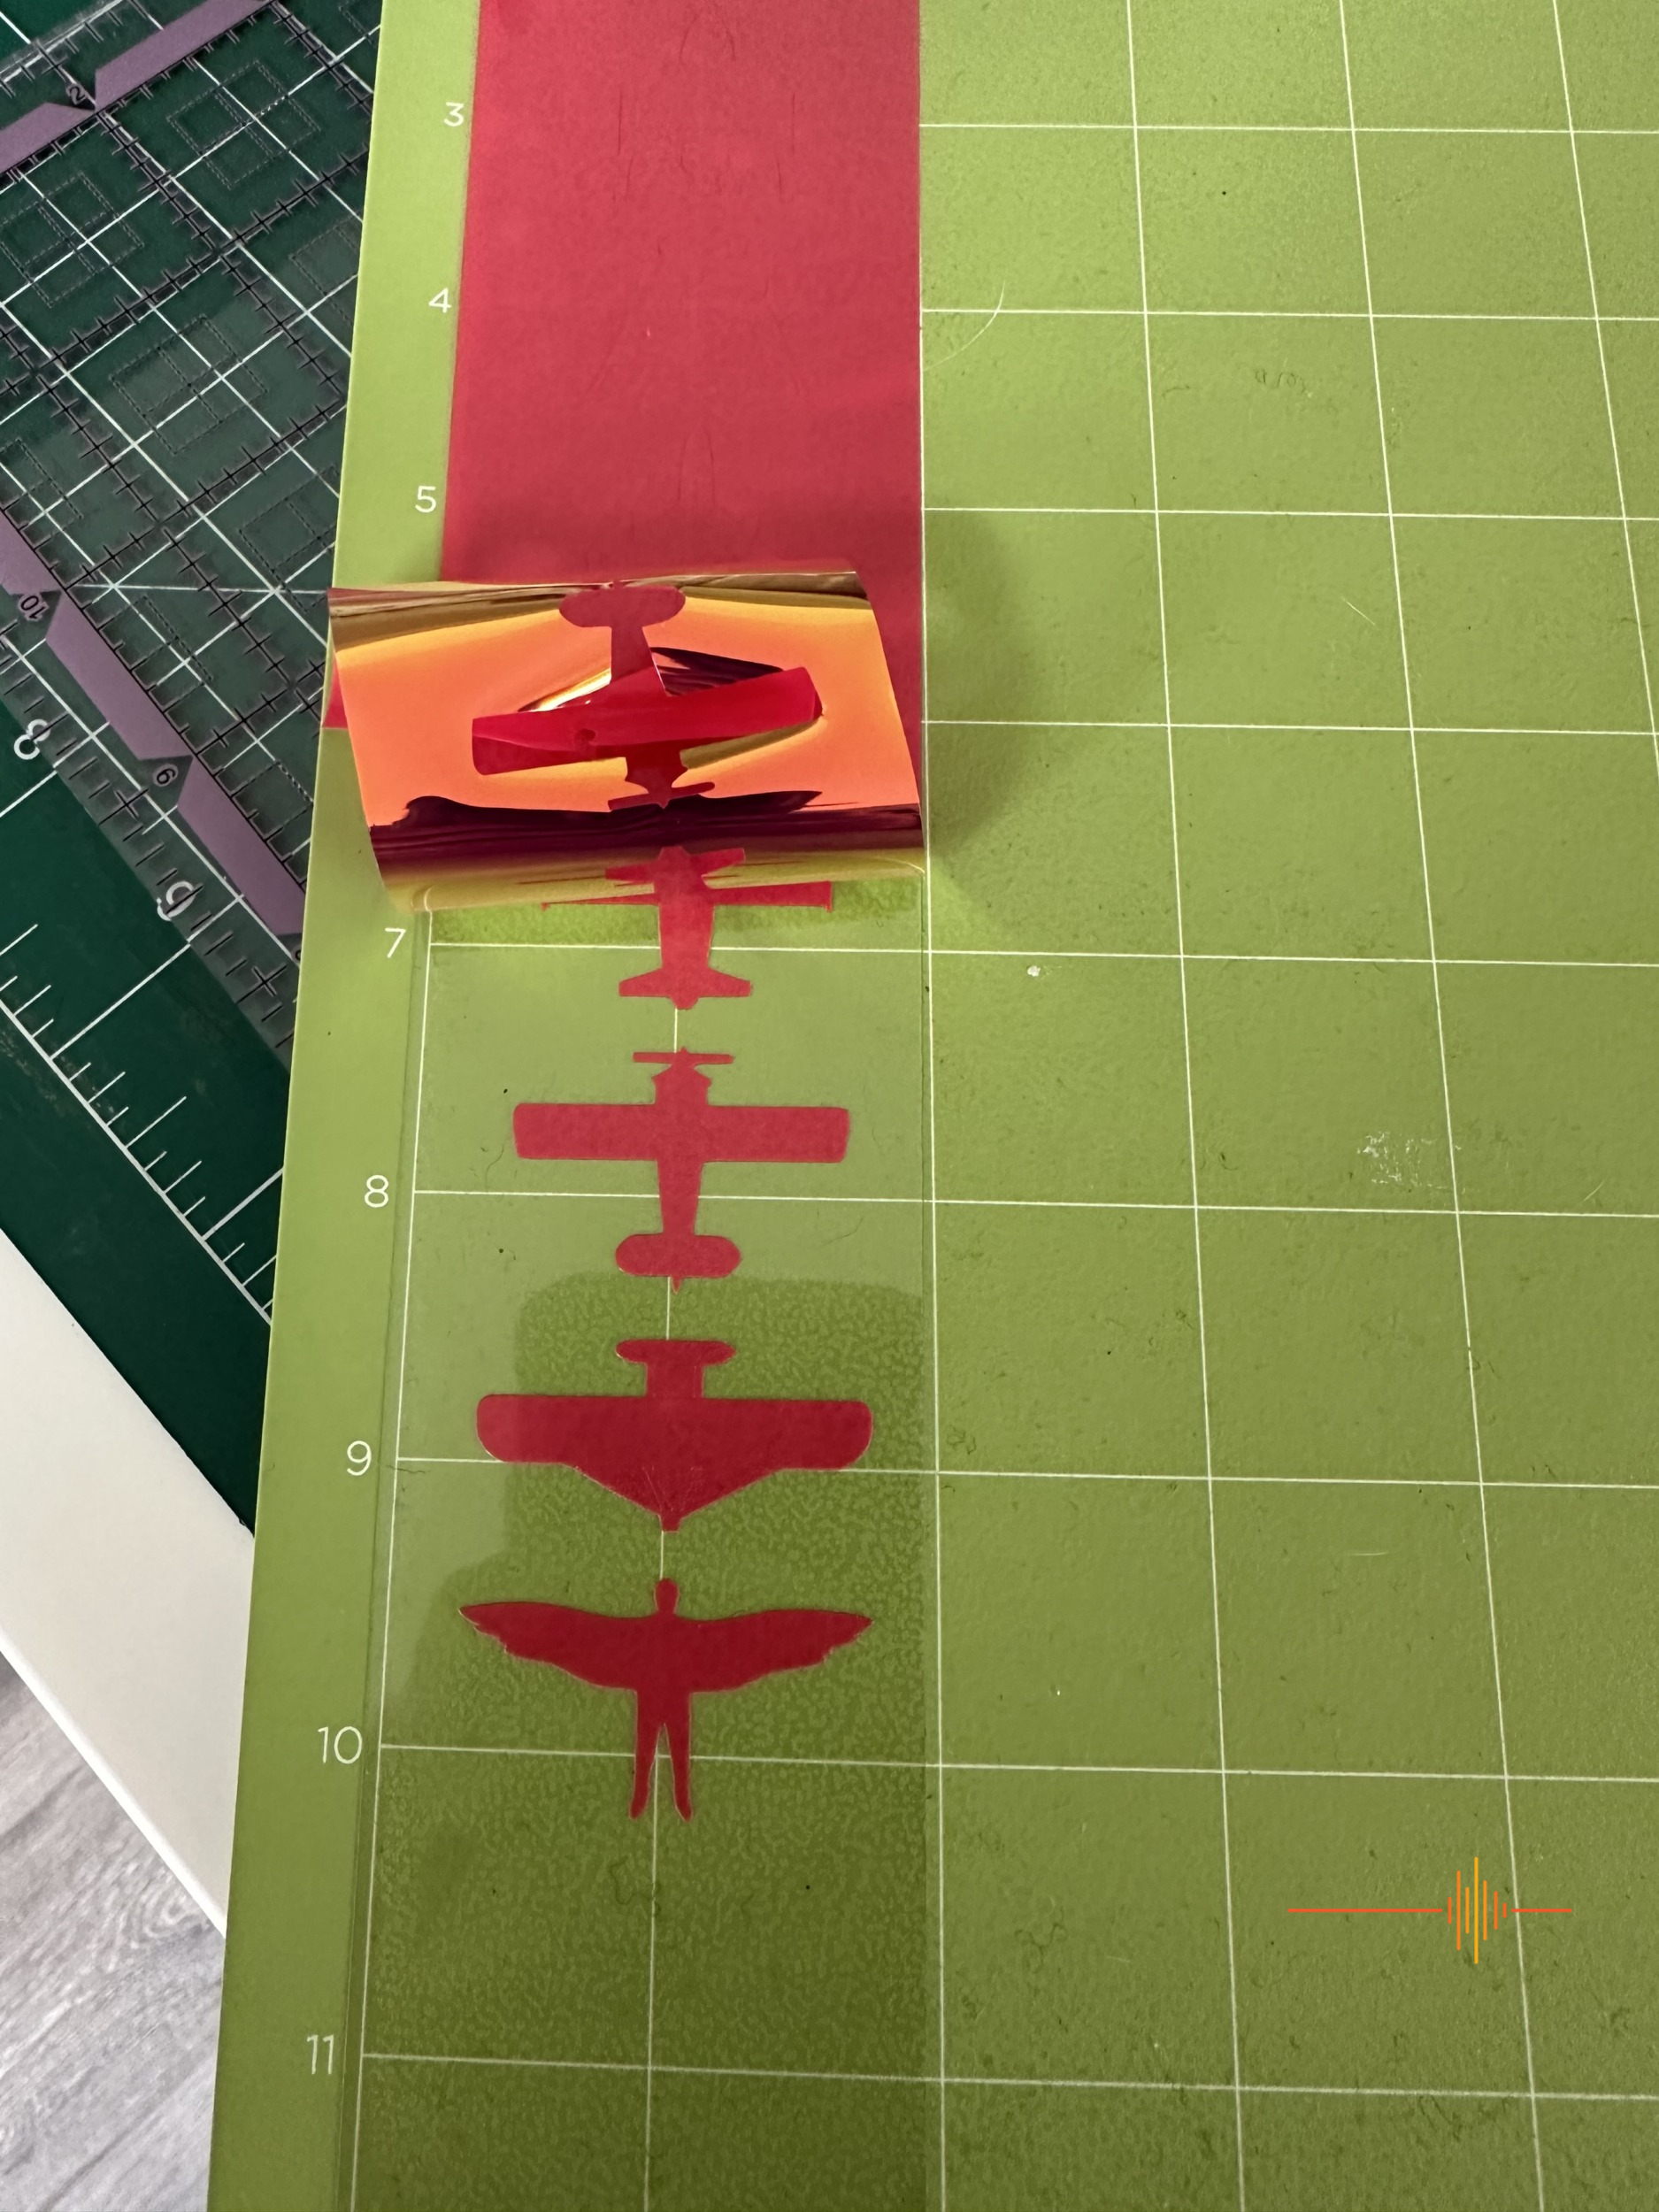
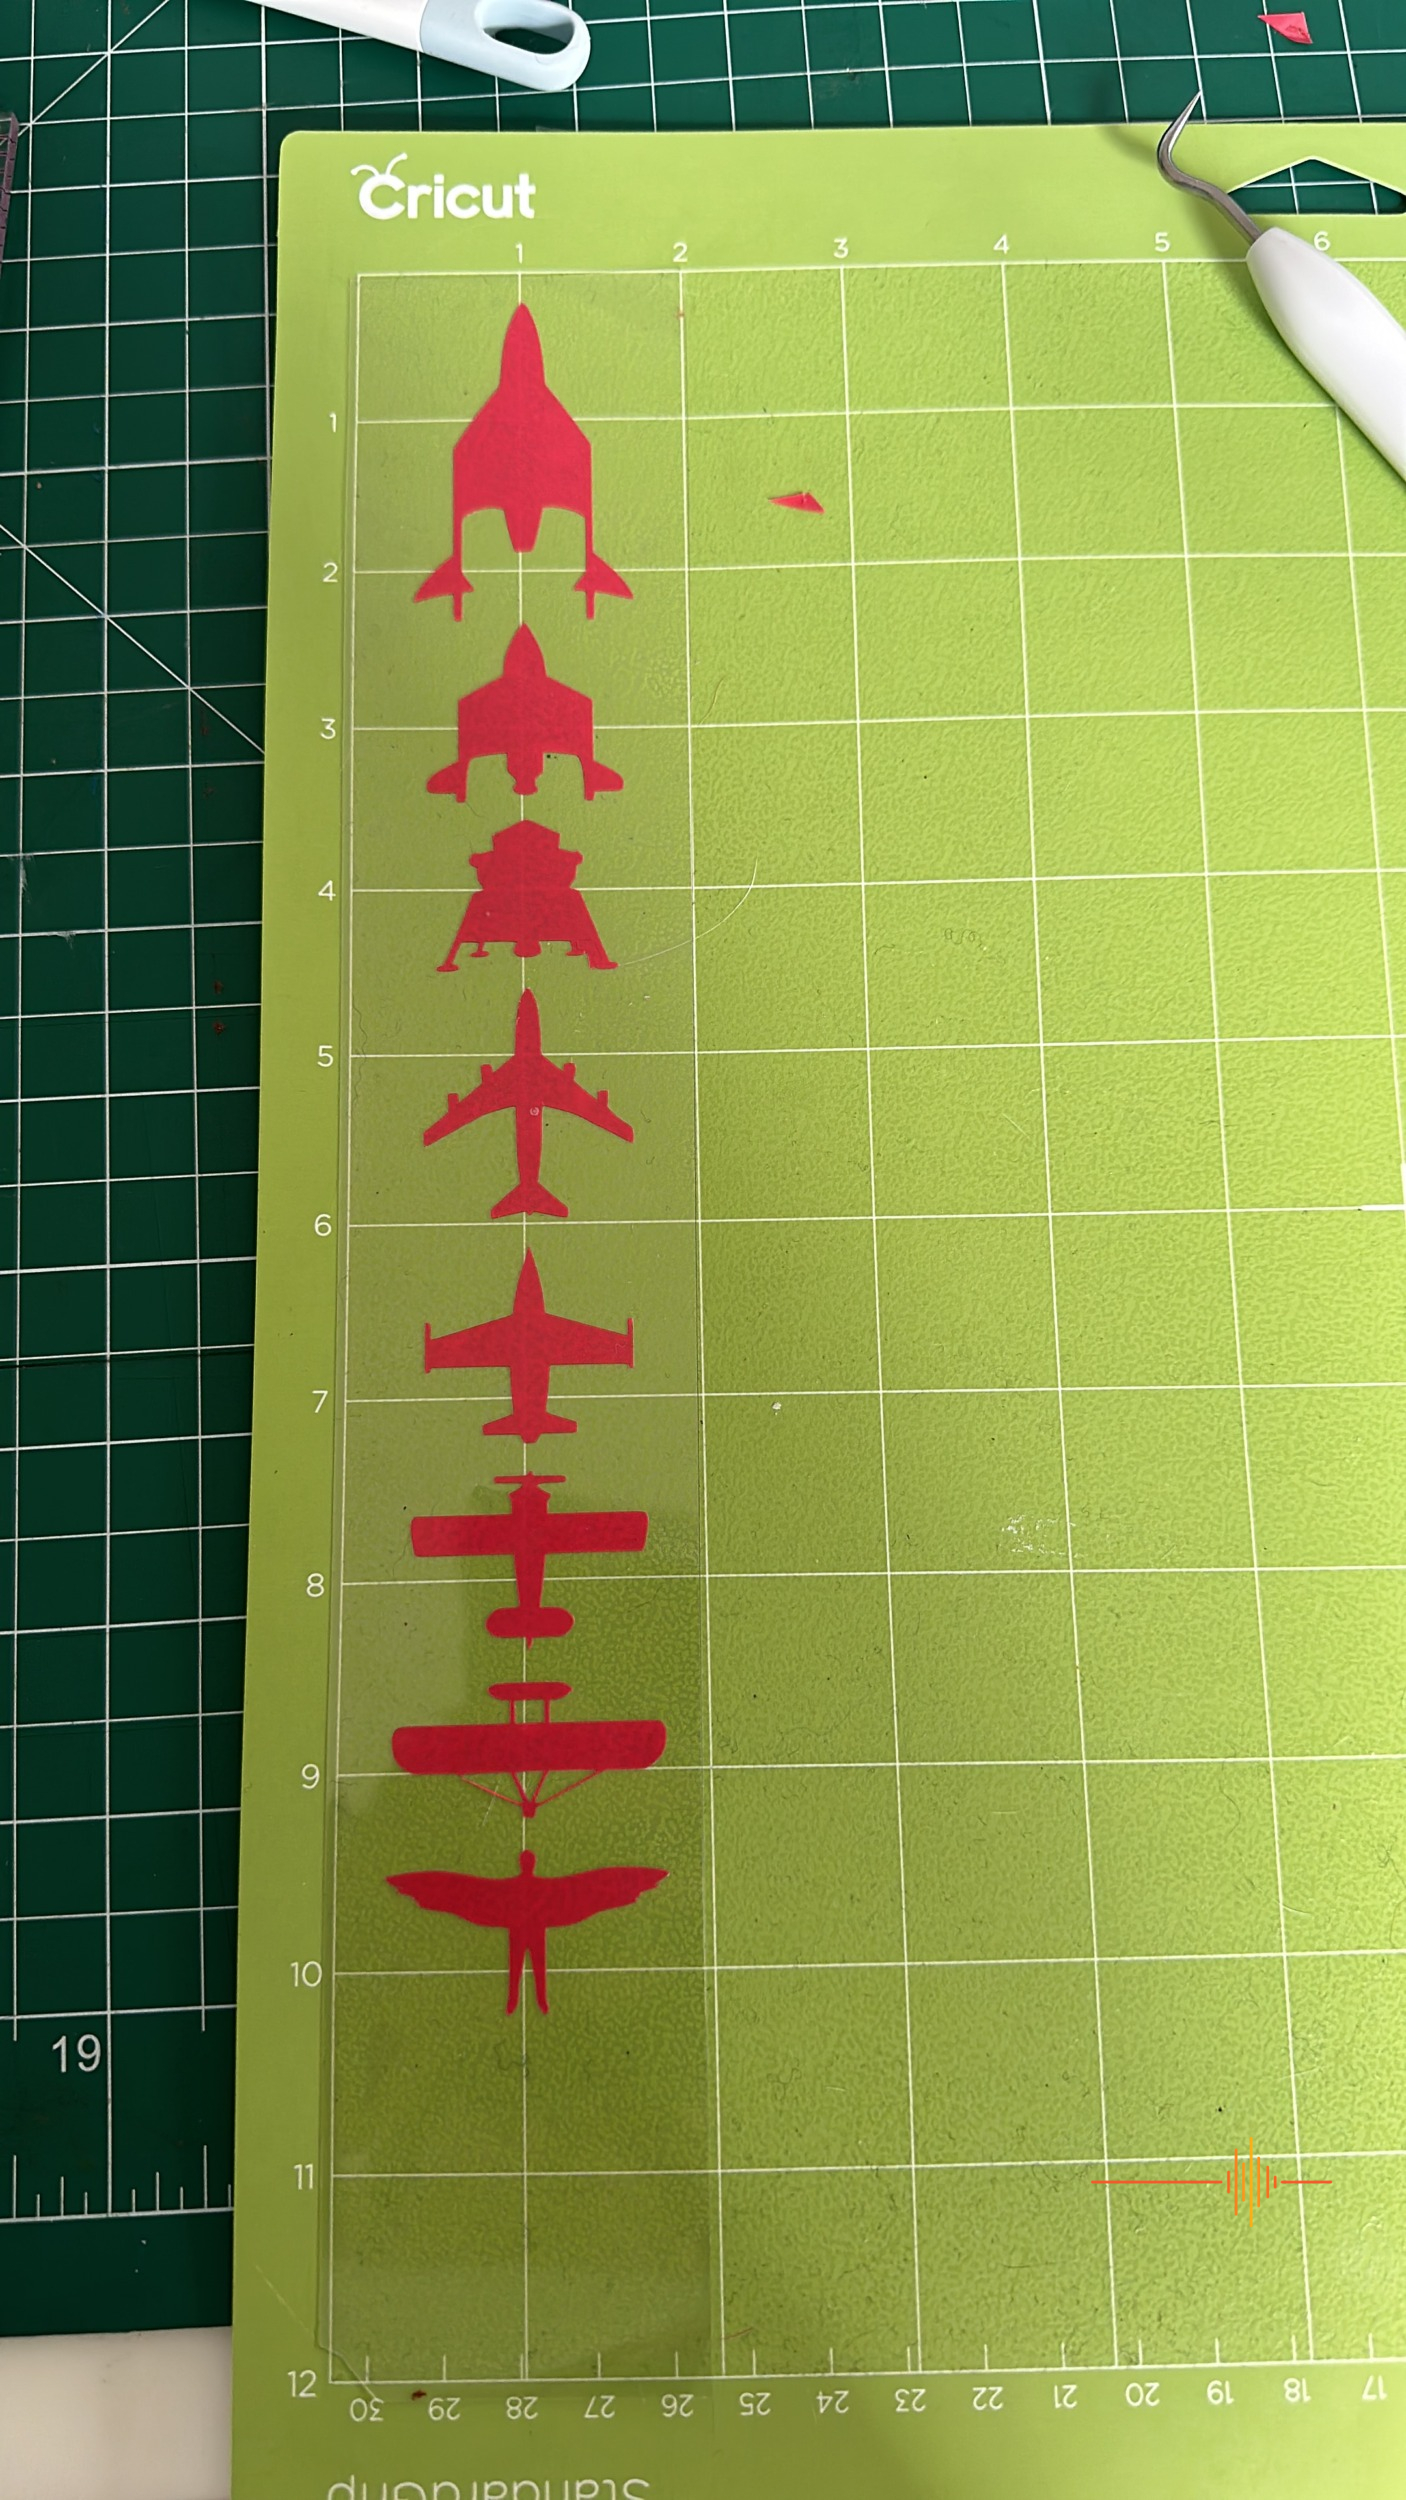
As you can see here, the design is now weeded and requires heat pressing in order to help it adhere to the blank (t-shirt).
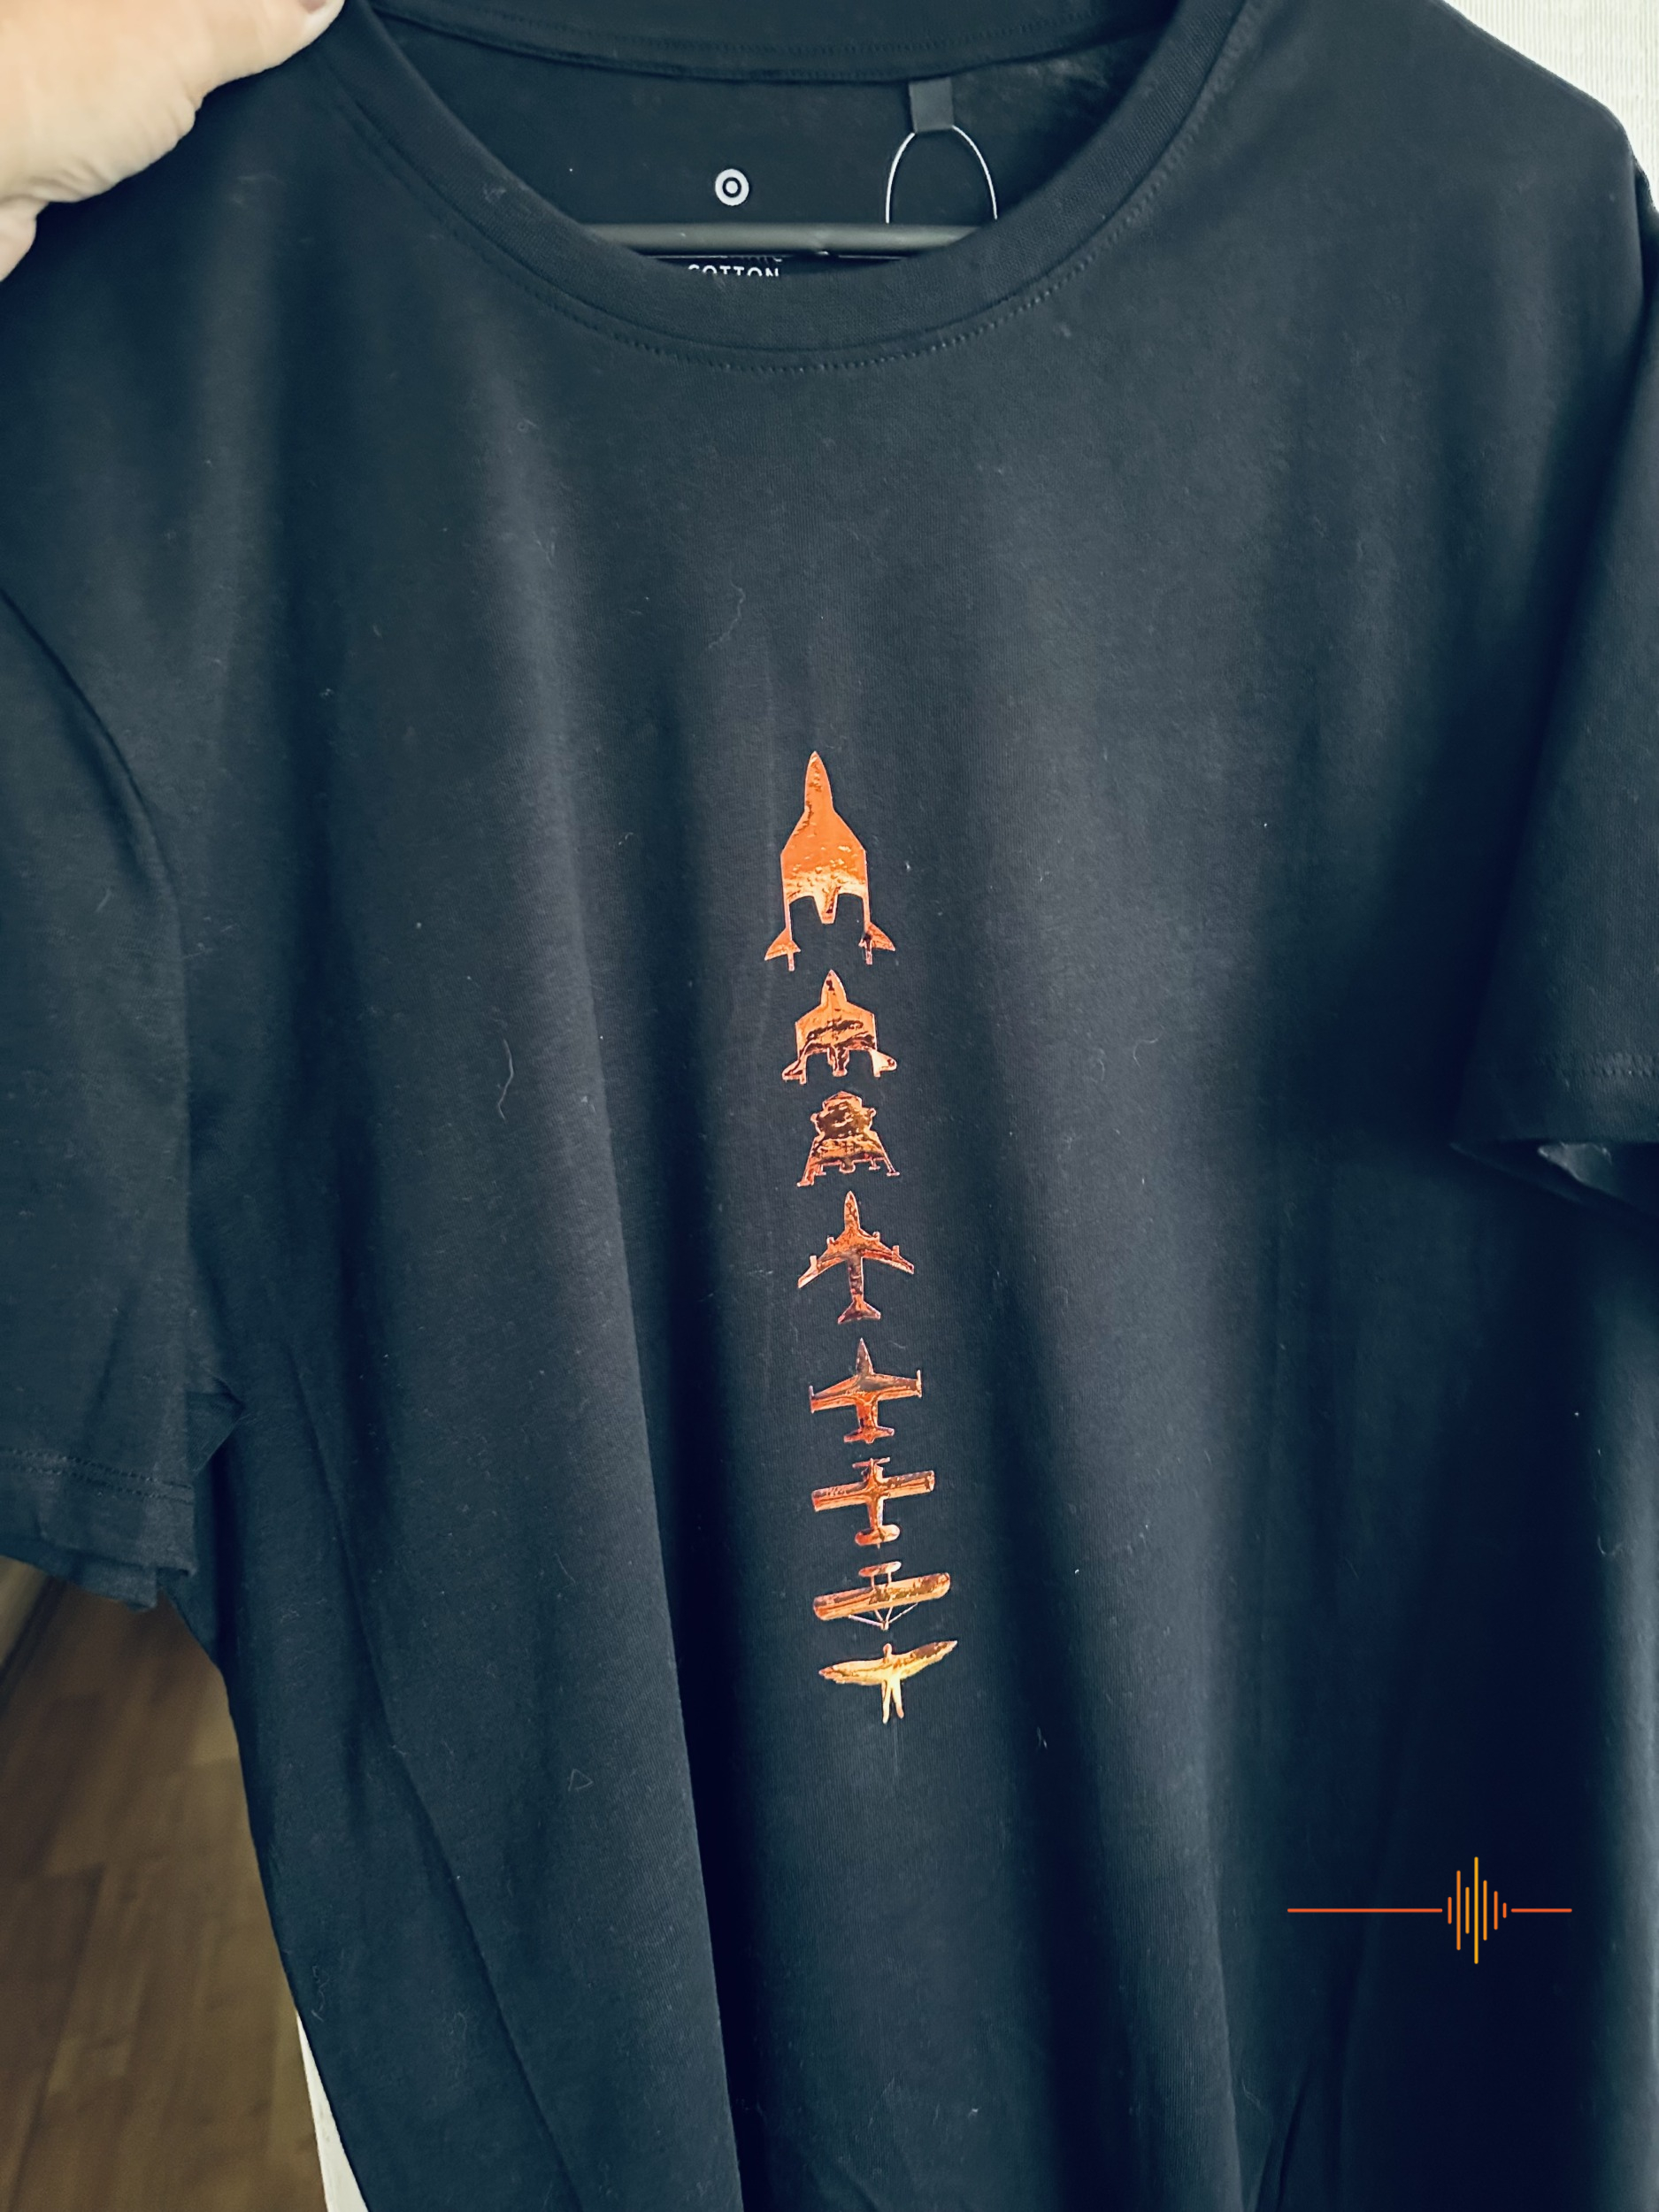
Final product! It looks great and I think Kevin is happy with it. I do advise to follow the heat press instructions carefully, especially with Holographic Iron On. I over pressed and suffered non adhesion, as I didn’t understand less is more in this case. I also have issues following instructions apparently! My second attempt was more successful and it has washed well.
The spare neoprene mouse pad blank came in handy for a faulty print I’d made (the top shuttle spacecraft didn’t print due to sizing error on my part). No problem – let’s use it for something else!
I’m very happy with everything made to date and hope it has provided you with some idea on the breadth and depth of the Cricut Maker 3’s capacity to create.
SOCIAL MEDIA
I would suggest starting with the very respectable Cricut TikTok account for some excellent tips and trips. But venture further online and you’ll see Youtube, TikTok, facebook all have multiple influencers dedicated to helping you maximise the Cricut Maker 3 experience. Honestly, I went down a rabbit hole of sublimation (ink transfers) and reappeared a couple of hours later, dazed but definitely not confused. These people have made an art form out of using the Cricut Maker 3 (and prior iterations) to create amazing products, designs and short cuts which are extremely helpful. So get on there and check out some of the incredible craft made by these industrious people; some even make a living out of it! Maybe you can too.
HOT TIPS
When your Cricut mat becomes covered in fluff/fabric or bits of vinyl, you can actually clean it with soapy water. It will restore the mat and you live to Cricut another day. Remember to keep the clear plastic cover on too, as it will help prevent the cat fur from sticking when it accidentally on purpose curls up on it. *looks at said cat…
DO NOT CUT THE MAT WITH A ROTARY CUTTER ASSUMING IT WILL BE FINE … it um, won’t be fine. I now have masking tape on one side holding it together. The blade of the Cricut Maker 3 is a very different kind of sharp to a rotary cutter blade. Just saying.
If you’re using a dark material ie. dark iron on, and you need to weed, sprinkle the reverse in talcum powder and brush off. The fine lines will be more visible and you won’t feel like you need sponsoring by Spec Savers.
I put my thing down, flip it and reverse it – when you’re trying to remove some more intricate designs from the mat, attach your transfer tape. flip over and pull the mat away from the design. This technique saved my brain from spontaneously combusting on more than a few occasions.
I’ve ended up with little bits of different materials – don’t throw them away! You can use a specific Snapshot tool in the app which identifies where your bits and pieces are stuck on the mat. You can then fit designs within that scrap of material. It’s pretty impressive to be honest. There’s really minimal waste.
Like any crafter, you will develop your own short cuts and ways to do things. Enjoy the process and don’t forget to share your tips on line if you’re motivated to do so.
RECOMMENDATION
The Cricut Maker 3 is my favourite review item to date. No matter your age and no matter your skill level, high quality outcomes are assured every time. How often can you say that about a product? Not often, but in this case, it’s true. The sense of accomplishment when you look at your finished products is like an endorphin high; don’t blame me if you just keep wanting to create into the wee hours. And you will.
I highly recommend also purchasing the Cricut EasyPress 3 in order to complement your Cricut set up. Check out my review to see why they work so well together.
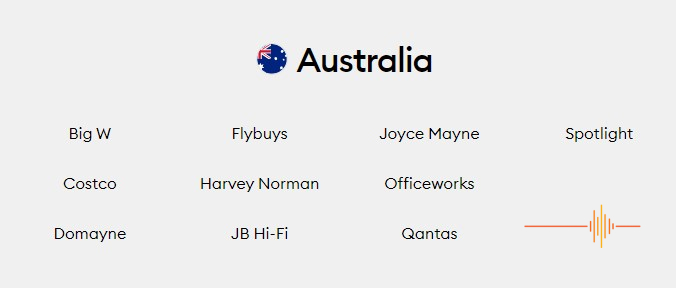
Retailing at a respectable $628.00 and available from a variety of retailers below, the Cricut Maker 3 will keep you crafting for years to come. I hold this excellent technology in high esteem and can’t wait to see what else I can create in the future.
Thank you Cricut for the opportunity to review the Maker 3. You sure know the way to a girl’s heart.
This one gets a DRN Pulse Award from Lis. Congratulations Cricut!
