
The first thing I noticed about the Nanoleaf 4D Screen Mirror & Lightstrip Kit was the sturdiness of the lightstrip, and while I realise some people may think ‘Well that’s a weird spot to start a review’ it stood out to me because I’ve had LED lightstrip kits (not screen mirroring or smart, just RGB LED strips) before now and they have always been so terribly flimsy – This strip, which comes in two sizes, upto 65″ and up to 85″, is built like a crazy RGB climbing rope – sturdy.
Here’s my setup and use overview of the Nanoleaf 4D Screen Mirror & Lightstrip Kit
Unpacking the Nanoleaf 4D Screen Mirror & Lightstrip Kit, you get the LED strip, conveniently wrapped on a roll as well as four corner pieces, you don’t need to use these if you don’t want to, but I found they made the 3M backed LED strip stay more firmly attached in the corners. You have the controller box and the camera that plugs into it, the camera also comes with a stand perchance you want to attach the camera to the top of your screen. It’s said that you can potentially get better colours out of the camera and in-turn the LED strip if you attach the camera to the top of your TV rather than have it sit on a flat surface in front of the TV – I only tried attaching to the top because why wouldn’t you go for the better setup. While it does sit up off the top of your TV, I haven’t found it to get in the way of anything. The kit also comes with a magnetic cover for the camera as well as a power supply to power it all up.

Setup is pretty easy, you place the camera atop your television set, plug it all into the ‘brain’ and power it on. Download the Nanoleaf app for Apple or Android (Here’s a link) and get about pairing your Nanoleaf 4D device to your smartphone.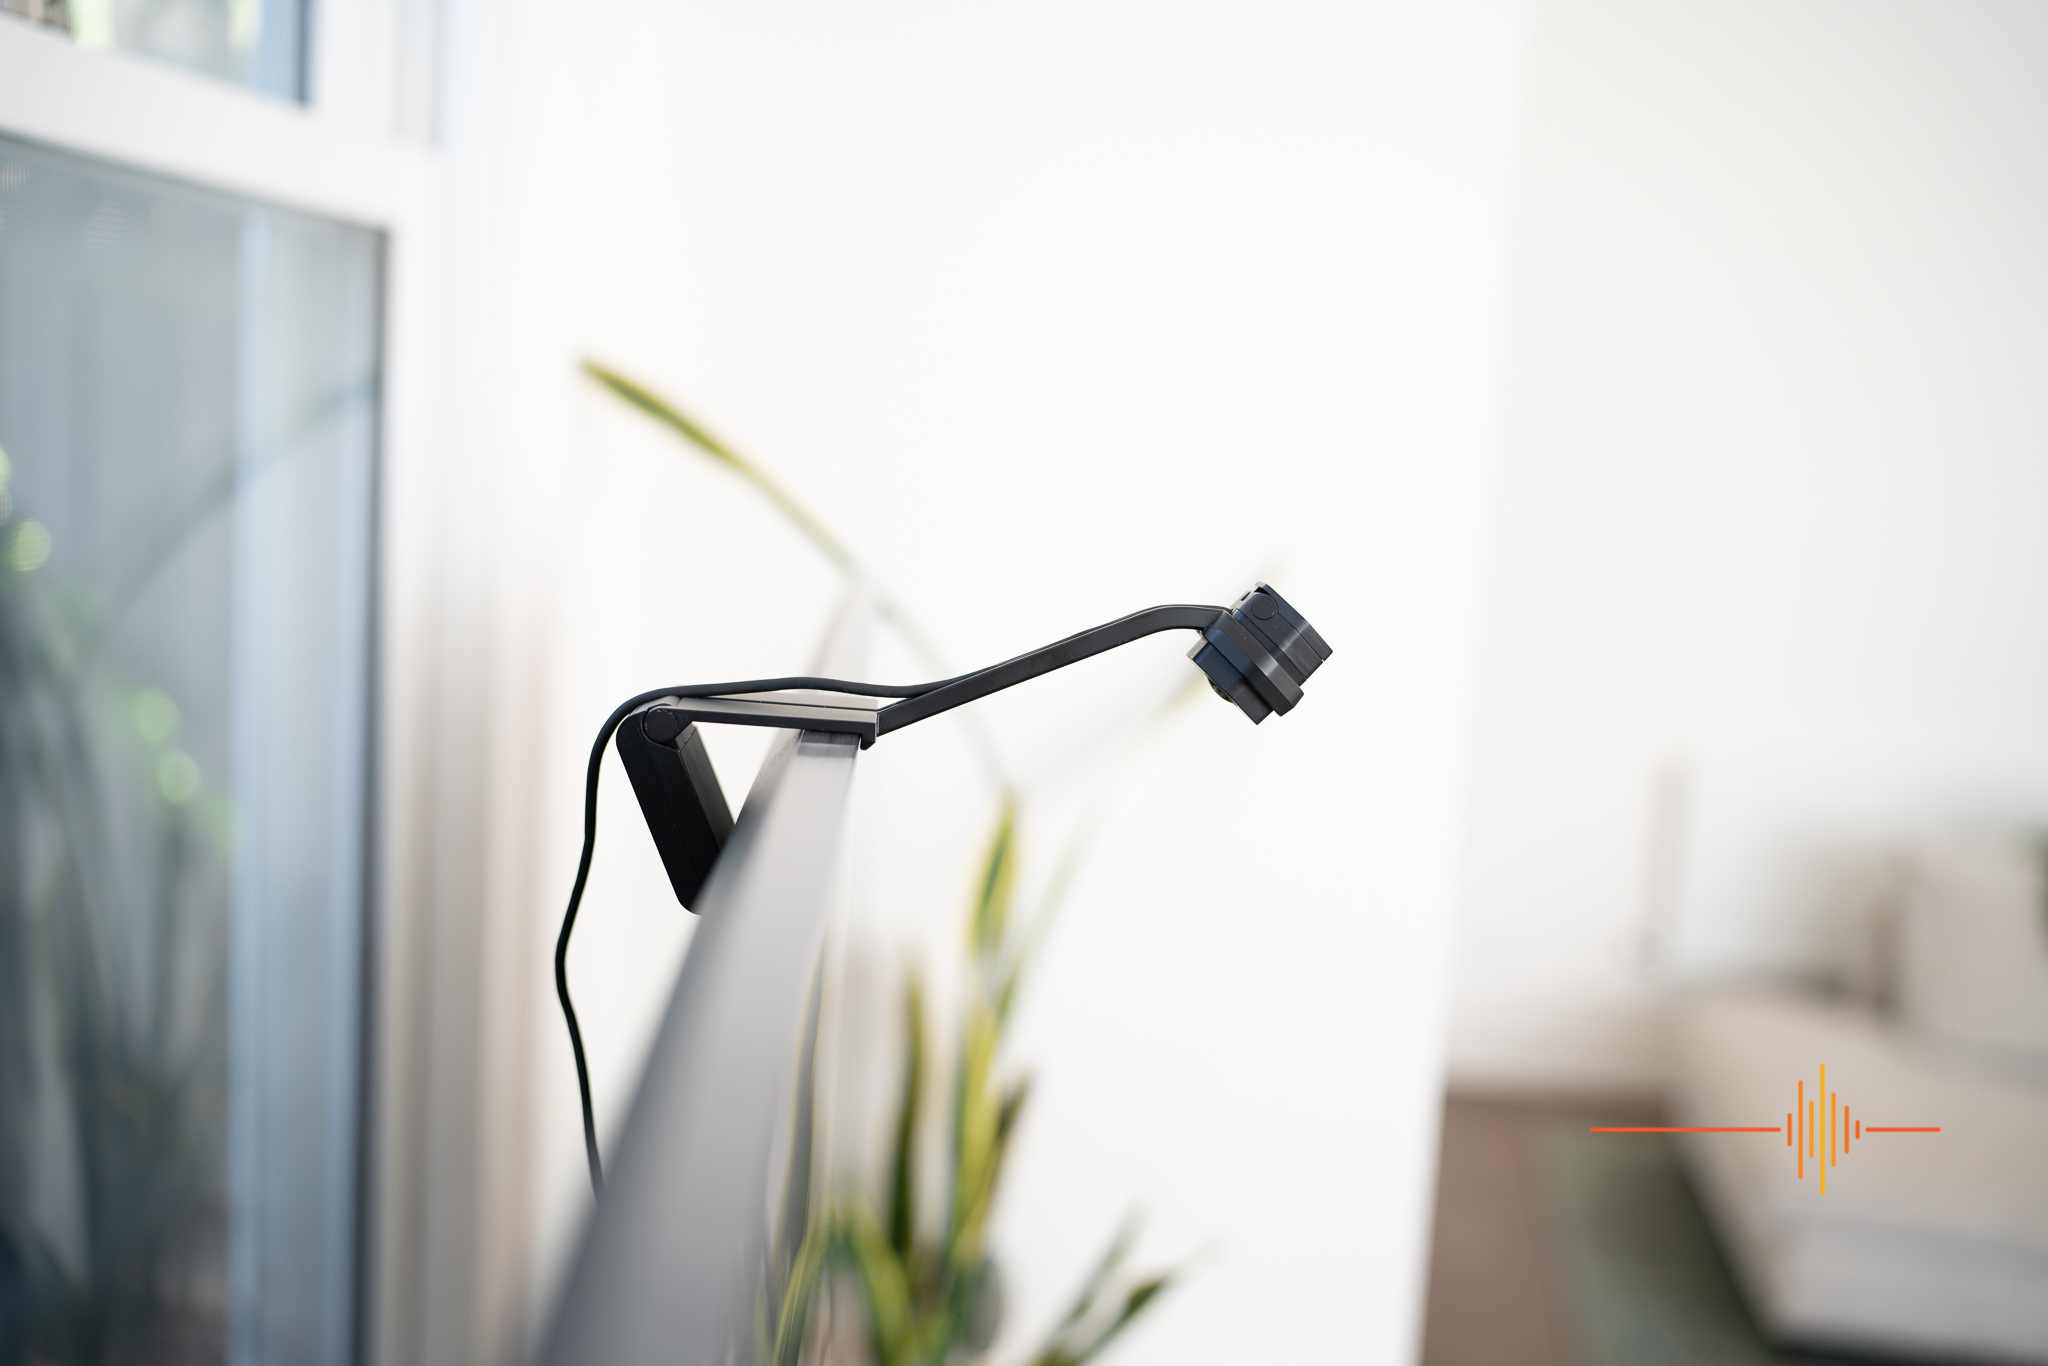
The pairing process, in short, involves plugging in and turning on your Nanoleaf 4D, running the app and scanning the QR code found on the back of the Nanoleaf control box, connecting is very quick before you run through a few simple setup steps – is the camera above or below your TV, drag the camera’s visible area to the edges of your screen and you’re pretty good to go.
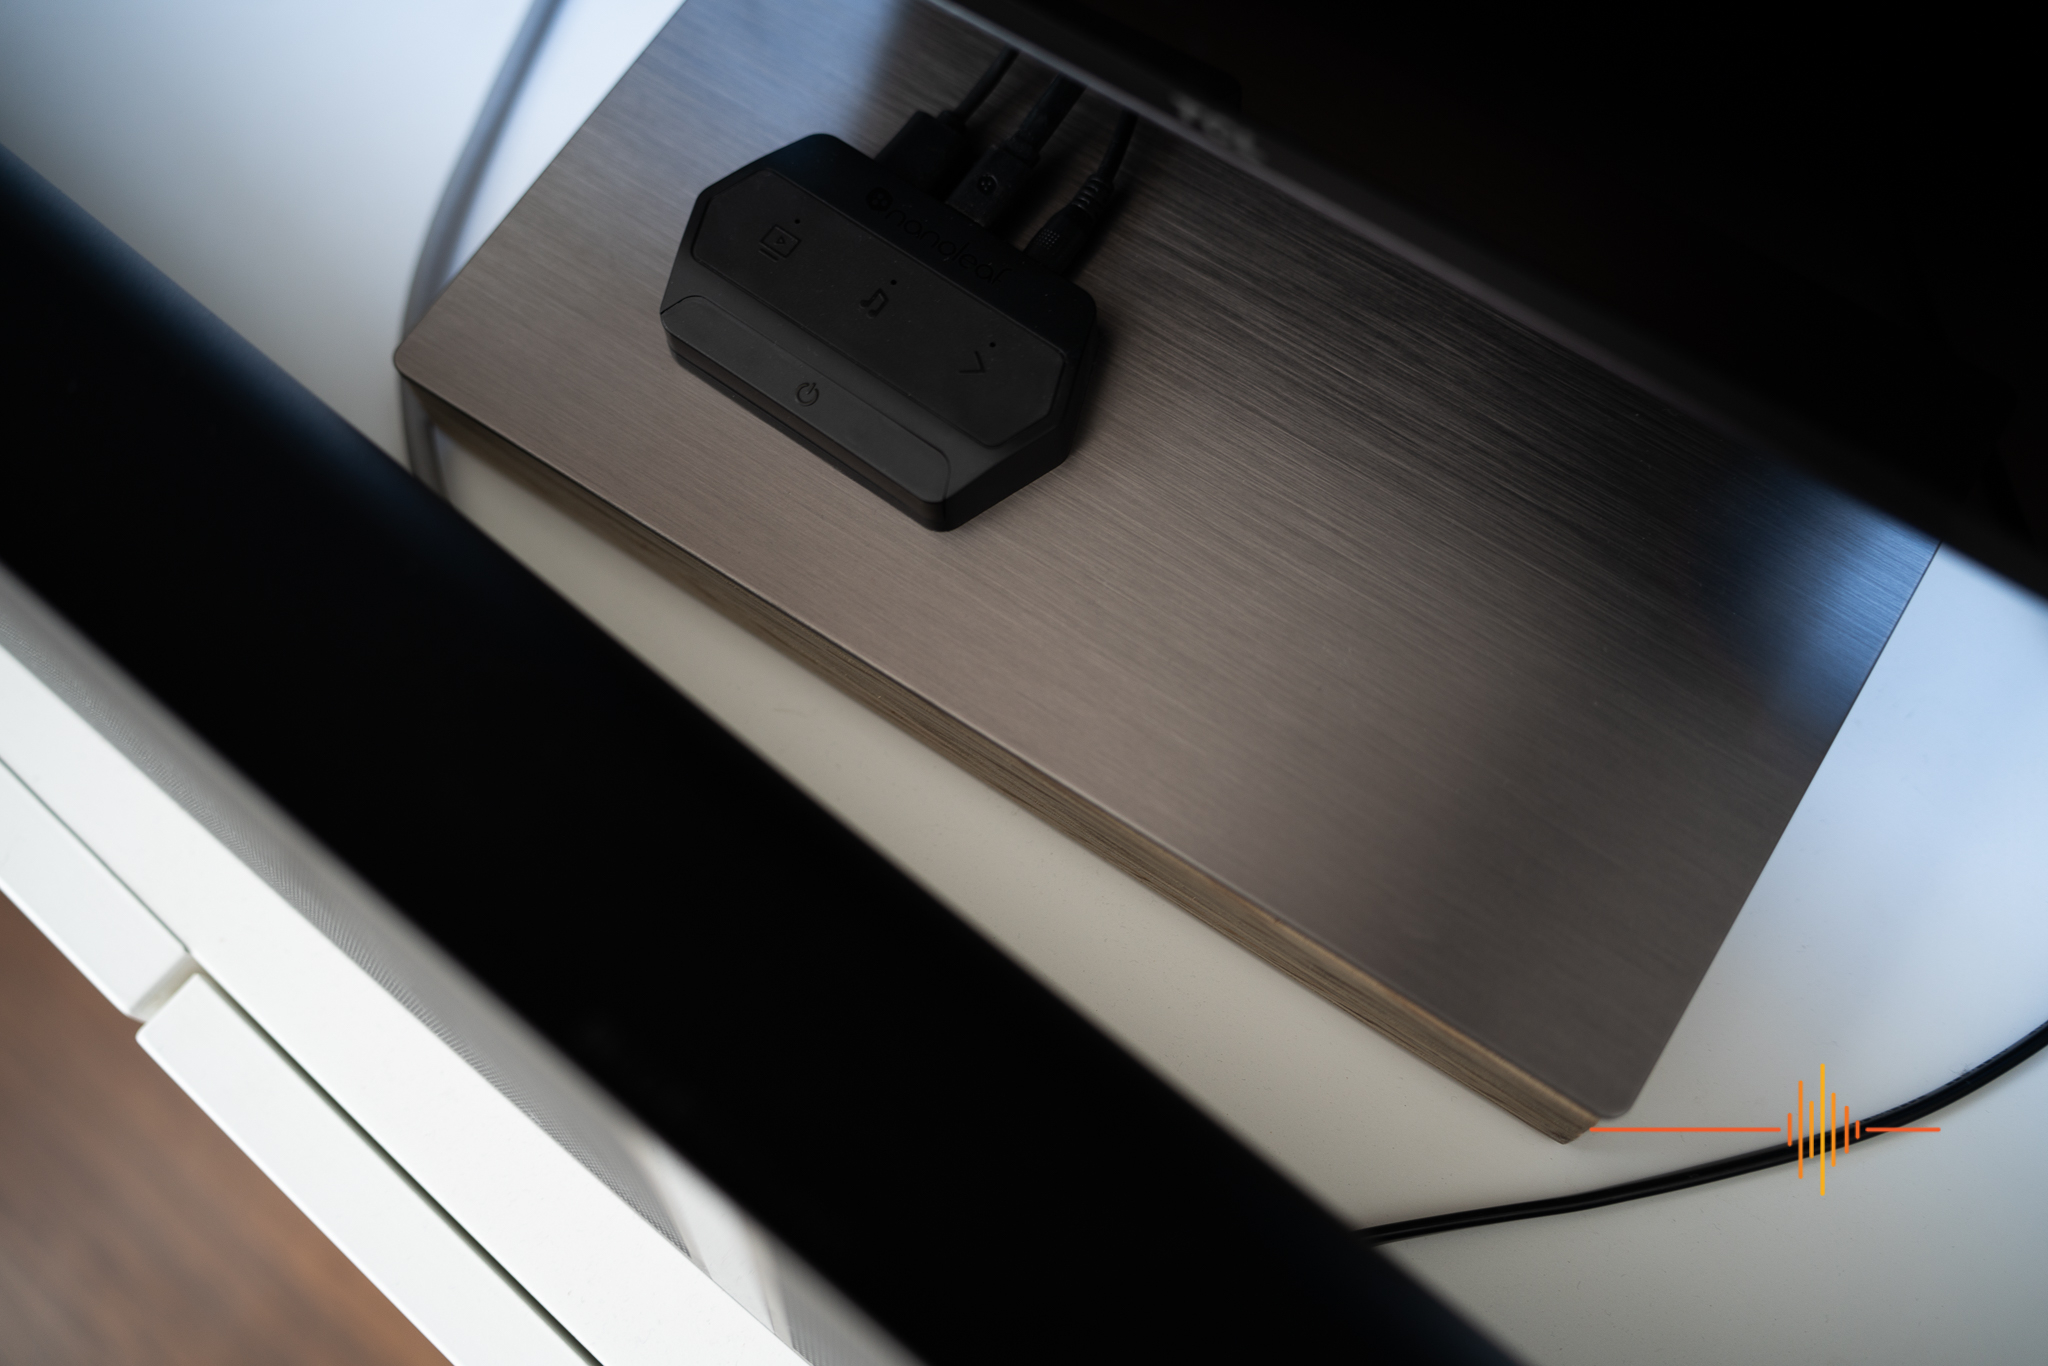
Once setup I had some issues getting everything running! I knew the camera was working, it showed the preview of my tv while I was setting it up, but those sturdy LED strip lights I gave praise to earlier wouldn’t come on! I double checked everything and then, when I thought all hope was lost, I double checked where the USB Strip plugs into the controller, turns out you need to push it in good and hard – voila! Let there be light.
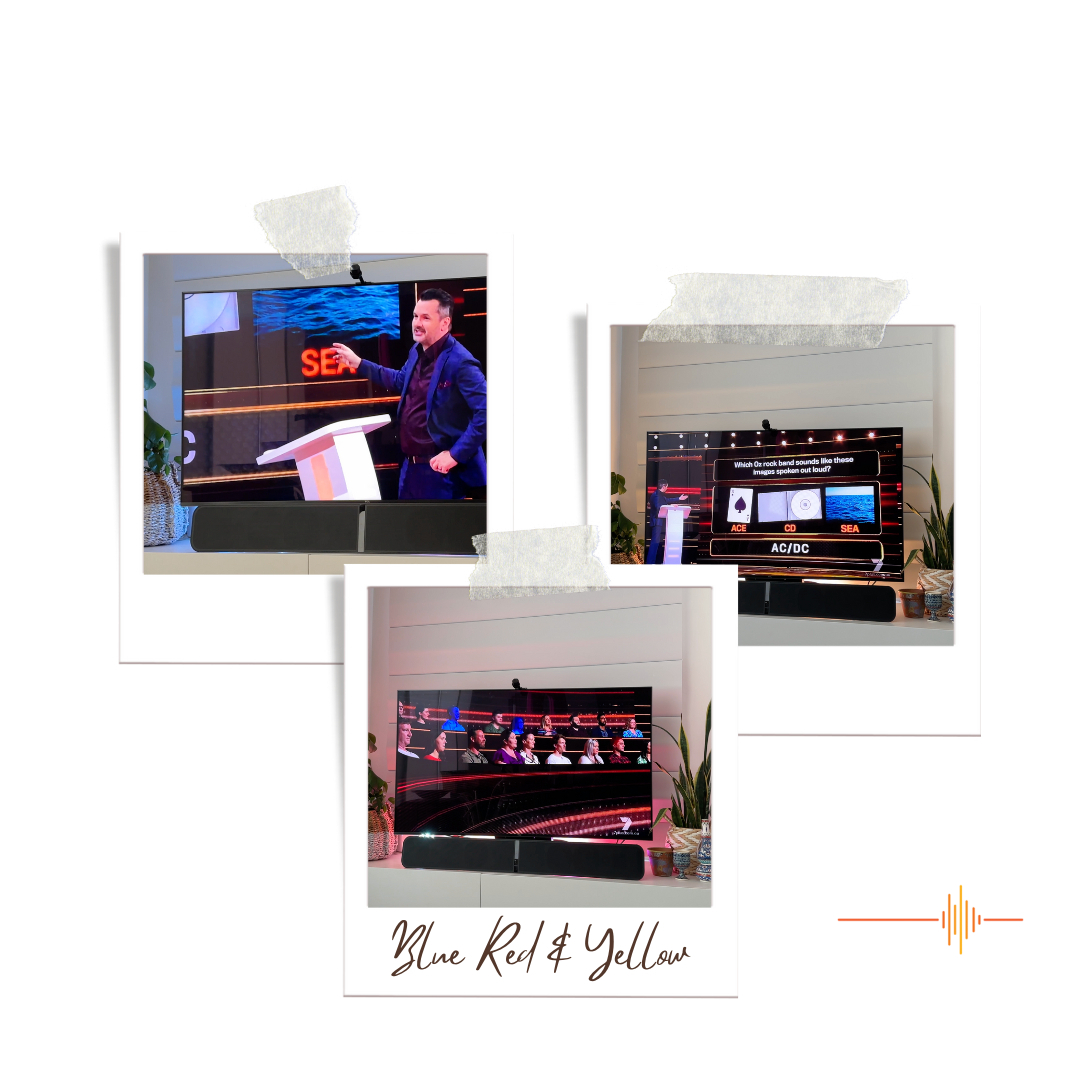
There are multiple modes in the app, all the way from basic ‘select a colour and that’s what you get’ to themes that give you preset mixes making for some very cool looks and then through the 1D, 2D, 3D and 4D modes – basically from 1D and 2D being a single/dominant colour ambient light through to 3D and 4D being more complex and vibrant – You choose a mode to suit your mood basically! You can use the app to select a colour to glow in the background of a quiet evening, or you can Sync to music and rock out. The Screen Mirroring modes let the camera determine what colour your TV is displaying and that’s what you get out of the LED strip – it really makes for a great viewing experience, and gives your eyes the ambient light they need outside of your TV screen.
The RBG strip is plenty bright and vibrant at night, I thought I’d go a different direction and show you how you can still pretty easily see the effect of the strip in the middle of a sunny day in a well lit room – still effective and certainly enough to warrant use even in a well-lit environment
If you’re sporting other Nanoleaf products in your home, you can use the Sync+ to extend the lighting effects across more than 50 Nanoleaf RGB devices – A whole world of colour!
The camera, while capturing video of your TV, doesn’t store or record the video and it doesn’t send it anywhere! Secretly alerting our overlords to the fact that you’re watching re-runs of 1980’s Neighbours episodes… It also comes with a magnetic privacy cover if you want to be really sure. I found that you can flip the cover over and sit it on top of the camera when you’re using the camera, good tip so you don’t lose it.
I was pleasantly surprised at how well the setup reproduced the on-screen colours, and I also like the fact that it very easily integrates with Google and Apple Home. I can choose who I ask to change colours, turn it on or off, etc.
You can purchase the kits directly from Nanoleaf via their website where you’ll find the 65″ kit for $189.99 and the longer 85″ kit for $229.99. You can also purchase just the camera+controller kit for $149.99 (You can use the camera kit to run other Nanoleaf RGB devices like Nanoleaf or Shapes etc)
